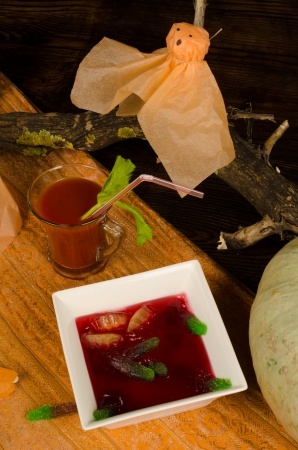
Trick-or-treating is an exciting adventure for a child. To wear a costume and be someone or something else, to walk around in the dark and to get candy just for the asking seems like a dream. As the person handing out the treats, you can add to the excitement and adventure by making your house one of the fun ones on the block.
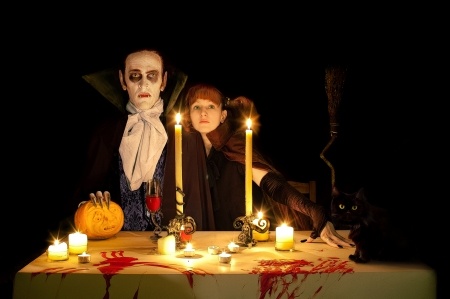
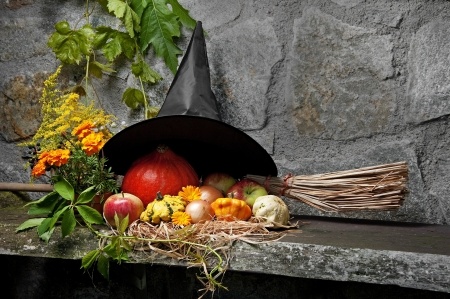
To start, you could wear a costume yourself. A witch handing candy out of a smoking cauldron (a little dry ice in water in a bowl at the bottom) makes for a more interesting experience. If you have a well-behaved dog, consider a costume for your puppy guaranteed to charm the little visitors.
Another approach involves creating a challenge to getting the candy. Using lights and artificial fog with maybe a few spider webs you can make the route to your door a bit scarier than the standard home entrance. Add one of those CDs that feature scary sounds, screams, moans and groans. Suddenly getting a piece of candy is more than just ringing a doorbell.
You can also move the candy event outside. You might conjure up a graveyard-looking space with lights and fake tombstones – purchased or made with Styrofoam boards and spray paint – and pull out that fog machine from last year to add to the atmosphere. If you sit in a chair in a spooky costume and don’t move until the children get close enough, just saying hello will startle them. You may want to have a default option for the very little ones, although often they are braver than their older brothers and sisters.
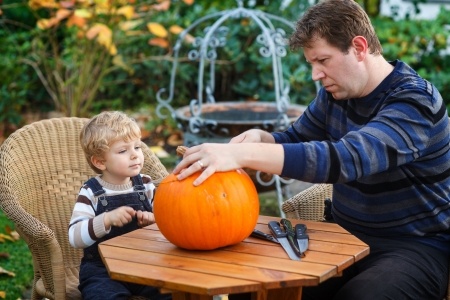
If you have children who are too old to trick or treat anymore, consider recruiting them to help create a Halloween experience for the neighborhood. It’s a good way to help them move on from the magic of being a child at Halloween by allowing them to help create magic for other children.
Yes, trick or treating by itself makes Halloween pretty exciting. But if you use your imagination and provide more than a piece of candy, you can also make a child’s Halloween special and memorable.