Finishing an Empty Space

finishing-an-empty-spacewWhen you move into a new home, you may find that there are walls or corners in a room or at the end of a hallway that feel empty. Take advantage of those spaces to create a mood that matches your personal style.

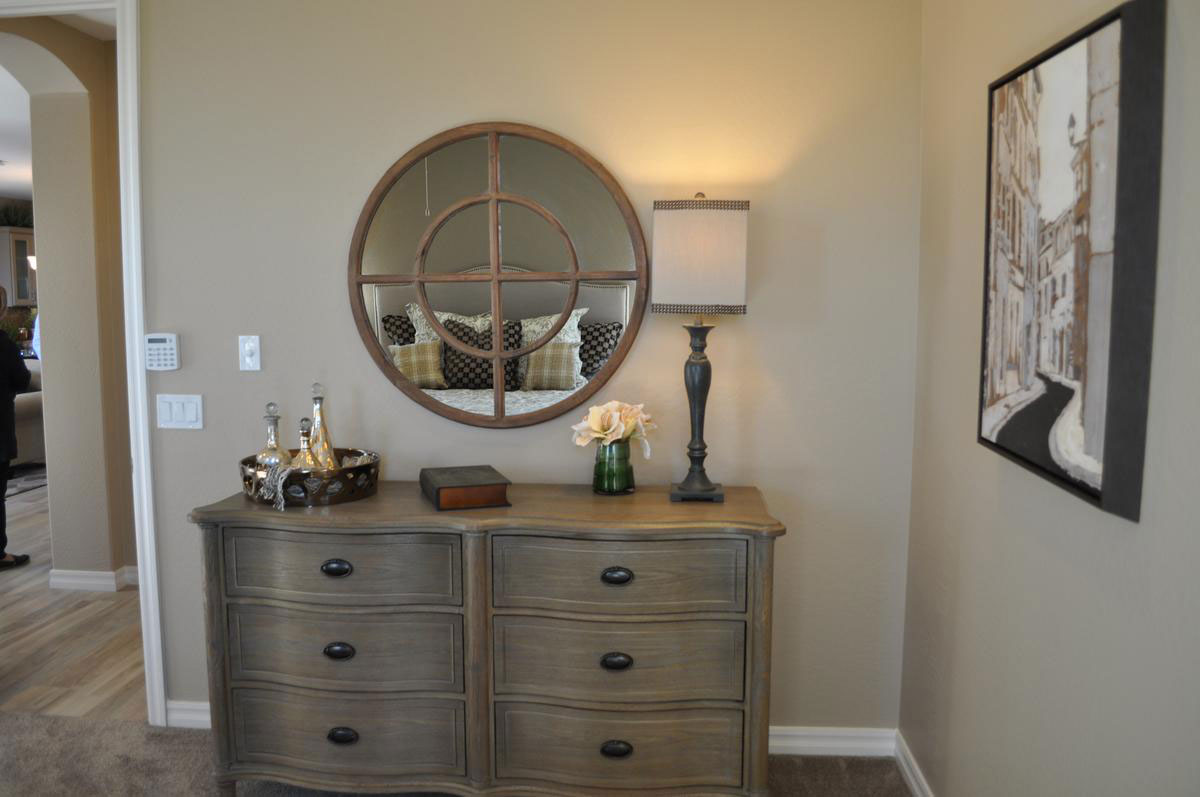
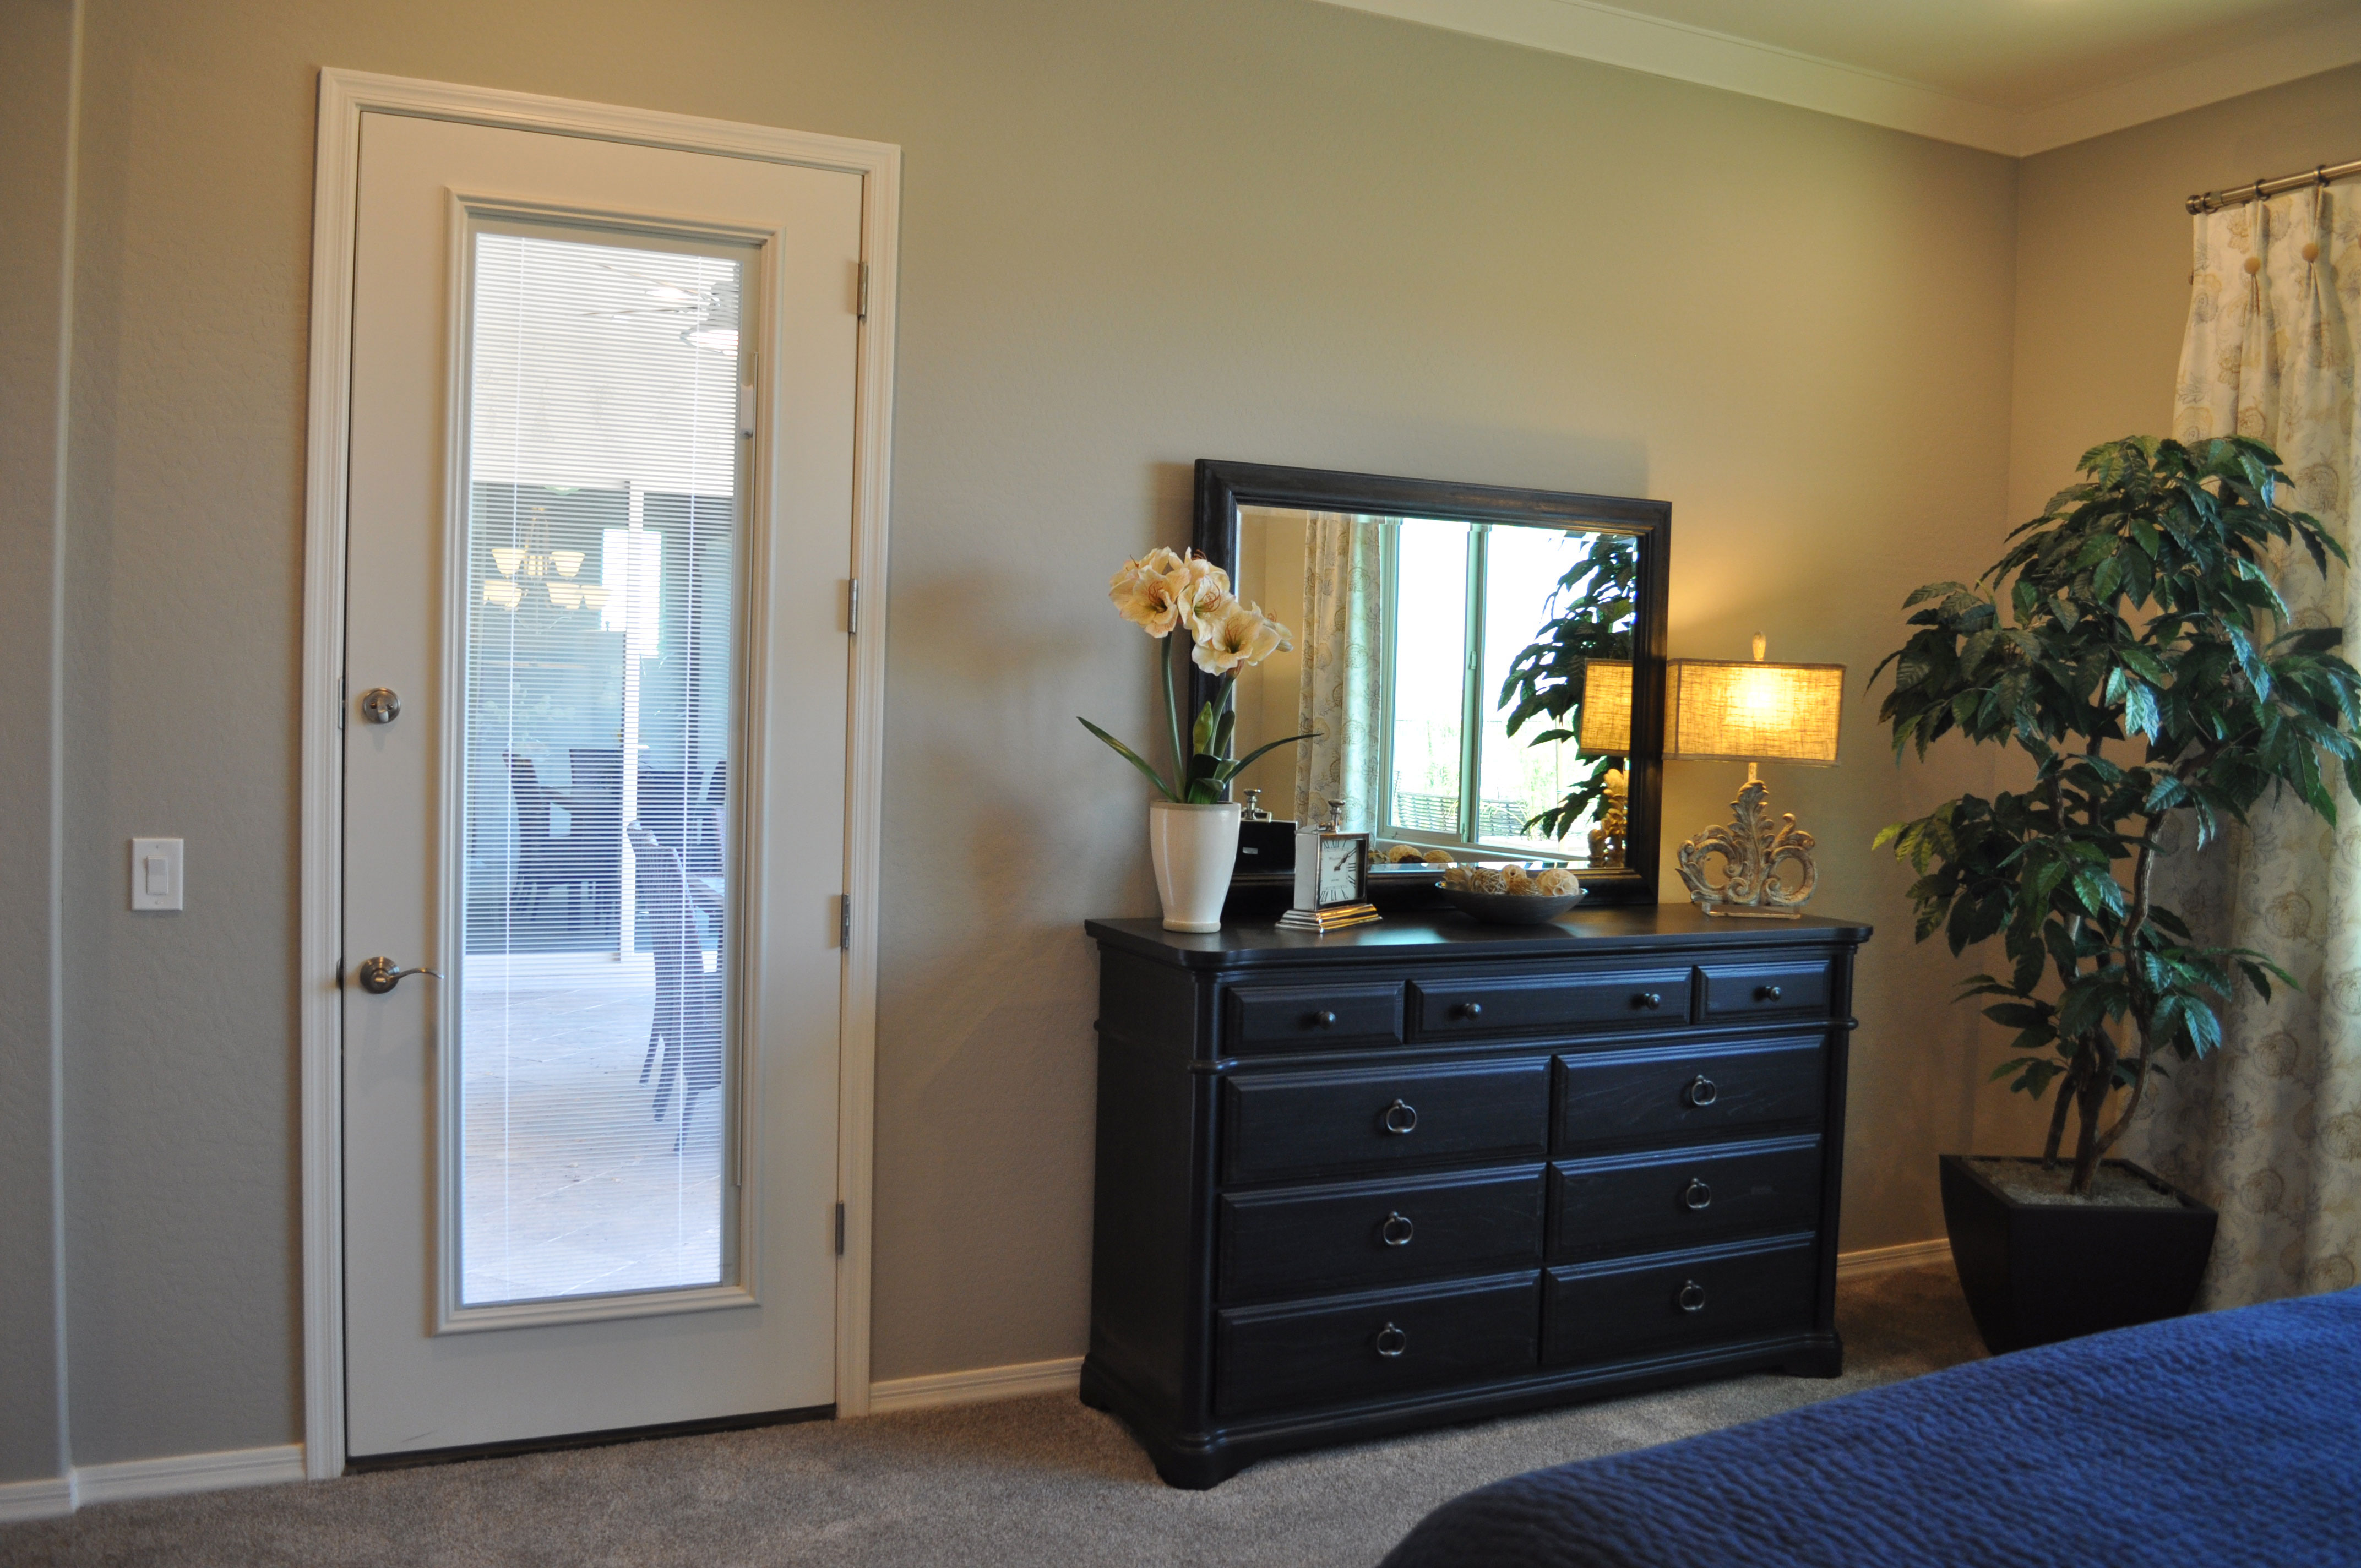
Maybe you have a yearning for retro furniture and accessories. Or possibly there’s a secret ultra-feminine girly girl inside you that would love to hang a wreath of dried flowers and stack antique hatboxes on a spindle-leg table. Or you may go in totally the opposite direction with a contemporary sculpture sitting on a sleek mirrored dresser. This photo shows one interesting choice from the Capital model at Seaboard in Cooley Station. Let’s take a look at the design decisions made here.

Dresser: This piece of furniture might have been used in a family bedroom once upon a time and is no longer needed. Or it could have been purchased at a consignment store. The finish might be original, but if you found a piece and liked the lines it wouldn’t be difficult to refinish or paint something like this. Another option would be to decoupage the front of the drawers with old maps, flower plates or other images. It’s also easy to change out hardware to get just the look you want.

Mirror: A mirror is always a good choice when finishing up an extra space. Everyone appreciates the chance to make sure they are looking their best, and mirrors add light and space to every room. This mirror has extra interest thanks to the framing. It has the appearance of an oriel window, which makes it inviting and worth an extra look.

Accessories: Chances are you have some extra items that you would like to display. Look for a mix of heights, colors and textures that will suit the space.

Finally, consider all the extra storage you’re giving yourself with those drawers. That might be the perfect place to store table linens, extra towels or out-of-season sweaters. We can all use extra storage. Above all, have fun with these surprising spaces and make them your own.

 Make Room for Art

make-room-for-artwWhen decorating a home, many people focus only on the big items such as furniture and then slowly add accessories over time, and this is a good approach. But while you’re furnishing your new home, be sure to include art in your plans.

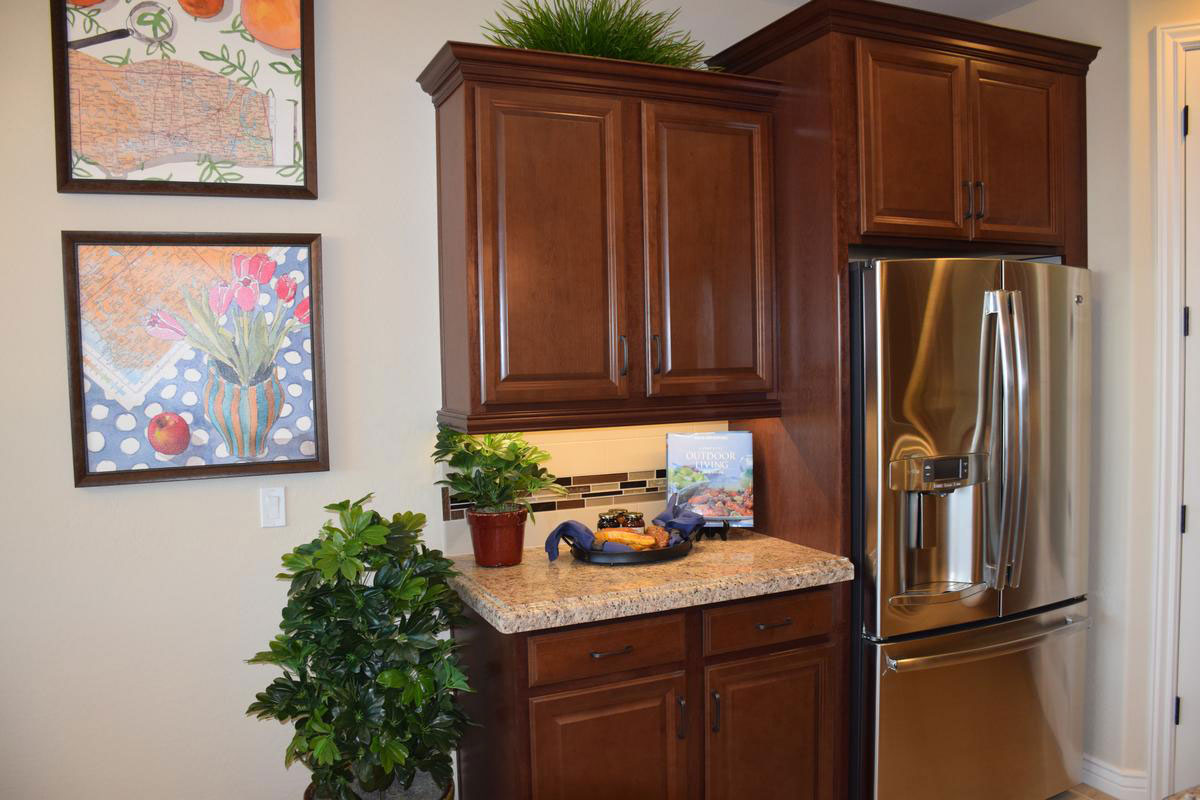
If you’ve been living in an apartment, you may find that your current collection of wall art looks rather small in your new larger rooms. This photo shows one way to deal with this – by hanging two smaller pieces together. This way the art takes up more space. Two or more pieces like these – with the same size, the same kind of frames and the same feel to the art – work well as a team on the wall.

Don’t limit your art thinking to walls. Notice the book set on the stand on the counter to the right of the photo. With the luscious photo on the cover, this book positions itself nicely as another art piece. In fact, if you didn’t look closely, it could be a small canvas set on an easel. You may have books or other elements that can double as art in your home if you take a look around.

If you would like more art on your walls but your budget is limited, consider photographs. Visit the Library of Congress photo collection online to view a rich choice of historical and other photos. You can have these reproduced for a minimal cost and frame them to create instant art at an extremely reasonable price. And family photos can be enlarged at your closest warehouse store at good rates.

Thrift shops and consignment stores are also a great resource for art at good prices. This is also an excellent place to pick up inexpensive frames. Just replace the art you don’t like with something that you do.

Take advantage of all your options to add art to your home. It can contribute color, interest, style and personality to your décor.

Integrating Space in an Open Floor Plan

integrating-space-in-an-open-floor-planwLiving with an open floor plan has so many advantages.  The space works well for families and entertaining and arrangements can be modified to expand and contract living and dining areas to meet specific needs. However, open architecture does present decorating challenges. Here are some tips to make your open living space work well.

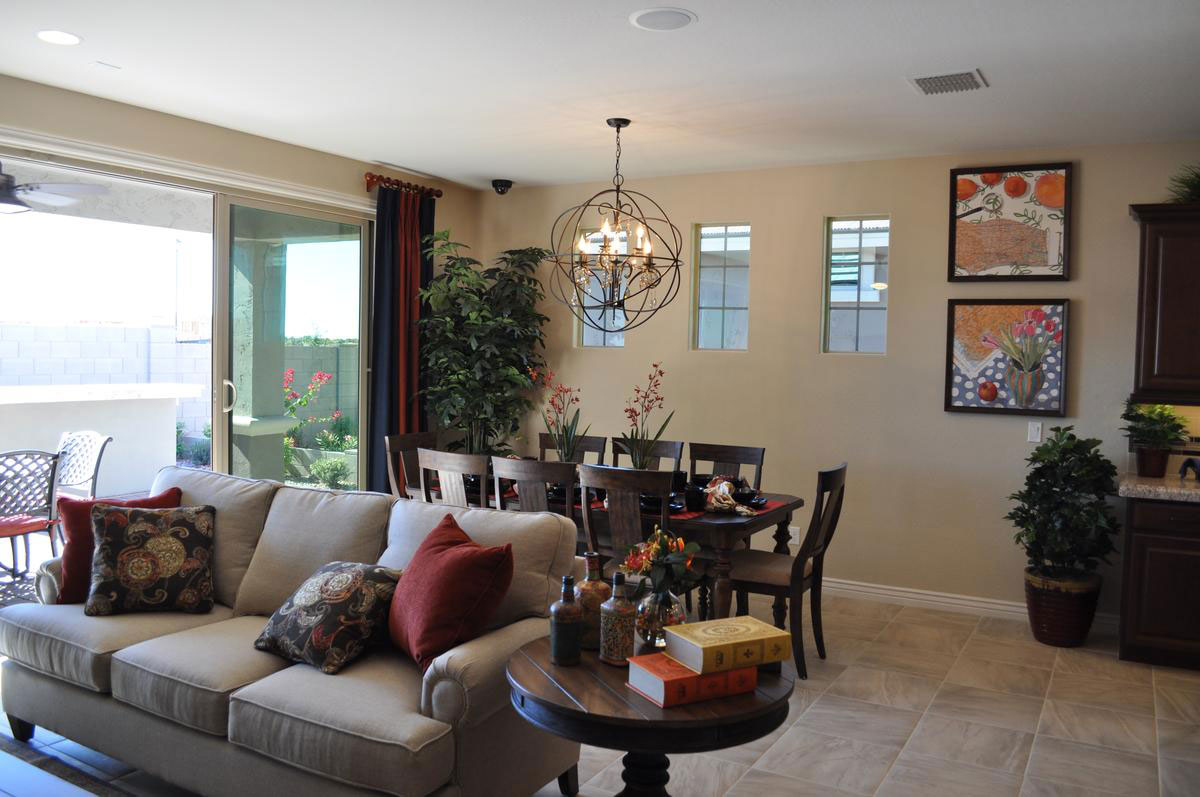
Define living areas: Use furniture, area rugs and artwork to define each living area. Without walls you can have the back of a sofa, a bookshelf, or a table set limits for a particular space.  Notice in this photo from the Cooley Station community how the sofa defines the end of the dining area and the start of the living area. Large pieces of furniture like sofas are some of the best tools for defining each space.

Create transitions: The plants on the kitchen counter and the floor and artwork make a softer natural transition between the kitchen and the dining area. Without these, the adjustment from one area to another can feel too abrupt. Having two larger houseplants in the dining area also helps define that space and keeps it connected.

Use lighting: Chandeliers such as the one over the dining table also help create a specific mood in one area of a large living space. Often the family room will have a ceiling fan. Our brains turn those light fixtures into room definitions.

Use color: Pulling the same accent colors throughout the space helps everything feel integrated. Throw pillows, area rugs, artwork and accessories in this room all use dark rust and peach tones to tie this living space together.

A Ceiling with Personality

web-a-ceiling-with-personality-blogWhen people plan their home’s décor, they think about flooring and the walls, but many ignore the sixth surface – the ceiling. Fulton Homes understands something that custom homebuilders have known for years – your ceiling provides an opportunity to showcase the lines of your home.

There are many ways to incorporate your ceiling into the design of a space. This photo shows some of the most effective options.

Dimension: By adding dimension to the ceiling the spaces are clearly defined. The living area ceiling builds an enclosure and creates a comfortable coziness. This type of ceiling, known as a coffered ceiling, has a long tradition. In this open living space it adds a line of demarcation as well as providing an additional appealing style element.

Color: By pulling the wall color up into the center of the coffered ceiling, the space is more clearly defined. The combination of dimension and color makes the ceiling even more dramatic. By using the same color on the ceiling as the walls the space has a warm centralized feel.

Lighting: Notice the light running along the edge of the coffered ceiling. This emphasizes the personality of the ceiling and creates a natural focal point at night. Entertaining in this room will be particularly effective thanks to this ceiling design.

It’s easy to ignore a ceiling, but if you do you’re sacrificing an opportunity to add style and drama to your home. Take a moment to picture this room without any furniture. Even empty, this space has its design own strength, and the ceiling is the reason why.

Industrial and Traditional Styling Combine for Sophisticated Den

From the Atherton model in Penninsula at Queen Creek

From the Atherton model in Penninsula at Queen Creek

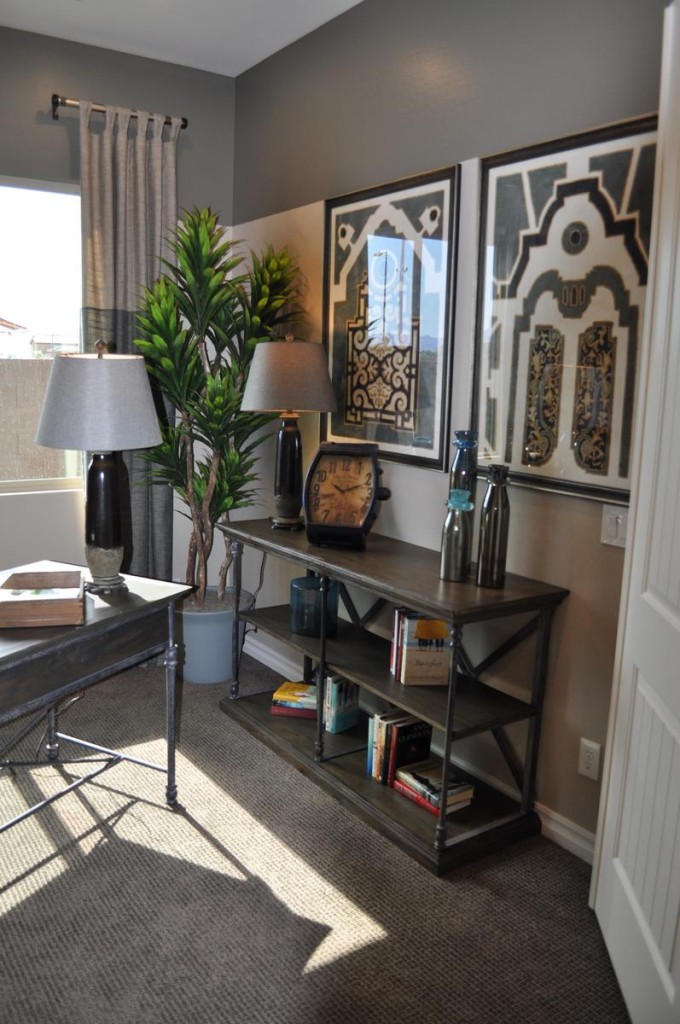
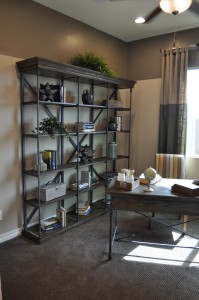
You may have noticed a decorating trend capturing an industrial feel in furniture and accessories. These items draw some inspiration from the Steampunk style, based on an alternate world where Victorian elements combine with steam-based technology to make an interesting setting for fictional universes.

If you want to add that industrial feel to your home’s décor, you may be concerned that the look will lead to a cold space rather than one that is warm and inviting. However, you can incorporate industrial elements into a room without losing the warm feeling. This den is a good example.

The strong grey tones in the color scheme are consistent with industrial-style design. But notice the cream, gold and yellow fabric at play on the chair upholstery. Those colors are echoed subtly in various accessories, such as the gold clock face and several yellow books. These splashes of warmer tones go a long way toward making this space welcoming.

Industrial accessories such as the oversized watch face clock and the tool boxes say industrial, but the globe on the desk, the plants and other containers keep this residential space grounded in more traditional elements.

den 2The bookshelves show one of the best ways of combining industrial with traditional styles. The metal framing is classic industrial, but the wood shelves with crown molding along the top capture a much more traditional feel.

Finally, color-blocking on both the walls and the drapes add contrast and interest, while fitting with both an industrial and a traditional style.

Overall, the space makes the best use of two design styles, combining them to end up with a room that is sophisticated yet totally welcoming.

Create a Sophisticated Dining Room

From the Atherton Model at Penninsula in the Oasis at Queen Creek community

From the Atherton Model at Penninsula in the Oasis at Queen Creek community

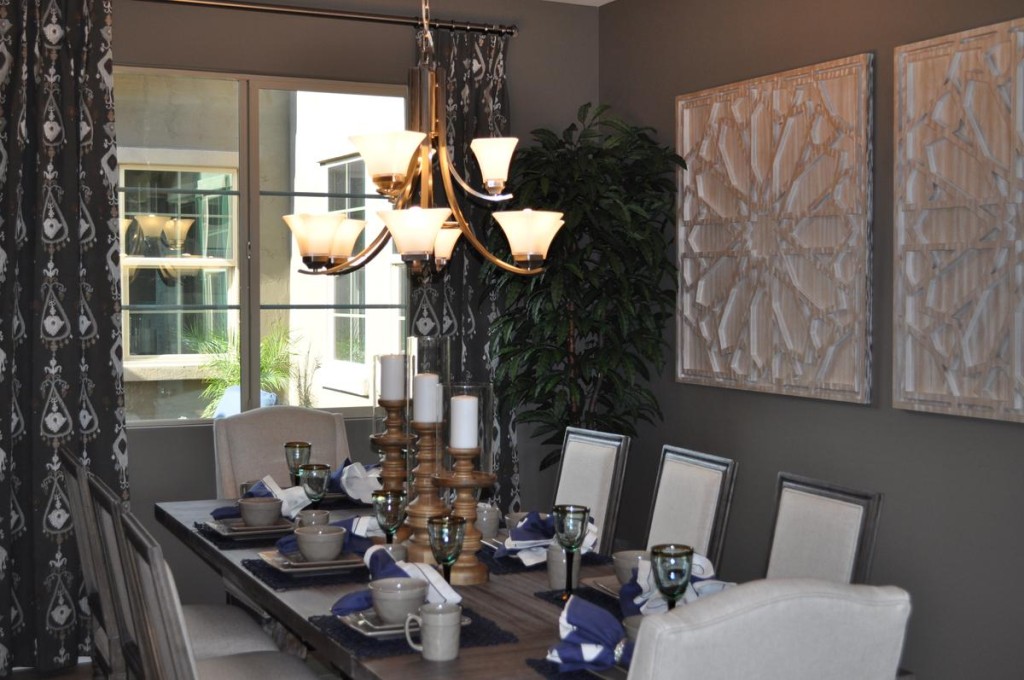
Grey has become a popular tone in decorating, and it is the strongest color influence in this dining room.  Yet this space feels warm and inviting. It’s the warm tones that balance the grey and make this dining room a place to linger. Let’s take a look at the elements that make this room so special.

Generous sizes: Start with a large table made with a thick top in a wood finish that combines grey with warmer hues. Add high-backed chairs with cushions and padded backs in a taupe/cream that uses both cool and warm tones. Finish with oversized art and substantial candlesticks on the table. All of these pieces give the room a weight and drama that combine to make the décor work.

Dark and light tones: Although most of this room uses neutrals, there is a nice distribution of light and dark tones to provide contrast and add interest. The curtains are the darkest permanent element in the room, but their pattern echoes the lightest tone. That light feeling is picked up in the chair upholstery and the candles. It’s too easy for a room filled with neutrals to end up boring, but these contrasts keep that from happening here.

A single pop of color: The blue napkins add a simple pop of color, drawing the eye to the table and adding just the right spark to the tablescape. Because the rest of the room is done in neutrals, you could easily switch out that blue for any bold color. How about yellow, red or coral? Or you could choose to go with black for extra drama. No matter your choice, this sophisticated dining room is ready for any dinner party.

Using Mirrors Effectively

mirror-1-webMirrors can serve both a functional and decorative purpose in a room. Of course you expect mirrors in the bathrooms of your home, but placing mirrors in other rooms also works well. Here are a couple of approaches from two different bedrooms from the Rancho Mirage model in the Oasis at Queen Creek community.

Bedroom mirror over furniture: In the photo above, the dresser is accented with a matching mirror. Notice that this mirror actually seems to be resting on top of the dresser. The mirror enriches the look of the dresser and brings more light into the room by reflecting both the lamp and daylight from the window to the right. Positioning the mirror like this connects the two pieces and works almost as well as a floor-to-ceiling mirror for checking out the day’s outfit.

From a safety standpoint, be sure to attach the mirror to the wall at the top to keep it stable over time. Also check out the framing of each person who will use the mirror before deciding on the final position. If one of the bedroom’s users is taller, you can attach the mirror above the dresser to enable the individual to see his or her head. If the height disparity is dramatic, consider positioning this mirror vertically.

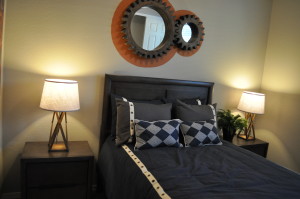
mirror 3Mirrors as art: These two mirrors hanging over the bed in the photo to the left don’t work well for checking out your reflection, but they maintain the room’s bold masculine look with their gear-shaped frames and industrial feel. And they do increase the light in the room by reflecting it from a nearby window. Don’t hesitate to use mirrors as art. Just be sure to look for choices such as this one where the frames have an interesting personality that complements the look of the room.

Think about Texture

From the Whitewater Model in the Oasis at Queen Creek Community

From the Whitewater Model in the Oasis at Queen Creek Community

When you’re planning your home’s décor, it’s easy to focus on color. But texture can be equally important. Choosing to include many different textures in your home makes it more interesting and unique. Let’s take a look at some options for adding textural elements to your home.

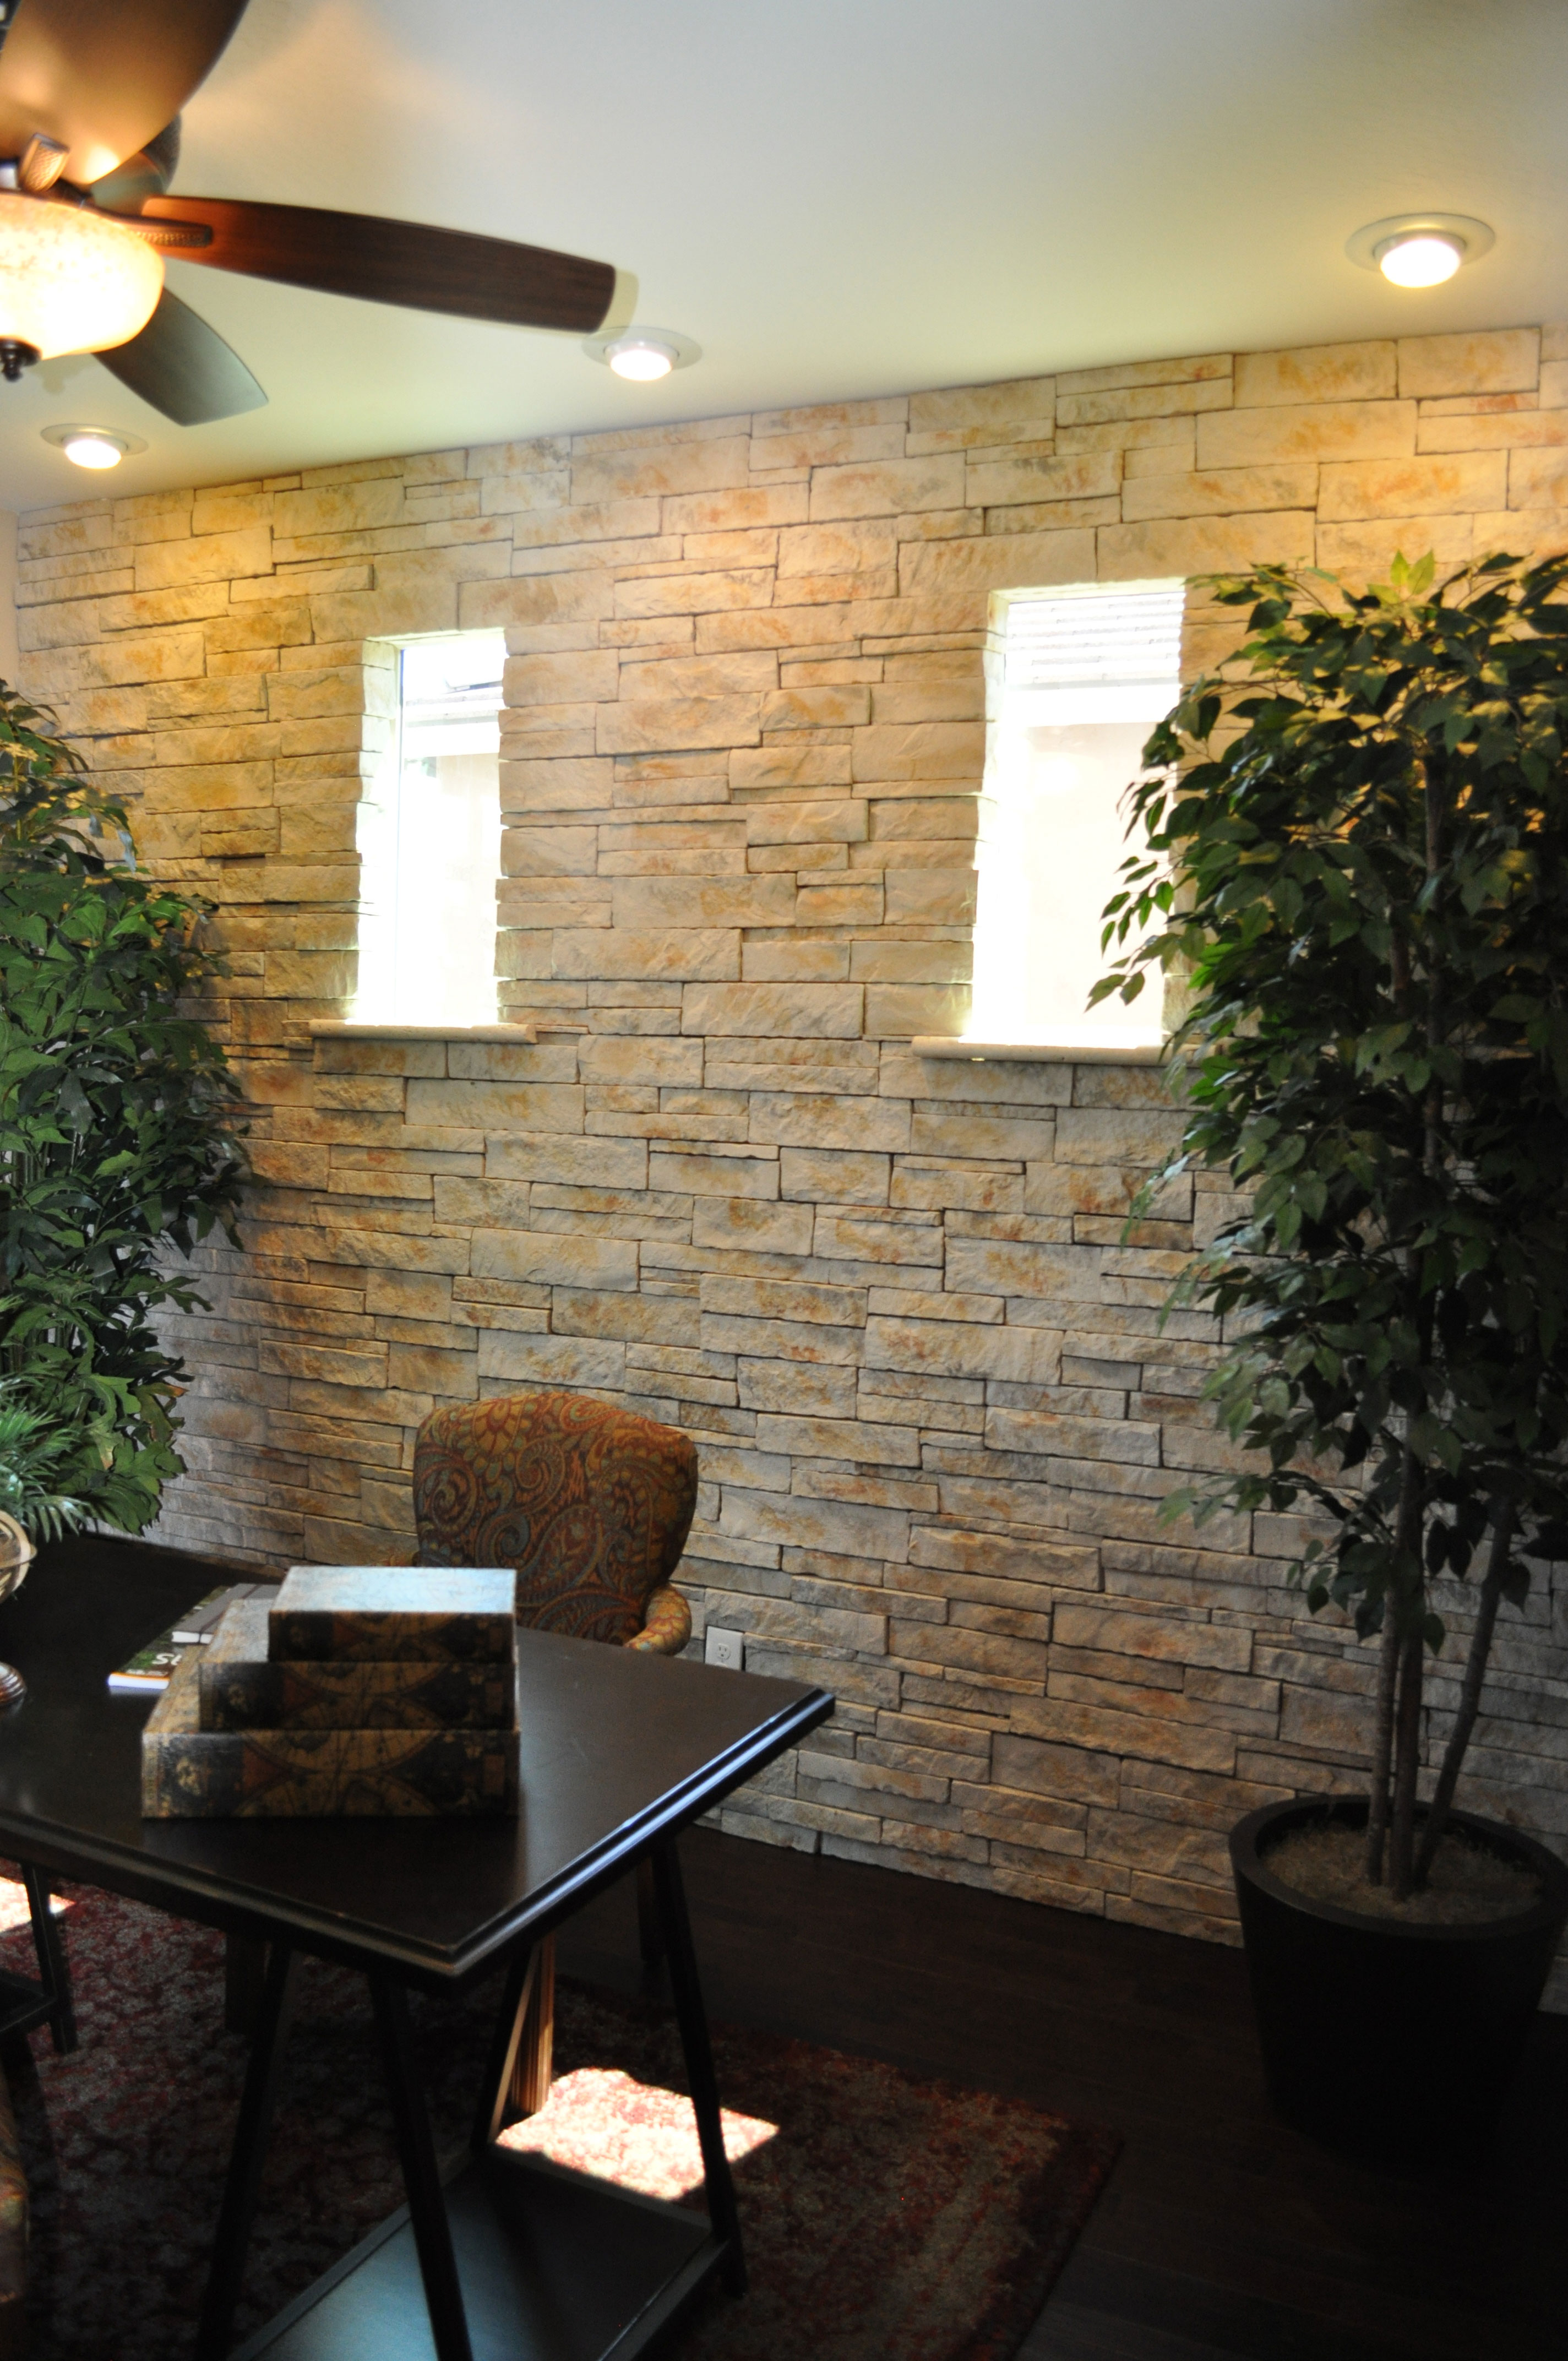
Architectural features: The stone focal wall in this study takes a standard room and makes it interesting. Since this room is open to the rest of the house, this one wall adds texture throughout the living area. Notice that the stone itself is fairly neutral and light. This allows you to modify the look and colors of the room over time without limiting your options.

Flooring: The dark wood floor has a handscraped finish which adds both depth and texture. With the handscraped option, floors reflect their wood origins more clearly. Whether you want wood, tile, carpeting or any other type of flooring, take the time to consider the flooring texture as well as the color.

Plants: Large-scale plants add texture through their leaves and branches. Shop around to find just the right variety for your home. Some do well in sun and some thrive in shade. Or you can incorporate silk plants for a lower-maintenance option.

Rugs: Layered flooring is one of the best ways to incorporate different textures into your home. The hard wood covered with a soft area rug grabs the eye and adds contrast to your floor.

Accessories: Everything from boxes and books to throw pillows can pull in additional texture. Take a look around each room in your home. Could you use more reflective surfaces? How about a nubby textile such as a wool throw?

By thinking beyond color to texture, you will add interest and sophistication to your home. Take a look around with texture in mind. You may be surprised at how just a few small changes can make a big difference.

Sofa Alternative

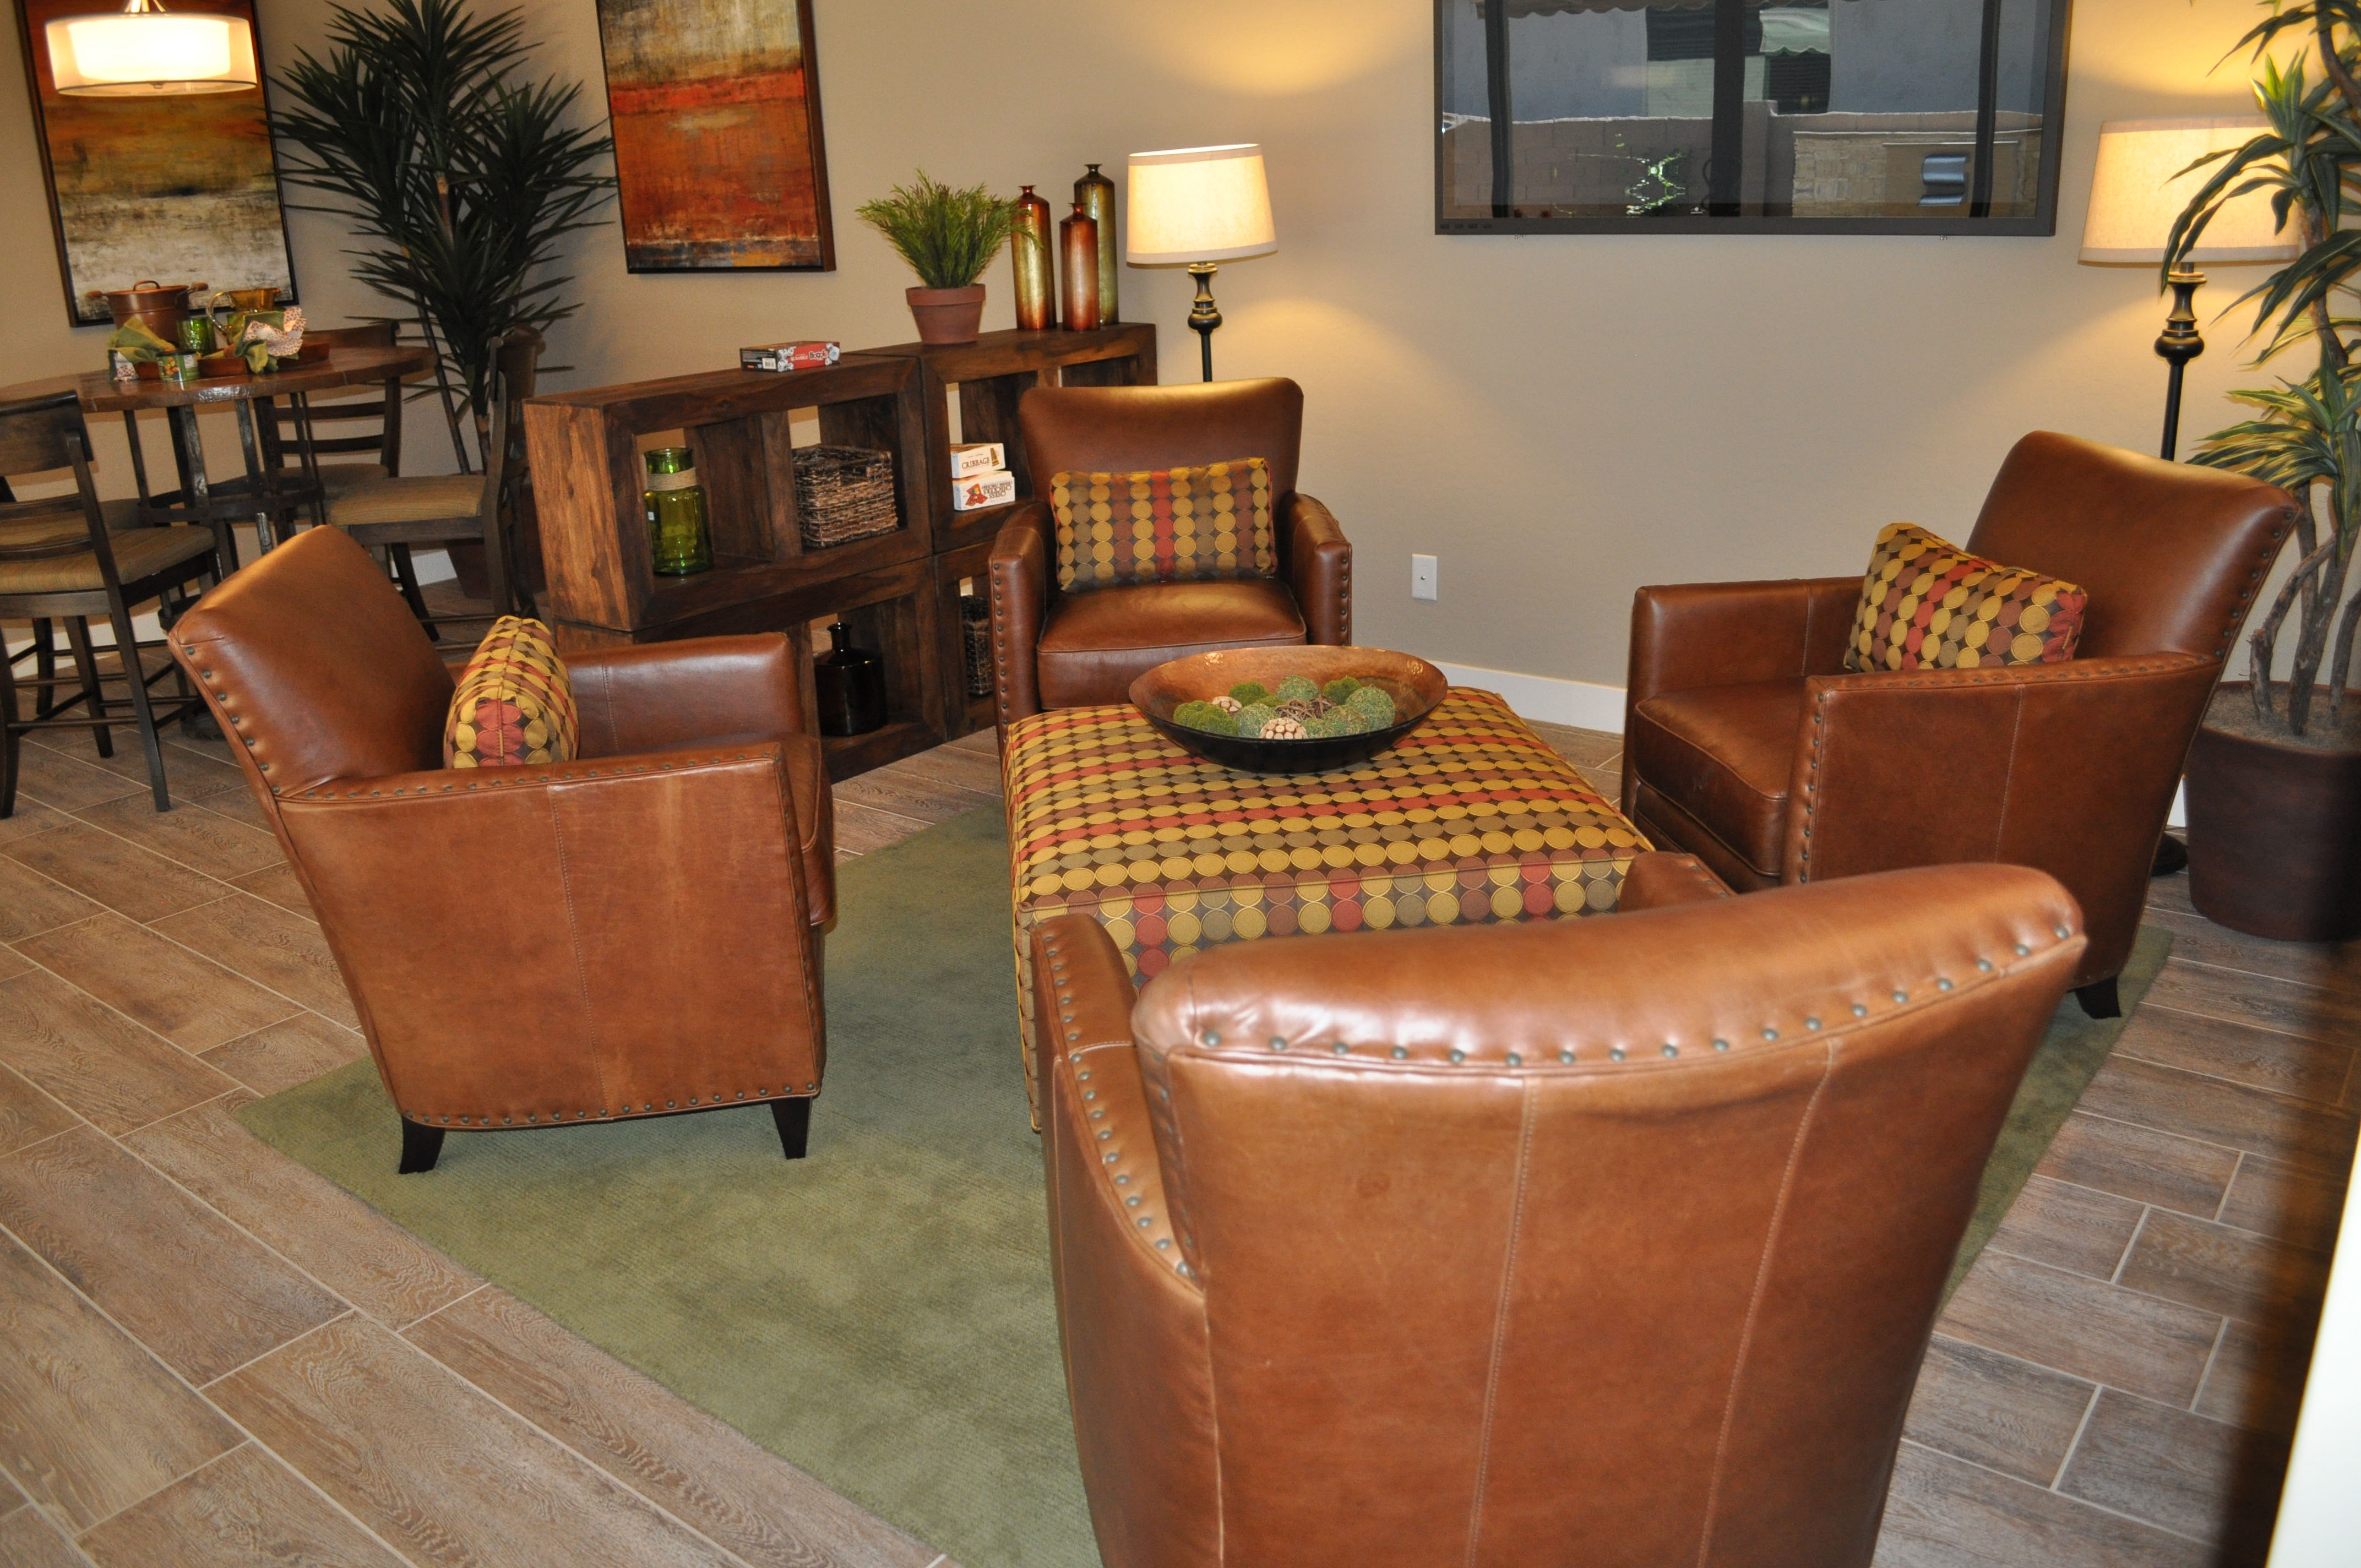
family room la quinta webThe standard approach to seating in a family room is a sofa with one or two chairs, or maybe a sectional with one additional chair. But how about considering this arrangement from the La Quinta model at Oasis at Queen Creek? Four chairs with an ottoman in the center offers a number of advantages.

Reflecting its space: If you have a square space, a sofa and chair combination doesn’t take full advantage of the area, instead ending up more as a rectangle. This four-chair approach reflects the available space and actually takes advantage of it by supporting the symmetrical structure.

Everyone has a seat: Rather than having to share, every person gets a comfy chair to sit in as they choose. The ottoman is big enough for everyone to share it without getting in each other’s way.

Arranged for conversation: With a sofa, some people end up sitting next to each other, making it awkward to hold a conversation. This four-chair set-up creates an environment where everyone can converse comfortably with everyone else.

Additional seating as needed: The ottoman could also be used as seating, and the space between each chair provides plenty of room to pull up extra chairs and join the conversation.

Color and pattern coordination: By including throw pillows on each chair of the same fabric as the ottoman, this grouping feels totally integrated. The rug, picking up one of the patterned fabric’s colors, wraps up the space.

If you’re planning a living or family room seating arrangement, consider the possibility of using four chairs for a fresh and appealing look that functions as well or better than the standard sofa seating option.

Recreate this Charming Chest

whitewater-bedroom-1-webThoughtful touches can turn a child’s bedroom into something special, even on a budget. This chest, seen in the Whitewater model at the Oasis at Queen Creek community, has a charm that is easy to recreate.

You can find a simple chest like this one at an unfinished furniture store or thrift shop. If the piece is unfinished, be sure to prime it before painting. If it is finished, wash it and sand lightly before painting.

Now is the time to decide if you want the piece to have a flat or glossy finish. Select the right paint for your decision. You can also shop for scrap paper or wrapping paper in designs and colors that work well together. Your final purchase is a jar of decoupage medium such as Mod Podge. Be sure to choose a finish that matches your paint choice.

Start with a couple of coats of white paint. You can eliminate brush strokes and speed up the process by using spray paint. Just be sure to work outside or in a well-ventilated area.

Spray using multiple thin coats following the instructions on the can. Remove the drawers and paint separately, inside and out. Spray paint dries quickly, but you may want to wait a minute or two between coats, so you are not spraying wet paint on wet paint.

When you’re done, decoupage the papers on the front of each drawer, cutting to size before with scissors or after with a very sharp knife. Add a couple of extra coats of decoupage medium to each to protect the papers.

Finish with white knobs or choose knobs that coordinate well with the papers. Then just enjoy your handiwork! For a closer look at this chest, we invite you to visit our models at Oasis at Queen Creek.