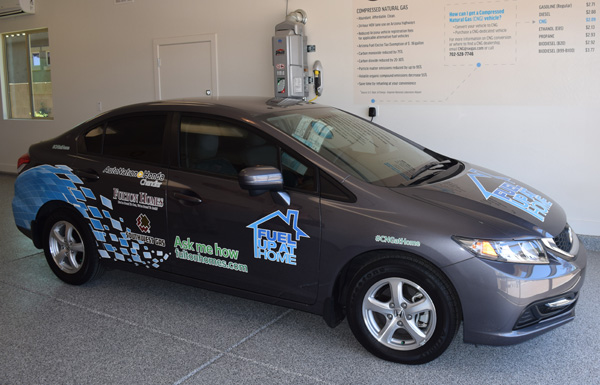
 What do you think of pulling into your own garage and adding fuel to your car right there? How about being able to drive in the carpool lane even if you’re alone? Add in the savings – paying the equivalent of $2.09 a gallon for fuel, no matter the price at the pump, and there are plenty of incentives to put a Compressed Natural Gas (CNG) system in your garage.
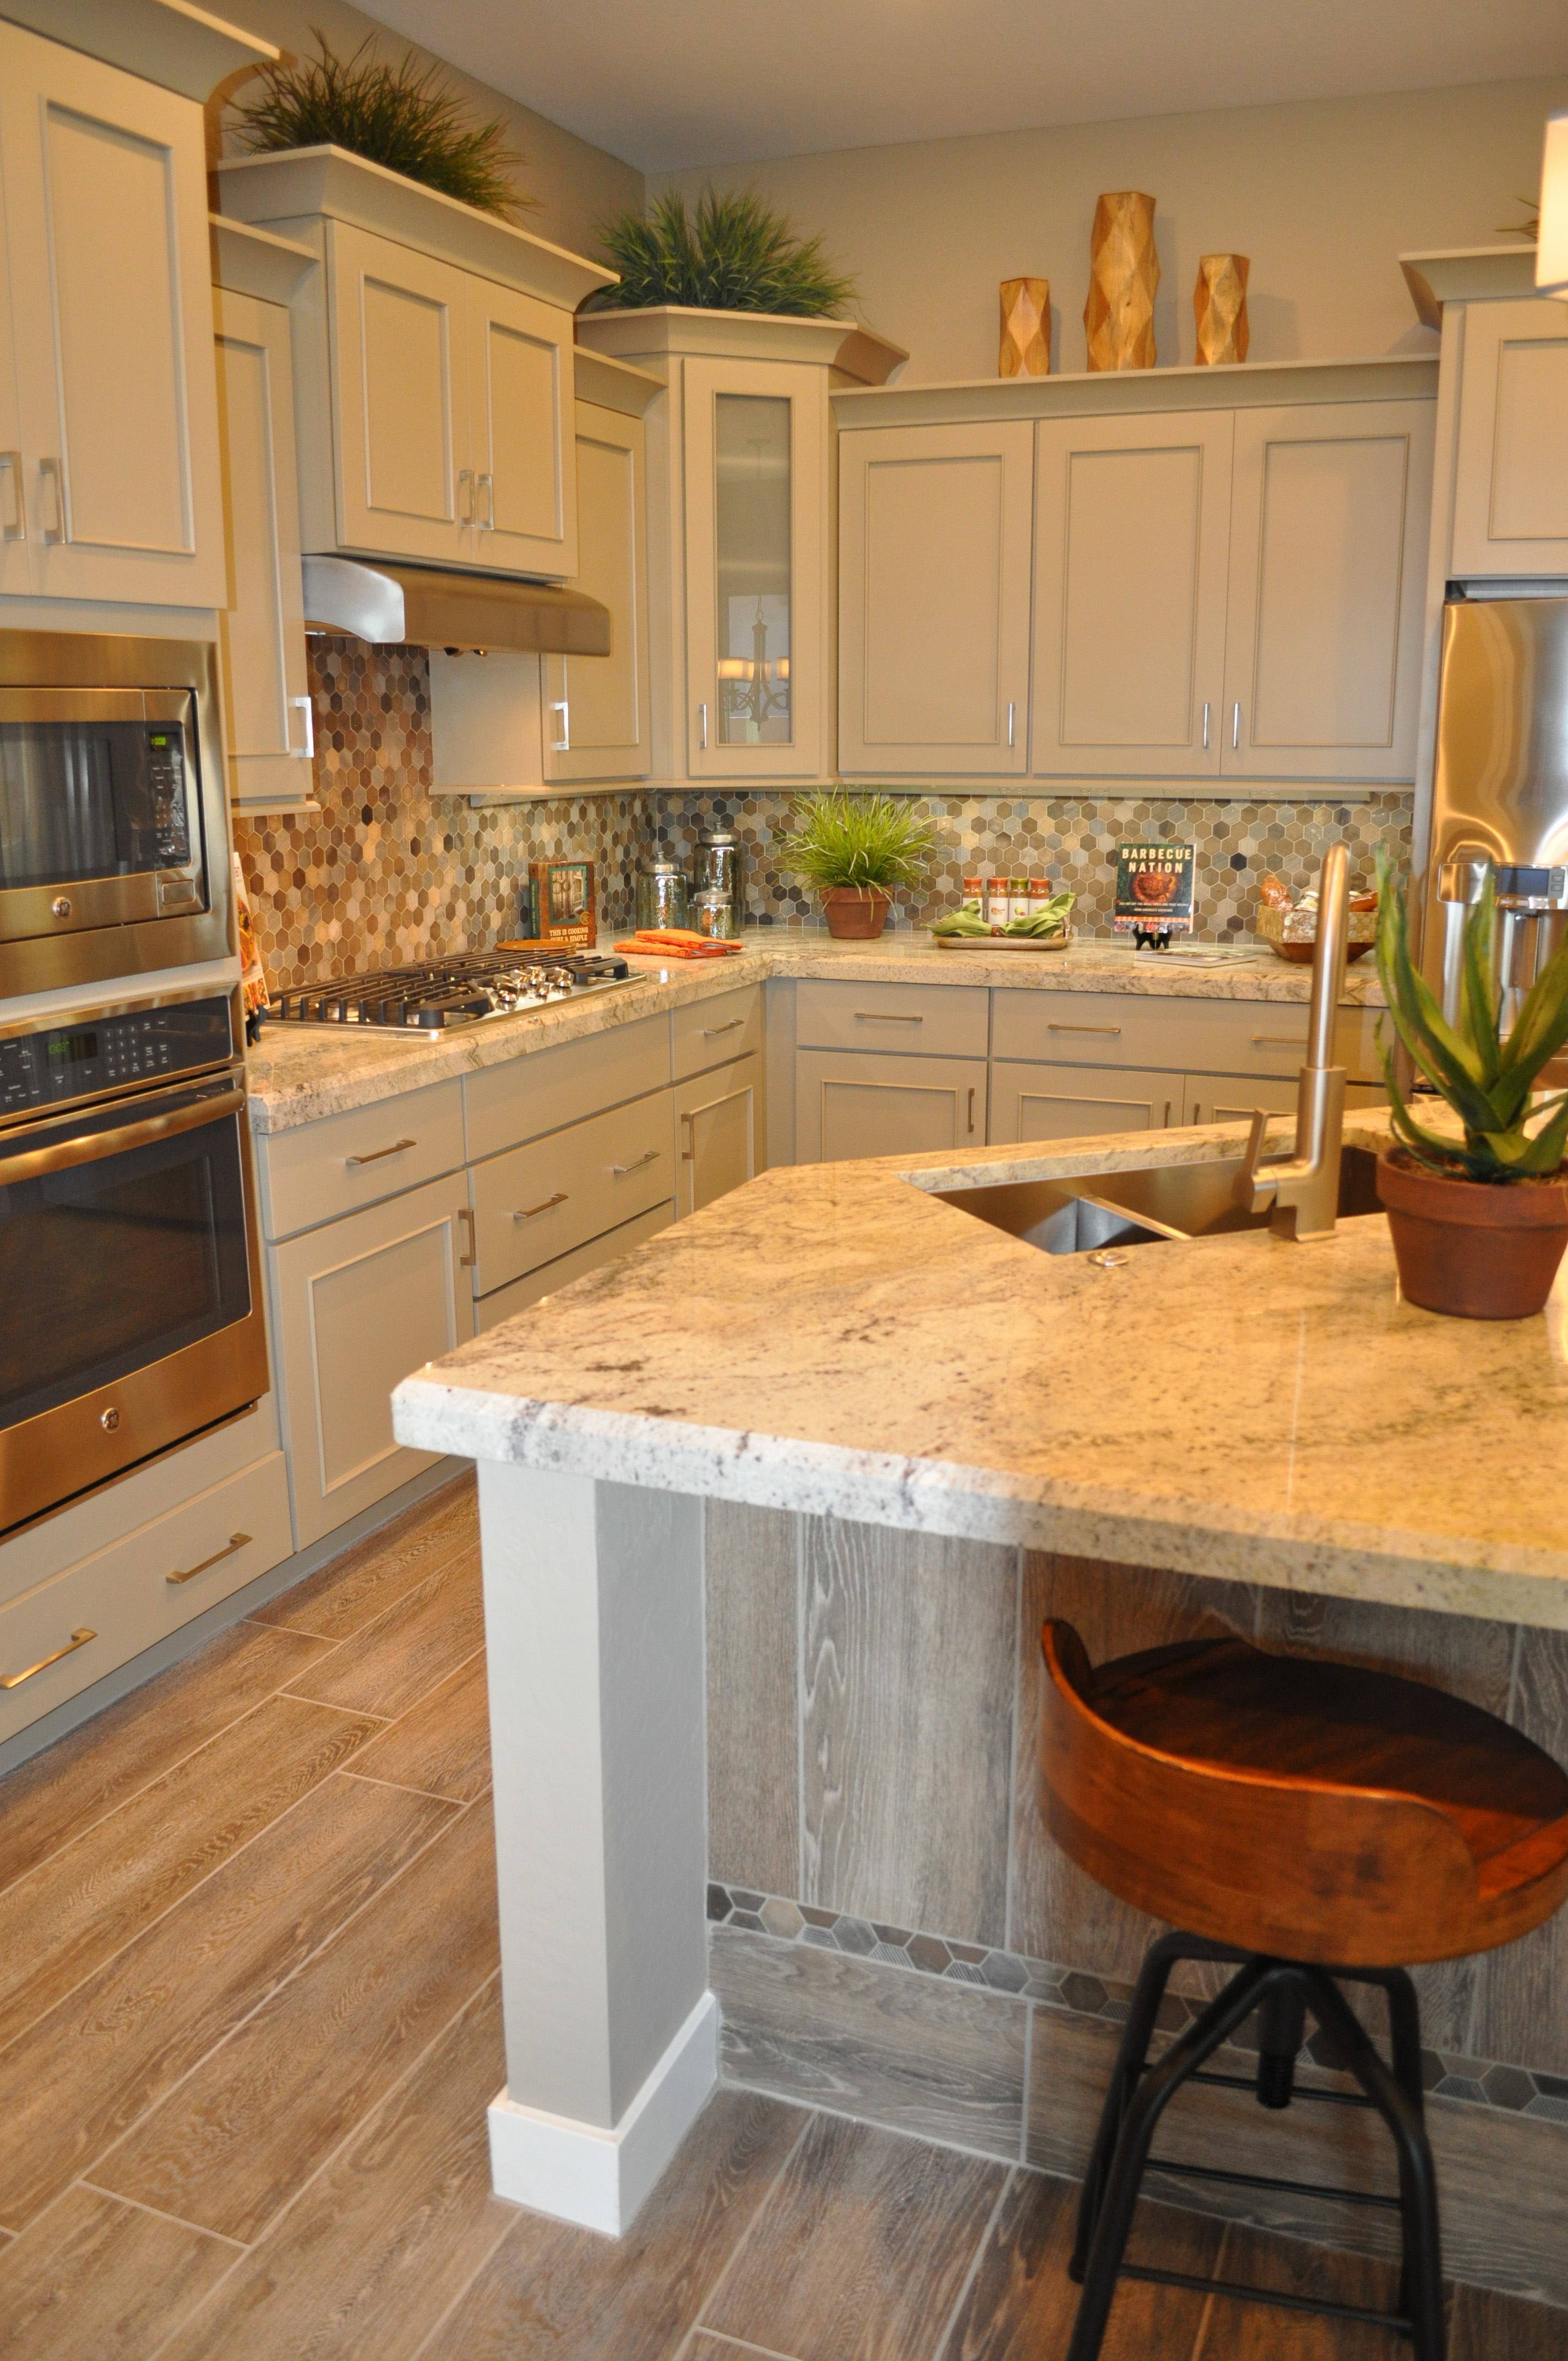
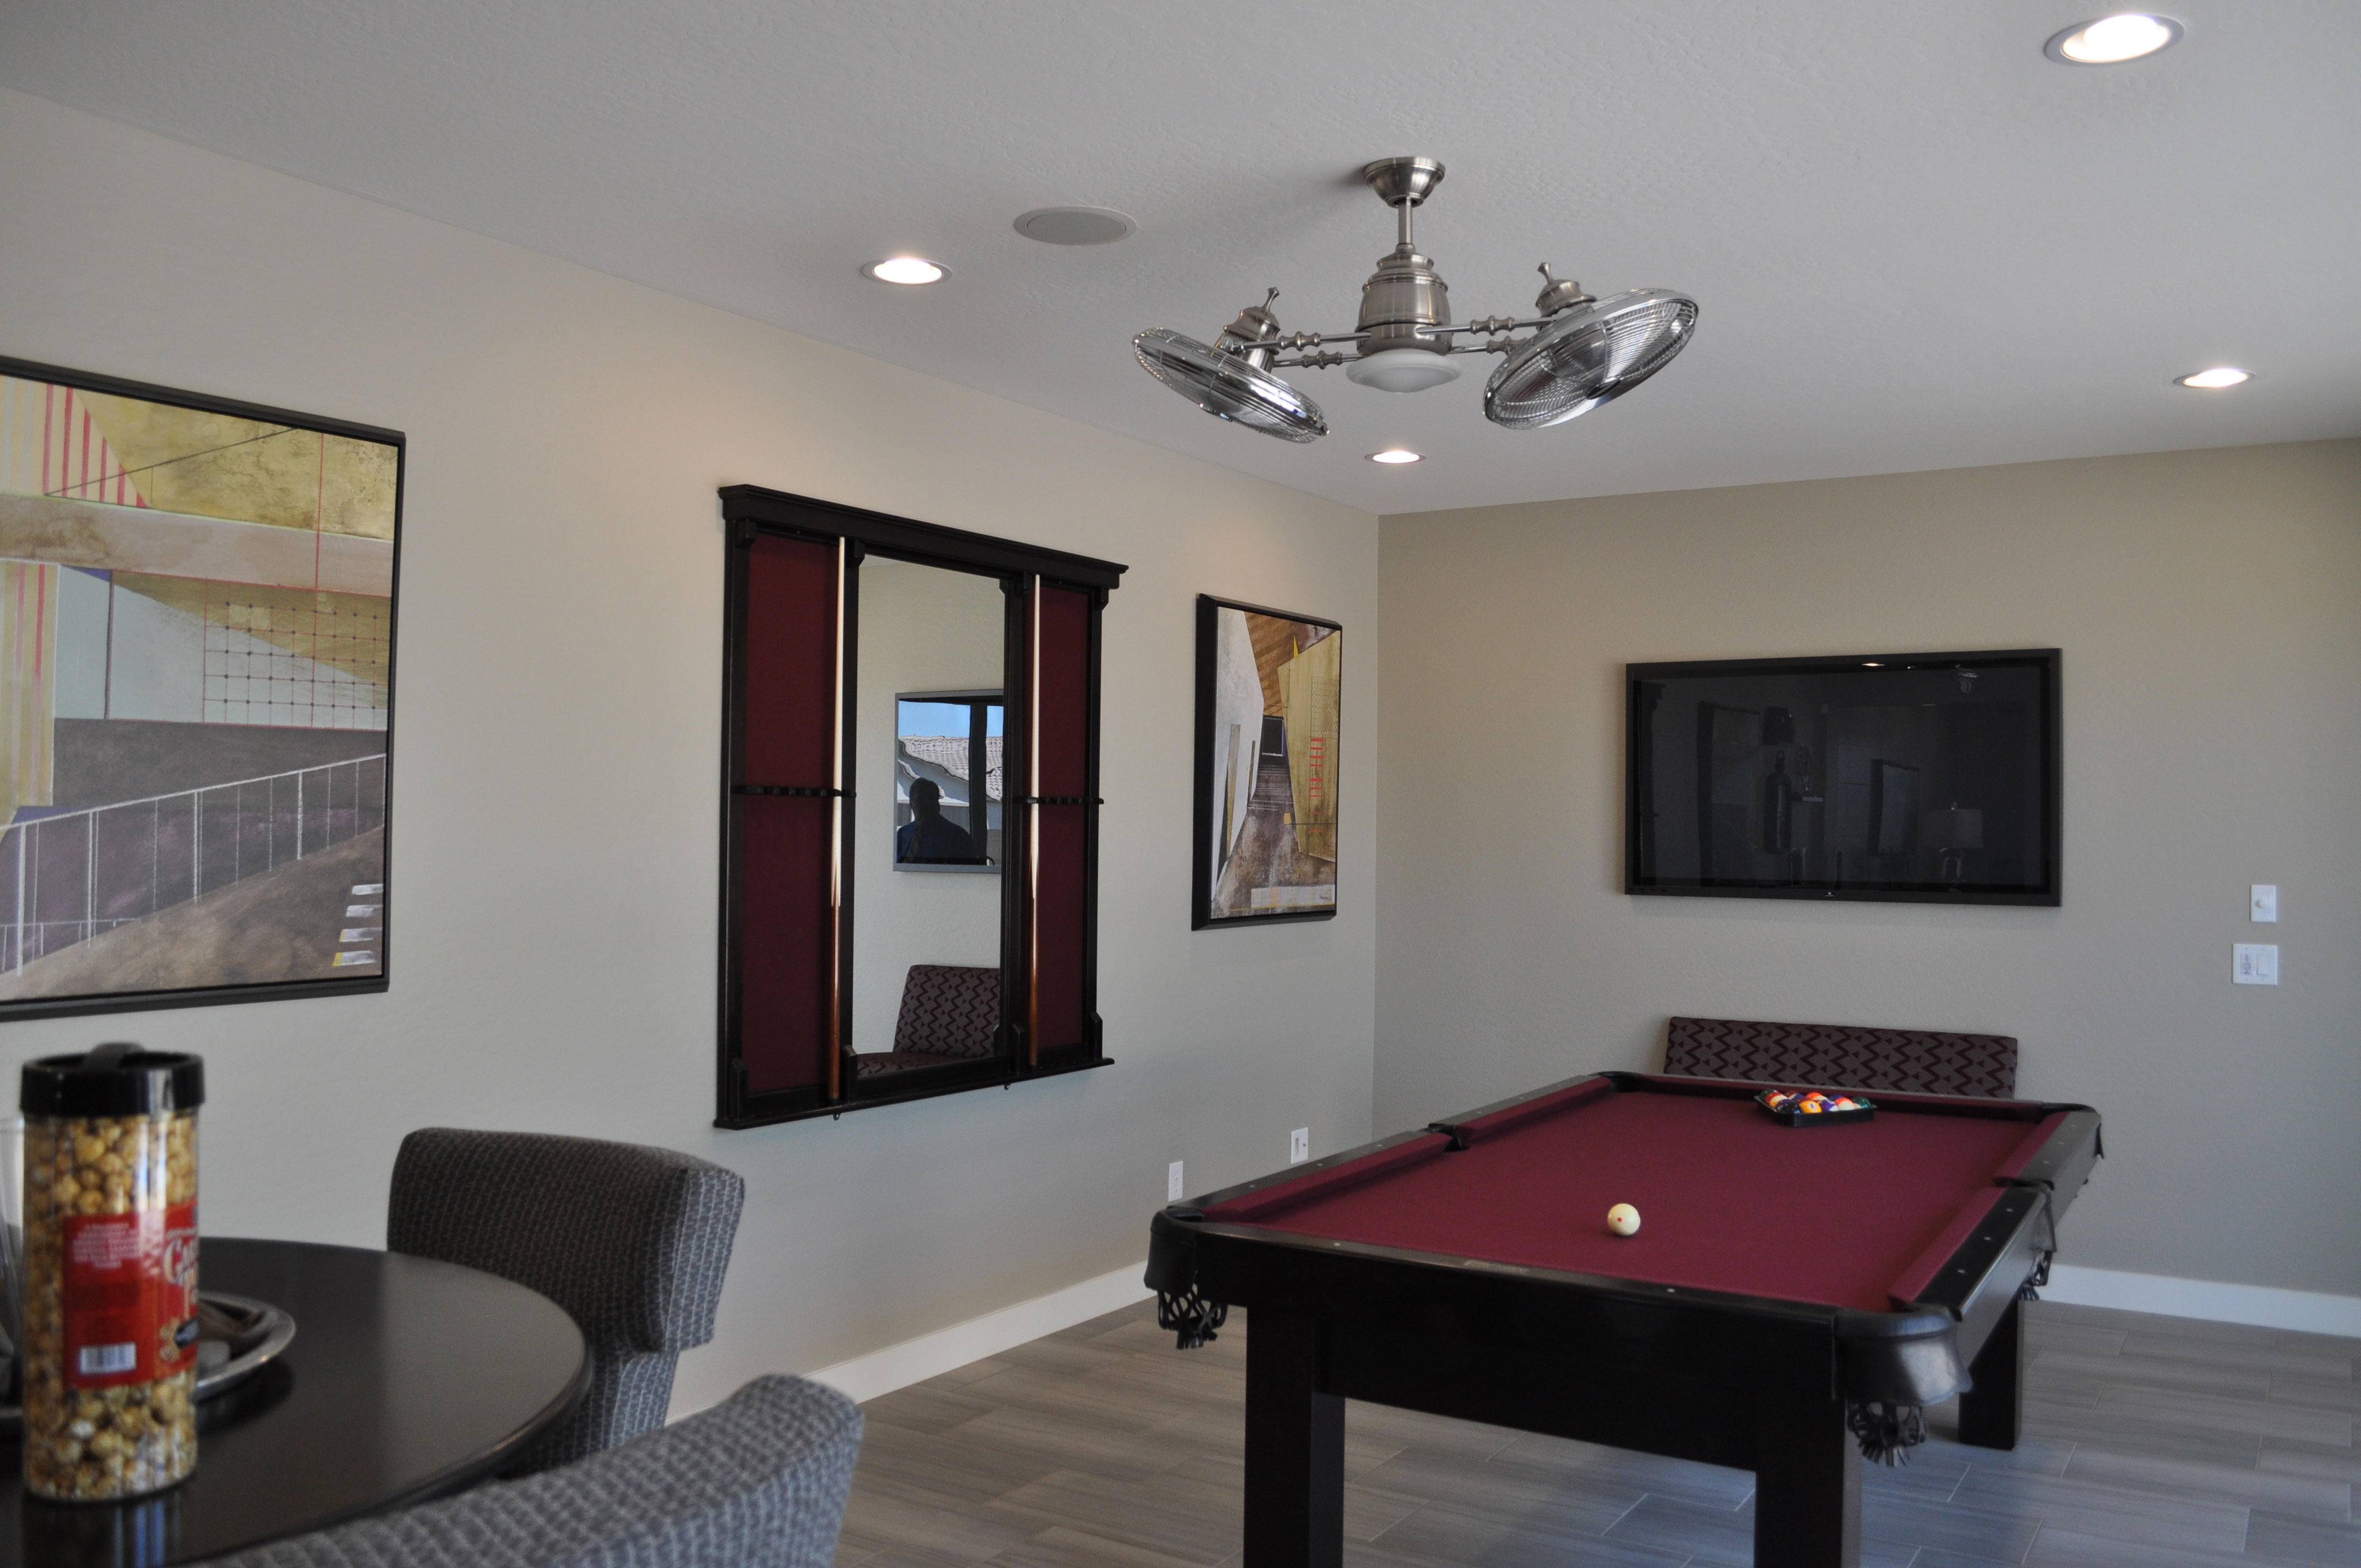
Fulton Homes is the first builder in the country to provide the opportunity to add a CNG system to your home with the new homes in the Queen Creek Station community. This fuel choice is cleaner, noticeably less expensive, and allows you to eliminate that gas station stop, saving time and money.
Let’s take a look at some of the advantages of CNG for you.
Save money: In addition to the lower fuel costs, you receive a reduced rate for your car registration and license fees. You also eliminate the 18% excise tax included in all gasoline purchases.
Save time: No stops at gas stations; refuel at your convenience at home. Also, enjoy shorter commutes because your CNG vehicle has 24-hour access to the HOV lanes across the state.
Save the environment: Natural gas is abundant and much cleaner than gasoline, reducing our dependence on oil and reducing carbon dioxide by 20-30%.
You can buy cars designed to run on Compressed Natural Gas, or have a car converted to handle this new fuel choice. For more information on this exciting new option from Fulton Homes, visit our Energy Center in the Peninsula model park at Queen Creek station.