When house hunting, it can feel like there are endless options. Focusing on the wrong areas can make the search an even more daunting and burdensome task. To properly search for your next home, there are only three things you need to be considering. With these in mind, your search becomes a little easier. Here are the three things you must look for while house shopping:
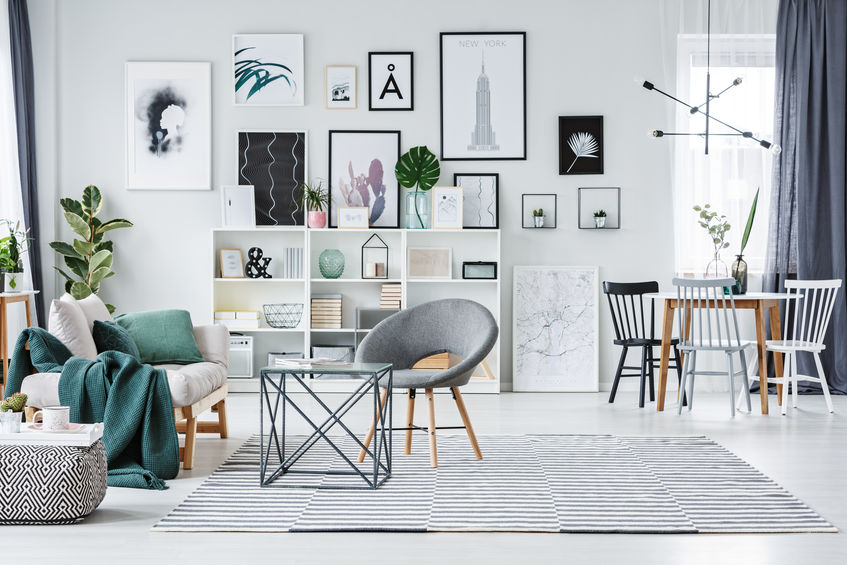
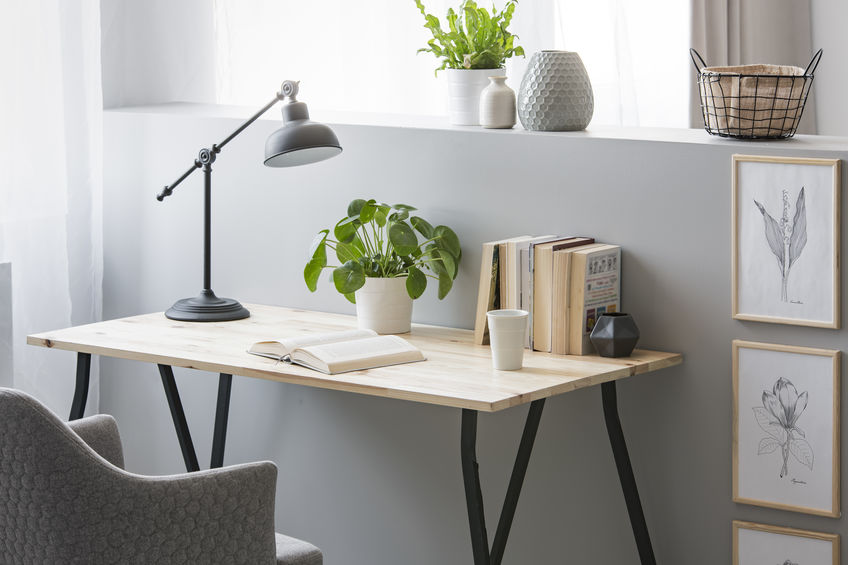
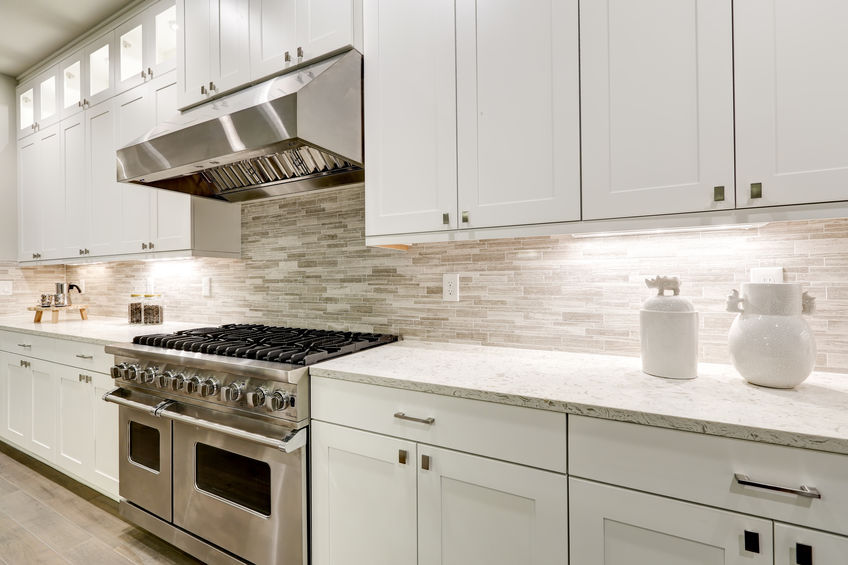
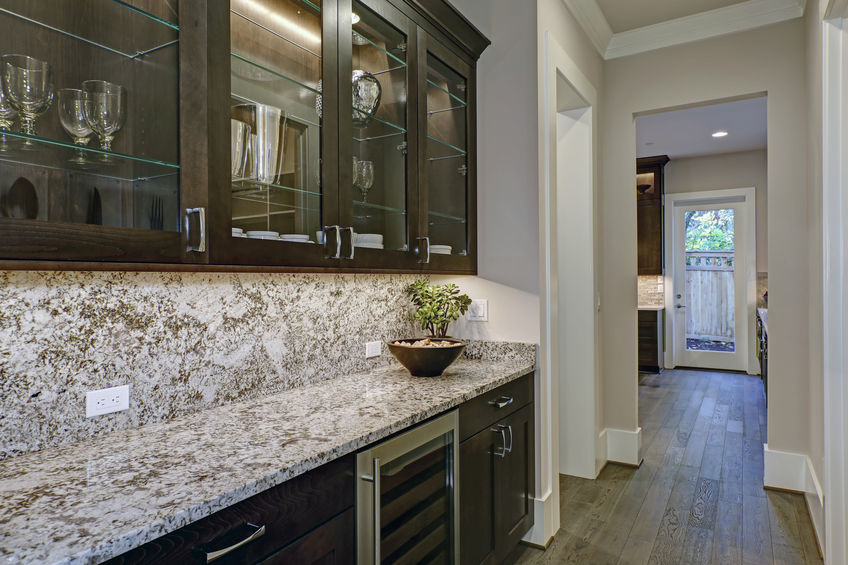
Ignore the Theme
It is easy to get caught up in the little things. Make sure the reason you are not selecting a home is because of variables that are unable to be changed. Not architecturally speaking, but the theme of the house was created by the previous homeowner. Do not put a home at the top of your list because it has your favorite color painted walls, or you love the Rustic themed living room. These are all variables you can create in any home. It is easy to be blinded by a well-designed atmosphere and start imagining yourself in it. Try to take a few steps back and analyze the home for what it is at the root, not what they have done to the design.
Location
Location matters! Make sure you love the location. Visit the property during different hours. This is a constant factor that you cannot change once you move into the home. For instance, how easy is it to access your driveway? Is the neighborhood safe? How is the school system in the community? How does this home feel during rush hours in traffic or at different times of the day? Is it quiet or noisy? These are just several of the thousands of questions that should be running through your head. Pay attention to the noises at the property while you are visiting. These can all be things that you cannot see when looking at the property online.
Layout
Does the home’s layout work for you? This is another factor that you cannot easily change. Even if you are considering adding onto the property, make sure that city restrictions and zoning allow that possibility. Bedrooms, bathrooms, location of the washer and dryer, parking, and many other factors need to be considered when looking at properties.
With these three factors in mind, you will be able to scan through properties much quicker and zero in your search. Remember, location and layout are constants and try not to get caught up in the homes’ other aesthetic features because most of them can be changed.