A Cozy Family Room Décor

Photo: Arena Cove

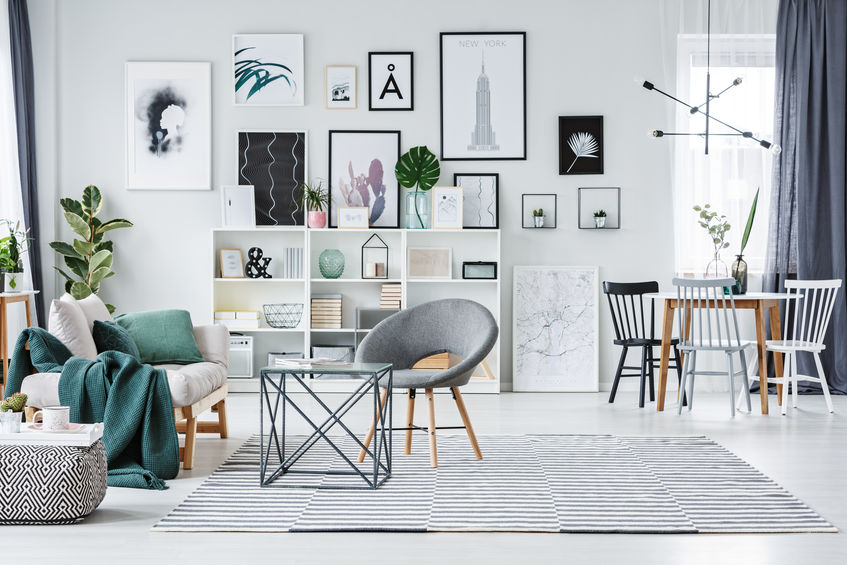
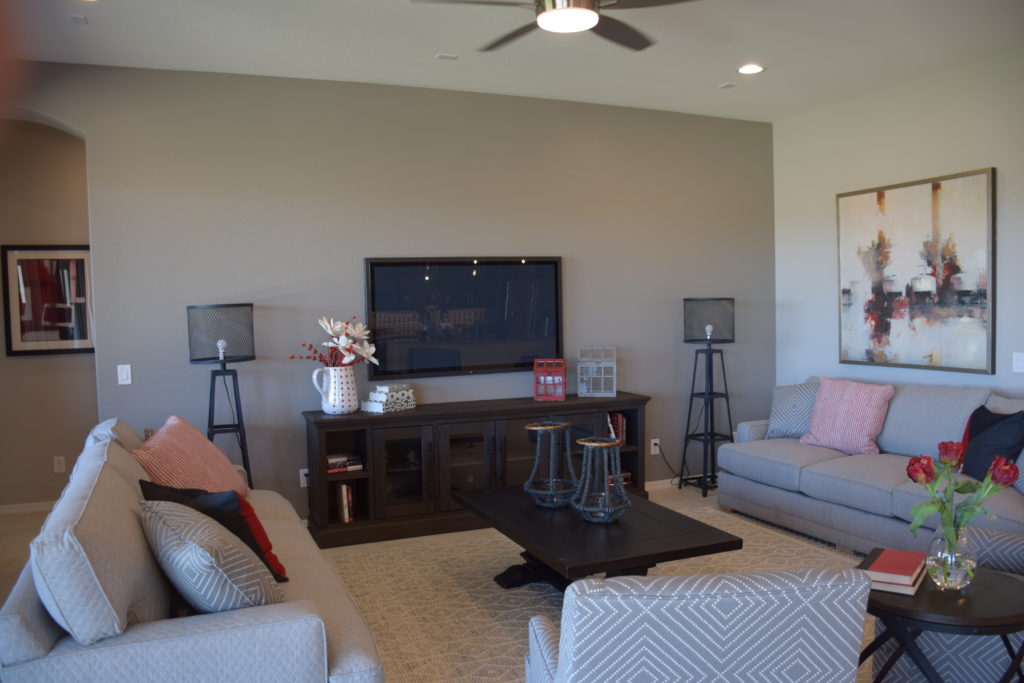
Whether you are decorating a family room for a new house or redecorating the one you have; there are some certain things to consider. A Family Room is most often a mixed-use type room. Normally it’s a place for the family to unwind at the end of the day, it’s sometimes used for family game nights and occasionally used to entertain guests while watching “The Big Game” on TV. At least once a year this space is used to accommodate an overflow of family guests during the holidays. The reason this type of room is considered “mixed-use” is because it’s casual, comfortable, has the most seating, and the best TV to watch. When decorating this type of room, keep function and comfort as your top two priorities.
Wall color should be an inviting color in a warm tone, such as tan, gold, rust, or an earth tone green. The color of the walls has a way of setting the tone immediately. It provides a warm setting and compliments other warm furnishings in the room.

Occasional and accent furniture (coffee tables etc.) look best in this type of setting when they are made of wood and finished with a darker stain with light distressing. The sheen of the stain used should be more honed and less polished. This will ensure added warmth to the space as well as hide knicks and scratches.
Lighting in a family room is very important. Select lighting that puts out a warm glow. Overhead lighting should be able to dim. This is important because in one instance you may need more light while playing games, on the other hand having lighting with dimming capabilities is nice to have when watching a movie.

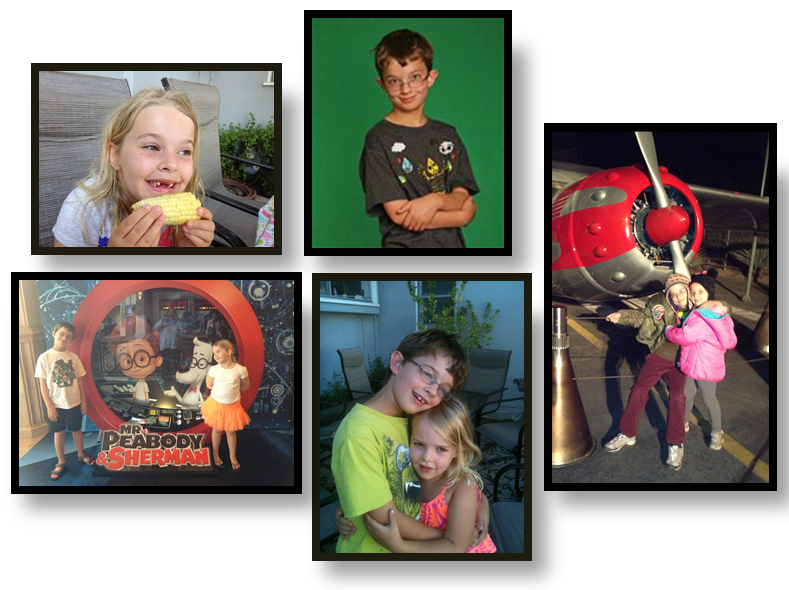
Accessories should include collections of books, family photos in frames on tables as well as on the walls. Take advantage of a family room by highlighting memories made by family members.
Keep in mind that all furnishings in a family room should be comfortable, durable, and functional. It is also nice to have plenty of storage for winter blankets, games, etc.!

How to Create a Gallery Wall

Designing your space is a great way to tailor your home to your personal style. While designs are typically created for functionality and aesthetics in mind, designing is also an outlet for creativity. Since your walls are blank canvases, you can use them to express yourself. While paint can dramatically change your room, a picture is worth a thousand words. So what better way to tell a story than creating a gallery wall. If you are unfamiliar with the term, a gallery wall is made with pictures of all different kinds and sizes to illustrate a story. To help you better understand, here is how you can properly create a gallery wall:

Choose Your Theme

The pictures you choose can collaborate together to help tell a story. This aspect is one of the many reasons why gallery walls are so popular today. If you are someone who constantly changes the wallpaper on your phone or desktop, this is a great option for you. One picture can get old; however, multiple photos can all work together to create something extraordinary. Just be sure to find a common theme in which you would like your gallery wall to express. You can choose personal photographs of you and your loved ones, nature, shapes and designs, animals, and so many more photographs. Typically, a gallery wall should have at least nine pictures; however, fewer photographs can never hurt if your design calls for it.

Make a Template

Get your measurements of the wall you have chosen to decorate. If your wall is nine feet tall, chances are you will not be using the whole height to hang pictures. Map out the dimensions from width to height of the wall you have selected. Make this template on the floor and lay your pictures in it. You can have a simple 3×3 uniform size picture layout or get creative with dimensions, angles, picture sizes, and even wall décor. These are just several techniques to make your gallery wall even more tailored to your style.

Mark Your Hook’s Placement and Hang

Lastly, make sure you account for where the hangers or hooks are on your pictures before adding hanging devices or nails to the walls. Some pictures can have hooks or strings, while others may call for several different ways of hanging them. Be sure to mark where each hook is set before putting up your pictures.

What do you think of gallery walls? Would you put one in your home? Let us know what kind of gallery walls you like below in the comment section, and for more great ideas on home improvement and DIY projects, make sure to subscribe!

How to Create a Photo Wall: Part 2

photo_displayOnce you have all of your photos and frames, how do you move from that to an attractive wall display? There are many techniques to use. Here are a few suggestions.

Pre-plan your display on the floor. Determine the size you want for your total display and measure out that much space on your floor. Experiment with different arrangements until you have a look you like. Take a picture of it so you have a record to work from, then start hanging, working out from the center.

Use photo shelves. Many stores carry narrow shelving that works perfectly for displaying photos. You can set up three or four of these and then experiment to get the best arrangement of photos on the shelves. This also makes it easy to change out photos as new ones come along.

Keep frames set close together. For an effective grouping, don’t be afraid to keep photos close to each other. An inch or two between each is plenty of space. You really want the photos to feel integrated on the wall.

Use brown kraft paper or newspaper to determine your final layout. You can cut paper to the size of each photo and tape them on the wall to determine the best layout. Once you have your plan completed, just place nails right through the paper at the right spot for hanging, then tear the paper away. That way you know the photos will be set exactly right.

It may take a bit of effort to get your family wall finished, but once it is you can enjoy it for years.

How to Create a Photo Wall: Part 1

IMG_0478Most of us have lots of family photos tucked away – older ones in boxes, newer digital ones on our computer, phones or uploaded to instagram or the cloud. But sometimes it can seem overwhelming to display these photos on a wall in your home, even though you would like to. Here are some suggestions for going from a hidden photo collection to one you can share with guests.

Plan a theme. Lots of graduation photos and other professional shots are OK, but your photo wall can be much more fun to look at if you focus on more candid shots such as vacation photos or pictures taken at family events. You can also combine photos of your children at different ages so that people can see the changes as they get older.

Vary the size and shape of the photos. Include both horizontal and vertical shots and choose which photos to emphasize with larger sizes. Warehouse and drug stores can blow up your photos to almost any size.

Crop your photos. Often our pictures have too much unimportant background and the people can get lost. Use an inexpensive software package such as Photoshop Elements to trim the unimportant elements out and let the people shine.

Use simple and similar frames. Many art supply stores offer sales on stock image size frames such as buy one get the second for a penny. Keep your eyes open for those opportunities and buy all of the frames you need at one time. Having a consistent look for frames helps your finished wall look more professional and encourages people to focus on the photos not the frames.

In our next blog we’ll take a look at how to create an effective photo display.


Taking Successful Family Photos

17538445_SWhether you have family photos professionally done or take your own pictures, a few tips can make the difference between a great set of photos or a bunch of typical shots.

Here are some suggestions for making your family photos something special now and for the future.

Avoid the traditional line-up or “grip & grin” approach. Look for ways to make the photo more intriguing by using non-standard poses and groupings. Take a look at the photo above. By placing the mom and daughter to one side, the photo draws you in.

14427973_SConsider depth of field. This is something professional photographers do all the time. In the photo above, the background is completely out of focus. This allows the viewer to pay attention to the two participants without the background serving as a distraction. In the photo to the right, once again the pose is different and charming, and the background is just slightly out of focus.

Coordinate colors without going matchy-matchy. In the photo to the right, all family members are in blue but the patterns, tones and styles differ, making them look coordinated but not too pre-planned.

26609668_SUse props. In the photo to the left, dad and daughter are interacting with favorite toys and a book. This can make a big difference with babies and toddlers. Their patience can quickly fade without some good distractions. Props can also help a child – and an adult for that matter – forget the camera and act naturally.

For more ideas to make your family photos special, visit our Fulton Homes Pinterest Family Photos board. You’ll be glad you did!