
Question: Where do you start when trying to create a gallery wall? The idea is great, but knowing how or where to start is difficult.
Answer:
Creating a gallery wall does not have to be difficult. Here are some tips to use when creating one in order to make your experience painless!
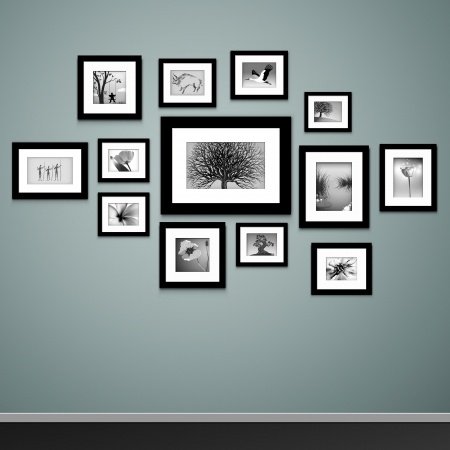
First, gather together the pieces you are planning to use in your gallery. Lay them out on the floor and start by selecting the piece that is the largest, the brightest or the most eye catching. This will be the focal point of the wall. By starting with the desired focal piece, the rest of the picture placement on your galley wall will be much simpler.
There is no right or wrong when deciding on the placement of various pieces that hang in a gallery grouping. It can be symmetrical or asymmetrical. Go with your intuition and try to balance the overall grouping throughout the placement.
The idea with your galley wall is to create a display of complementary pieces. Each individual piece adds its own beauty, but the piece as a whole can also hold itself together.
Variety of subject matter will help the gallery grouping be more successful. Having variety will add interest and keep the eye moving around the grouping. It is fine to use color or black and white as a theme throughout the pictures. One idea is to to use a black and white center piece, surrounded by colorful pieces.
The most important thing to keep in mind is that it should feel balanced. Layout the grouping on the floor or a table surface and play around with different layouts. Decide the best layout and then install the grouping. It helps to create a sketch, so that you can remember where things go.
Hang the focal piece first, followed by the pictures closest to it as arranged beforehand. Don’t worry if your arrangement changes as you hang each piece. Your final arrangement on the wall will be the best layout of all!
