Building a Home Gym on a Budget

We are living through an uncertain time where the coronavirus pandemic has closed many businesses temporarily to prevent the spread of the virus. In a society where social distancing and home quarantine is becoming the norm, it can be very challenging to reach some of your fitness goals. In fact, many gym-goers have no had to create their own personal at-home workouts to help stay proactive and healthy during these challenging times. If the gym has been part of your structured lifestyle, you probably have been brainstorming ways to stay healthy at home. This factor is why many homeowners have decided to create their own home gyms. However, it will not take long for you to realize that creating your dream home gym is not always very budget-friendly. This factor is where proper planning comes into play. If you are planning on building a home gym, here is everything you need to consider:

Budget

The one variable that can be the most limiting is your budget. It is essential to create a realistic budget before tackling this project. As you explore the realm of home gym equipment, you can start to gather an idea of what the prices are for gym equipment. Going into any project without a plan can wreak havoc on your wallet, so before you buy, start to round up some prices of what you may want. You also want to consider, not everyone loves training at home. Gyms will eventually reopen. Do not blow your budget on something you may only facilitate for a month and never again use.

Space

Once you have determined your budget, you can begin to purchase your equipment. While equipment may fit your budget, it may not fit your home. Gym equipment can be bulky and need extra space to keep safety at the forefront. Maybe some equipment dimensions fit your space; however, do you have adequate space to perform exercises safely and properly in those dimensions as well? This factor is why it is good to consider multi-purpose equipment. Your home may not fit a squat rack, bench, and cable machine. Yet, Power Racks or other options can have multiple functions. Likewise, it may not be practical to invest in a whole dumbbell set. This is great for commercial gyms yet not always ideal for home gyms. You may want to go a more practical route and buy adjustable dumbbells or a couple of different pairs you will use.

Personal Goals

Lastly, determine your personal goals. Home gyms can take a little creativity. What did you do when you went to the gym? Consider your workouts. If you did Pilates or yoga, do not invest in a powerlifting home gym. Likewise, if you prefer free weights, do not invest in machines you will never use. This can be a big mistake! It may be wise to buy just enough to get started. Decide if you like the setup and can workout at home. After a week, you may decide the environment is too challenging for you, or you need to invest more. These tactics can help save you money.

Home gyms are great to have, whether gyms are closed or not! This investment is a great way to convert an unused garage or basement to a more facilitated room in your home. Remember to stick to your budget and consider your space. These are tactics that will help you buy once and enjoy reaching your personal goals.

How to Make Your Own Hand Sanitizer

We have entered a unique time in history, which has made traditional ways of living very challenging. With the coronavirus pandemic in effect, social distancing and personal hygiene have become a top priority in our defense. In fact, many stores have closed that are not vital to daily living. Toiletry and hygiene supply and demand have tenfold, making some essential items nearly obsolete in stores. This respiratory virus can be spread through droplets produced while coughing or sneezing. So the best way to combat this virus is by frequently washing your hands with an alcohol-based hand sanitizer or soap and water. Yet, hand sanitizer is not as common as it once was. However, do not fear because you can still create your own home-made hand sanitizer to help prevent the spread of the virus.

Your Active Ingredients

What makes a hand sanitizer work is its effectiveness in killing germs and bacteria. This process is done with alcohol as the main ingredient. You need at least 60% of your hand sanitizer to be alcohol for it to be effective. Remember this when getting your alcohol. Your alcohols to use are isopropyl and ethanol. Other alcohols can be toxic and chemically burn your skin, so pick one of these two. When purchasing isopropyl or ethanol, get them as close to 100% as possible. The lower the percentage, the more you will need to use when making your sanitizer.

Scenting Your Hand Sanitizer

The fun part is personalizing the scent of your home-made hand sanitizer. This step can be done by picking an essential oil of your choice. Some essential oils also offer germ- and bacterial-killing properties. Understand the oil you choose thoroughly before adding it to your sanitizers. Many essential oils need a carrier oil and can irritate skin or even burn it.

Making It

Next, you will make your hand sanitizer. Find the pump dispenser you want in your home to contain your home-made sanitizer. Add 2/3 of your alcohol. If your alcohol is not 100%, you will need to accommodate for this step. Next, add the remaining 1/3 with Aloe Vera gel. This contains antioxidants and antibacterial properties. Aloe Vera also can help accelerate the healing of burns and improve skin conditions. Lastly, use the essential oil of your choice to add a couple of drops until you obtain the smell you desire. Do not exceed a dozen drops per cup.

Making your own home-made hand sanitizer is a great home project to help disinfect your hands at home. This simple project is fun and simple for the whole family. Let everyone create their own to stay germ-free during this season. For more great at-home projects and home improvement ideas, make sure to subscribe.

Disclaimer: We always recommend consulting with your physician before making and using any home-made alternatives.

Do-It-Yourself Headboard Solutions

It is easy for your bed to become the focal point in your bedroom. While your pillows, duvets, and covers all can help create your design, nothing can be as impactful as your bed’s headboard. You can purchase a headboard with any bed, or you can custom-make your own to match your style. Any do-it-yourself project can help save money and give features more personal value to your home. Here are three excellent ideas to consider for making your own headboard in your home:

Stained Wood Headboard

This simple headboard can be completed over the weekend. Start by measuring the size you would like to create your headboard. Consider that your headboard can be however big you would please. For example, it can go all the way to your ceiling, or it can go wall-to-wall. Playing with these dimensions can create an illusion of a higher ceiling or a longer wall. Once you decide the dimensions you want, go to your local lumber store. Purchase the amount of wood that you will need to create your headboard. Also, purchase a stain and sandpaper to give your wood headboard a clean, nice finish. For a more unique look, you can pick several different stains and stain several boards in different colors. Use a stud finder to mount your boards. Depending on the size of your headboard, you may want to assemble it directly to your wall.

Textile-Upholstered Headboard

Create a headboard frame using wood or purchasing a frame that you can upholster yourself. When upholstering your own headboard, you will be able to match fabrics perfectly with other textiles in your room. You can use remaining upholstery to create curtains or pillowcases to help create a uniformed look throughout your space. Using this technique will make your space feel very well balanced and aesthetically pleasing.

Curtain Backdrop Headboard

One of your simplest options is a curtain backdrop headboard. These are great for any space, but especially rental properties. Whether you are renting an apartment, home, or own your home, curtain backdrop headboards are very elegant and can help create your room’s theme. Simply mount a curtain rod behind your bed and install a curtain of your choice. You can be creative and invest in a curve rod to give a more three-dimensional look to your curtain as well.

Creating your own headboard gives you the freedom to tailor it to your likings. There are hundreds of creative, unique do-it-yourself headboard techniques to explore. Find one that works best with your own space or try one of these tricks. For more insight on home improvement and design, make sure to subscribe.

DIY House Planter Ideas

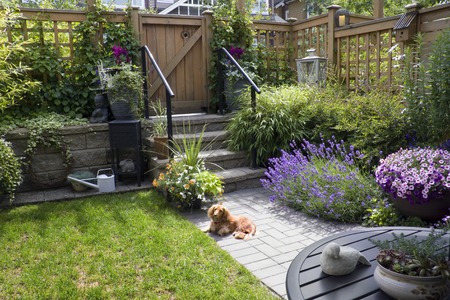
Gardening can be relaxing, great hobby to add to your lifestyle. If you are looking to incorporate flowers and plants to the exterior of your home, there are several great DIY projects to consider.  First, not all gardens are alike. You may want flowers, produce, or shrubs.  The way you display your plants can be just another way of giving more character to your garden. Whether this is your first garden, or you are just looking for some new creative ideas, we gather our top three DIY projects to consider doing.   

Hypertufa 

You can buy planters or create your own beautiful, aesthetically-pleasing ones with hypertufa. These can be created with some simple compounds.  First, find a bucket or a mold in the desired sizes you would like to make your planters.  Create a homogenous blend of Portland cement, peat moss, and vermiculite. Mix the minerals together until you have an even blended powder. Pour water into the mixture to make a mucky consistency. Add a nonstick spray to your mold and cake on your cement. You can add another mold in the middle to create the hollow center. Allow these to dry for 24 hours and enjoy your new planters. You can even add some color grout to give some unique coloring to the planters or just paint them when they are done. 

Elevated Garden Box 

Maybe you would love a garden, but your home does not offer an exterior that has enough space. Whatever the reason may be, elevated garden beds are great for planting your flowers and herbs. Look for a wood option that will not rot over time. Cut four 4×4 wood pieces to create the legs to the height you want your bed to sit. Create your box, making sure that it is leveled during the process. Add some supporting cross boards to help distribute the weight for longer beds.  When you are done creating your box, give it swift sand and add your stain of choice. Remember, not all woods take stain the same, so be consistent on the woods you choose. 

Planter Hanger 

Find a small planter you would like to hang. This can be a succulent, small flower, or even herbs. Find rope or macramé and cut four equal length ropes to double the distance you want your planter to hang.  Fold all four ropes in half and tie them together to make your hanging end. Next, you can tie patterns together throughout the ropes. At the bottom, connect all the ropes together in which your planter can rest. It creates a beautiful finished product. Plus, this quick project can take less than 10 minutes! 

These three simple projects can be done over the weekend with a little patience. You may need to give them some time for the staining or concrete to cure; however, they are worth the wait. 

Recreate this Charming Chest

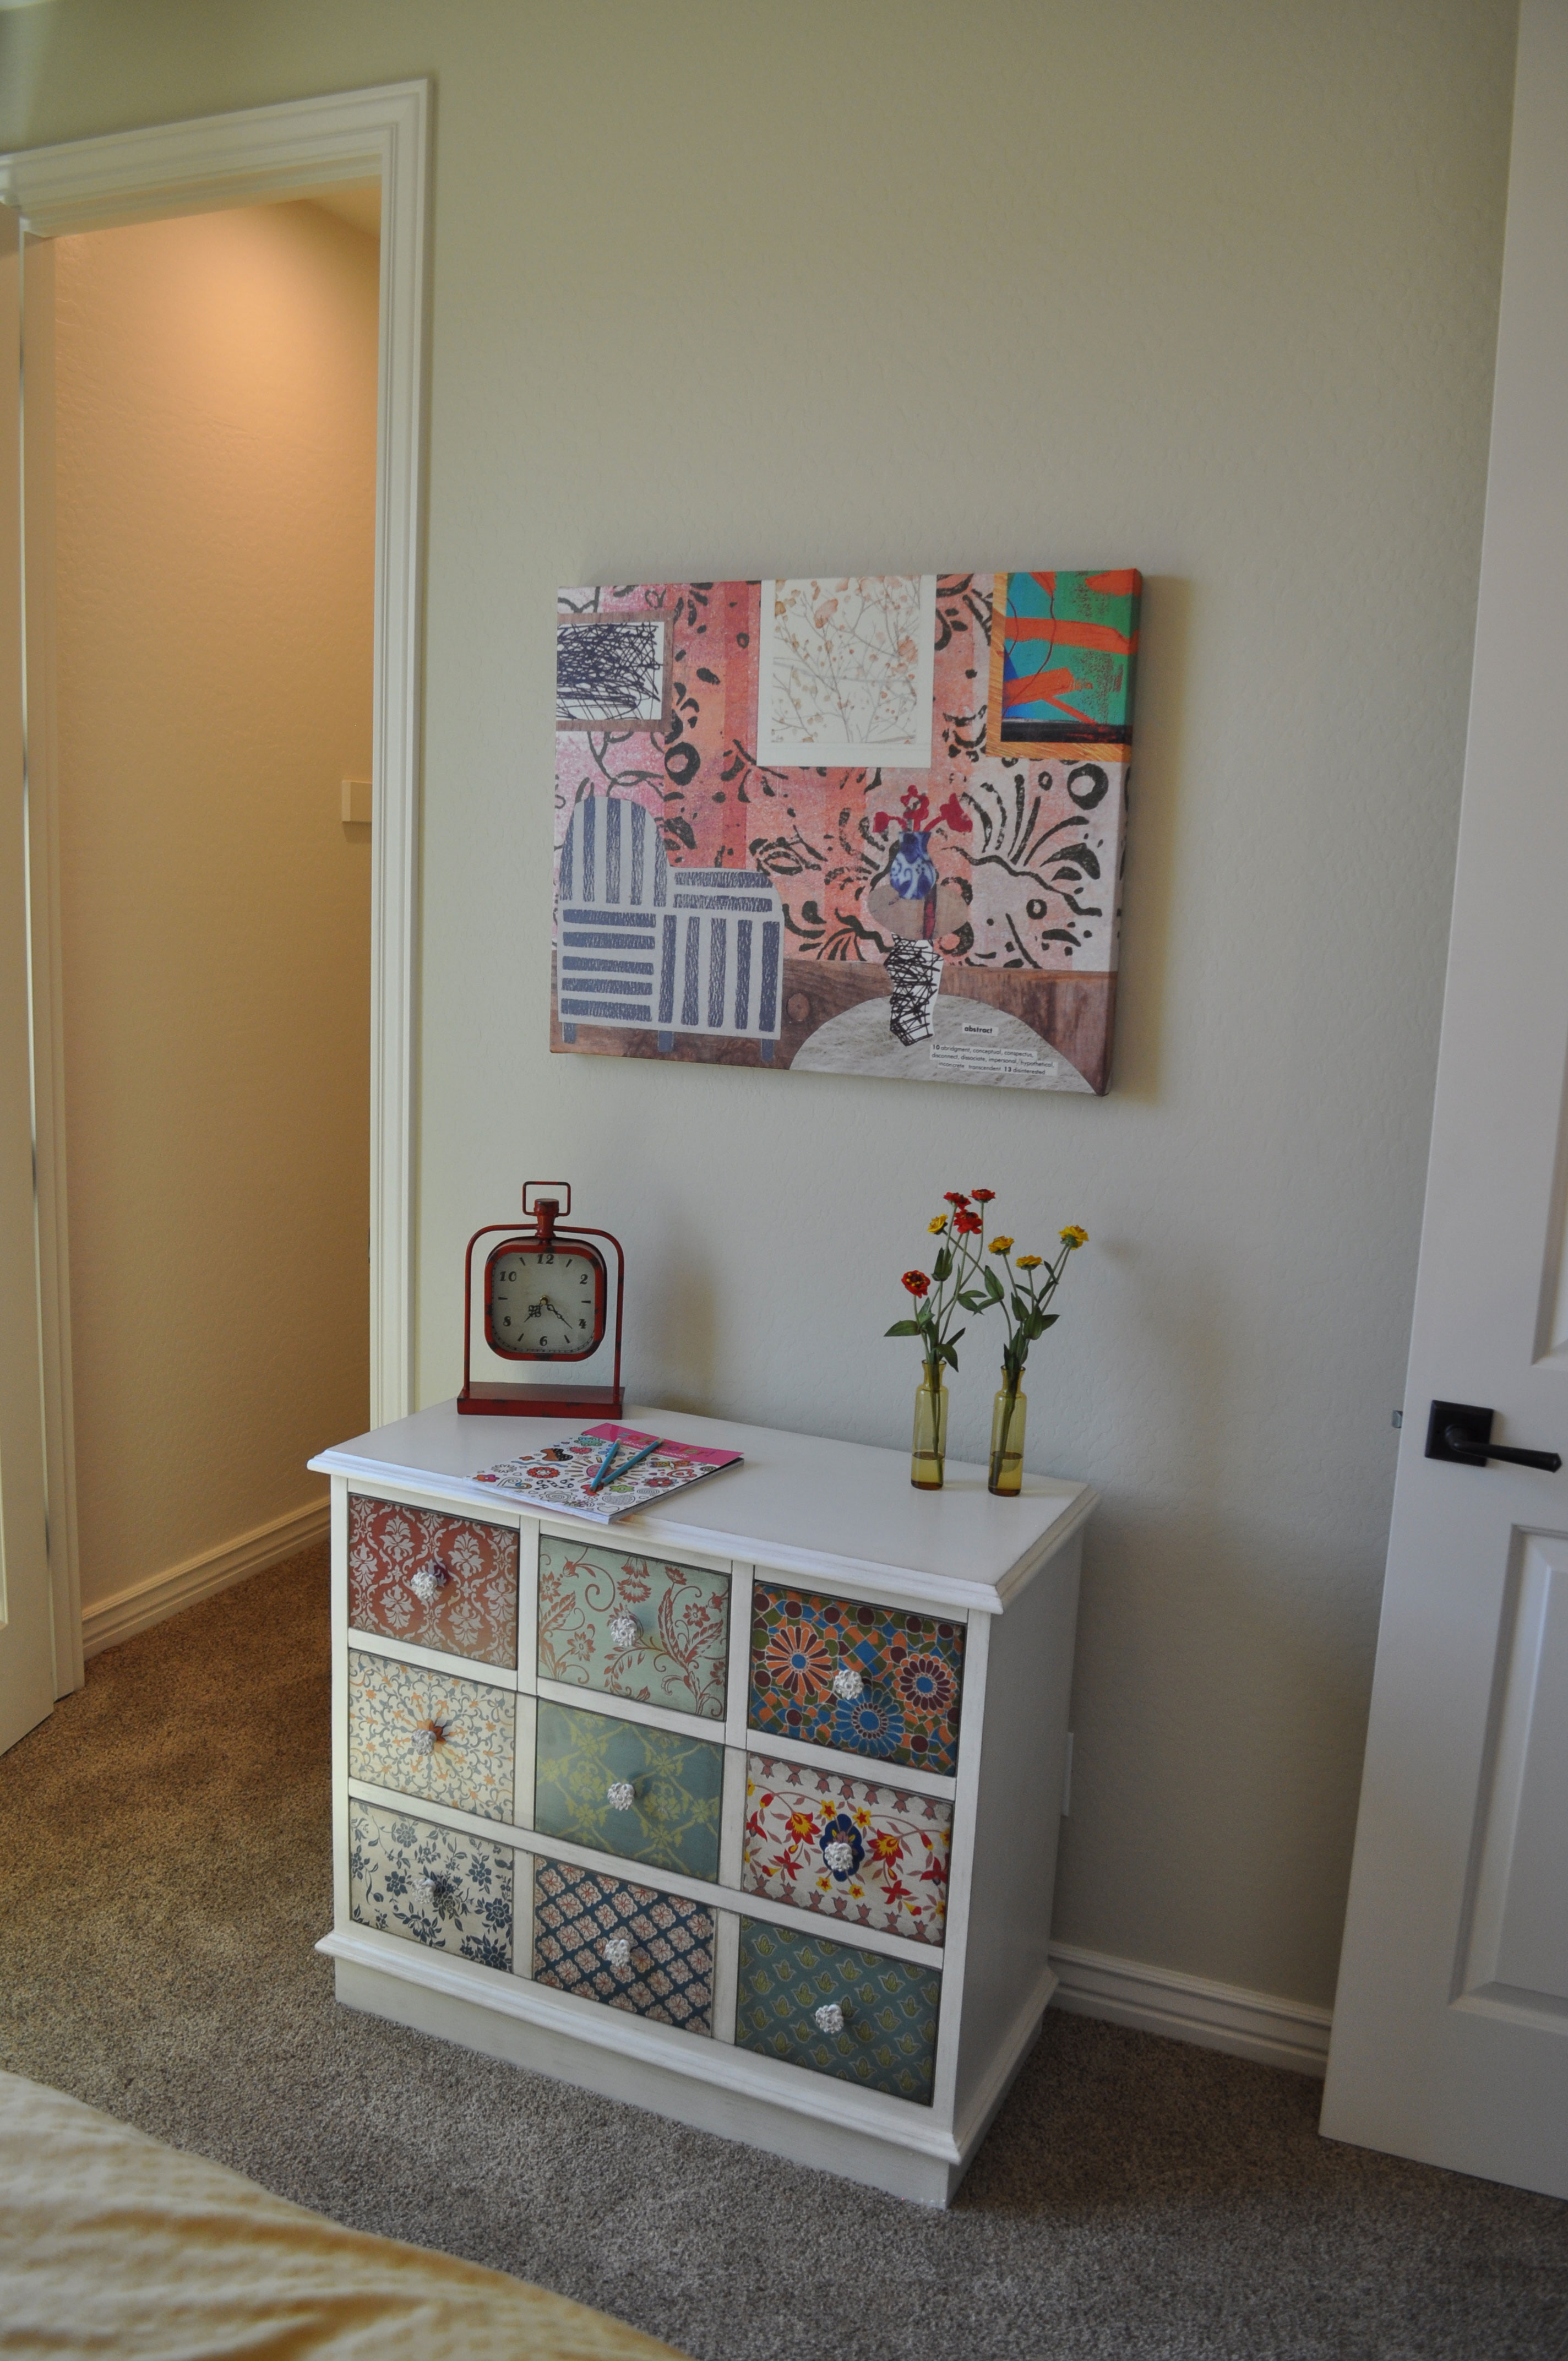
whitewater-bedroom-1-webThoughtful touches can turn a child’s bedroom into something special, even on a budget. This chest, seen in the Whitewater model at the Oasis at Queen Creek community, has a charm that is easy to recreate.

You can find a simple chest like this one at an unfinished furniture store or thrift shop. If the piece is unfinished, be sure to prime it before painting. If it is finished, wash it and sand lightly before painting.

Now is the time to decide if you want the piece to have a flat or glossy finish. Select the right paint for your decision. You can also shop for scrap paper or wrapping paper in designs and colors that work well together. Your final purchase is a jar of decoupage medium such as Mod Podge. Be sure to choose a finish that matches your paint choice.

Start with a couple of coats of white paint. You can eliminate brush strokes and speed up the process by using spray paint. Just be sure to work outside or in a well-ventilated area.

Spray using multiple thin coats following the instructions on the can. Remove the drawers and paint separately, inside and out. Spray paint dries quickly, but you may want to wait a minute or two between coats, so you are not spraying wet paint on wet paint.

When you’re done, decoupage the papers on the front of each drawer, cutting to size before with scissors or after with a very sharp knife. Add a couple of extra coats of decoupage medium to each to protect the papers.

Finish with white knobs or choose knobs that coordinate well with the papers. Then just enjoy your handiwork! For a closer look at this chest, we invite you to visit our models at Oasis at Queen Creek.