Nature can be the best healer. Unfortunately, the amount of nature that we interact with on a daily basis continues to decrease. However, potted house plants can be a great way to bring nature into your home. In addition to the health benefits of having live plants in your home, they can also lend a hand in decorating a room. When it comes to decorating, the pot is just as important as the plant. Once you have decided on the correct pot and plant combination, the rest of the process is simple. Following a few easy steps can ensure your plant continues to flourish and thrive in its new home.
Step One: Select Your Plant’s New Home
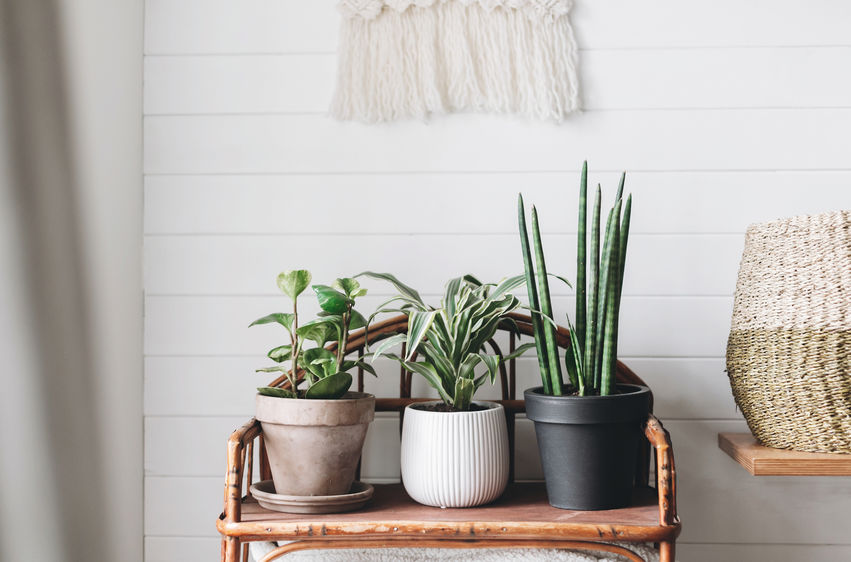
Choosing the right pot for your plant can be difficult, not because your options are limited but because they are nearly limitless! Nearly anything can be used as long as the item you choose is large enough for the roots of your plant and able to hold soil and water. Once you have decided on a pot, you can begin the steps to correctly transplanting the plant into it.
Step Two: Provide Proper Drainage
The pot you choose must be able to drain correctly. If it does not have drainage holes in the bottom of it, you will need to create your own. A power drill can be the easiest method of drilling holes in the bottom of your planter, just make sure you use the correct drill bit for the material.
Step Three: Place a Tray Underneath Your Plant
Remember to place a tray or plate underneath your planter to catch the excess water that drains from your plant when you water it. If the pot you choose is too deep, packing peanuts or broken pieces of styrofoam can be used to fill the extra space below the plant instead of soil. The packing peanuts or styrofoam also provide additional drainage for your plant, helping to prevent root rot.
Step Four: Prepare Your Plant
Once your pot is prepped for your plant, you need to prep your plant for the pot. Loosen the roots of your plant as best you can so they can spread and fill the new container and knock as much of the old dirt off the base of the plant. The new potting soil you add to your plant will have more nutrients in it than the old dirt surrounding your plant’s base. If your plant is tall or top-heavy, you may need to tie a stake to your plant. Loosely tie the stake to the plant in multiple places along the trunk before placing the plant in the pot.
Step Five: Add the Finishing Touches
Next, have your pot and plant ready to go, place the base of the plant in the pot and fill the rest of the space with potting soil. Moss, gravel, or stones can be used to add a finishing touch to your planter. In fact, it hides the soil and gives your planter a cleaner appearance. It also helps prevent the soil from drying out as quickly between watering.
Whether you are feeling detached from nature or simply need an accent piece for your home, a potted plant can be the perfect addition. Creating the ideal planter and plant combo is a simple task, but it must be done correctly in order to keep your new houseplant alive and healthy.
What have you used as a planter in your home? We would love to hear your clever ideas below in the comment section and remember to subscribe!