How to Create a Photo Wall: Part 2

photo_displayOnce you have all of your photos and frames, how do you move from that to an attractive wall display? There are many techniques to use. Here are a few suggestions.

Pre-plan your display on the floor. Determine the size you want for your total display and measure out that much space on your floor. Experiment with different arrangements until you have a look you like. Take a picture of it so you have a record to work from, then start hanging, working out from the center.

Use photo shelves. Many stores carry narrow shelving that works perfectly for displaying photos. You can set up three or four of these and then experiment to get the best arrangement of photos on the shelves. This also makes it easy to change out photos as new ones come along.

Keep frames set close together. For an effective grouping, don’t be afraid to keep photos close to each other. An inch or two between each is plenty of space. You really want the photos to feel integrated on the wall.

Use brown kraft paper or newspaper to determine your final layout. You can cut paper to the size of each photo and tape them on the wall to determine the best layout. Once you have your plan completed, just place nails right through the paper at the right spot for hanging, then tear the paper away. That way you know the photos will be set exactly right.

It may take a bit of effort to get your family wall finished, but once it is you can enjoy it for years.

How to Create a Photo Wall: Part 1

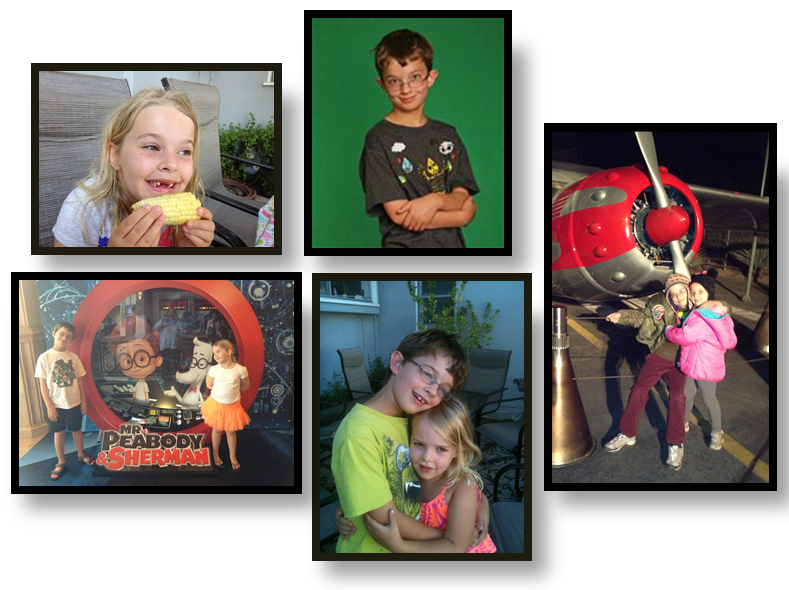
IMG_0478Most of us have lots of family photos tucked away – older ones in boxes, newer digital ones on our computer, phones or uploaded to instagram or the cloud. But sometimes it can seem overwhelming to display these photos on a wall in your home, even though you would like to. Here are some suggestions for going from a hidden photo collection to one you can share with guests.

Plan a theme. Lots of graduation photos and other professional shots are OK, but your photo wall can be much more fun to look at if you focus on more candid shots such as vacation photos or pictures taken at family events. You can also combine photos of your children at different ages so that people can see the changes as they get older.

Vary the size and shape of the photos. Include both horizontal and vertical shots and choose which photos to emphasize with larger sizes. Warehouse and drug stores can blow up your photos to almost any size.

Crop your photos. Often our pictures have too much unimportant background and the people can get lost. Use an inexpensive software package such as Photoshop Elements to trim the unimportant elements out and let the people shine.

Use simple and similar frames. Many art supply stores offer sales on stock image size frames such as buy one get the second for a penny. Keep your eyes open for those opportunities and buy all of the frames you need at one time. Having a consistent look for frames helps your finished wall look more professional and encourages people to focus on the photos not the frames.

In our next blog we’ll take a look at how to create an effective photo display.


Displaying Family Photos

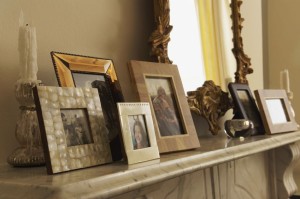
18886173_MThe image to the left shows a standard approach to displaying family photos. This provides a charming way to use a mantel while enabling you to keep family pictures close.

By choosing frames of various materials, shapes and sizes the look stays lively. Including items that add height such as the candlestick and mirror also help the display.

The final reason for success comes from the decision to stay in the same color family with the frames and other display pieces. Warm brown, gold and cream link together to make everything feel cohesive. Don’t hesitate to mix frame styles when you’re sharing a collection of family photos. This helps make the look seem spontaneous and casual rather than planned.

13568701_SToday’s photo displays don’t have to follow traditional patterns. You can vary your approach to displaying as much as you can vary the look of the photos themselves. Take a look at this set of three black & white photos of a father and his newborn, for example.

The photos were selected from a much larger number of shots, illuminated with a single light in a dark room. By showing only parts of the parent and child, an image comes through of a strong connection and lots of love.

The simple wire and clothespin display suits the delicate simplicity of the photos. Depending upon the size of the photos, you could hang them at the end of a hall or in a corner by the front door. Or this might be an appealing addition to the nursery. Photos could be added and changed as the baby grows.

For more ideas on displaying photos, visit the Fulton Homes Family Photo Tips Pinterest Board at: http://www.pinterest.com/fultonhomes/family-photo-tips/.