There is something special about gathering at home during the summer. Whether it is a casual backyard barbecue, a family birthday celebration, or simply inviting friends over for an evening meal, home often becomes the backdrop for some of life’s best moments. In Arizona, however, summer entertaining comes with its own unique challenges. High temperatures can make outdoor gatherings feel overwhelming, and keeping guests comfortable often takes a little extra planning.
The good news is that creating a welcoming, enjoyable space for family and friends does not require a major remodel or expensive upgrades. A few thoughtful adjustments can make your home feel cooler, more functional, and better suited for hosting all season long.
Here are some simple ways to create a comfortable environment for entertaining during an Arizona summer.
Focus on Comfort First
When hosting during warmer months, comfort should always be the top priority. Guests tend to remember how a space feels more than how it looks.
Start by thinking about airflow and temperature. Ceiling fans can make a noticeable difference indoors and outdoors, especially when circulating cool air throughout gathering spaces. During summer, ceiling fans should rotate counterclockwise to help push cooler air downward.
If you know people will naturally gather in one room, make sure that space stays comfortable throughout the event. Closing blinds or shades during the hottest parts of the day can help block unwanted heat gain, particularly in rooms with large windows.
If entertaining outdoors, timing matters. Midday heat can be difficult even for short periods of time, so consider scheduling get-togethers later in the afternoon or after sunset when temperatures become more manageable.
Small touches like chilled beverages, shaded seating, and portable fans can make guests feel instantly more comfortable.
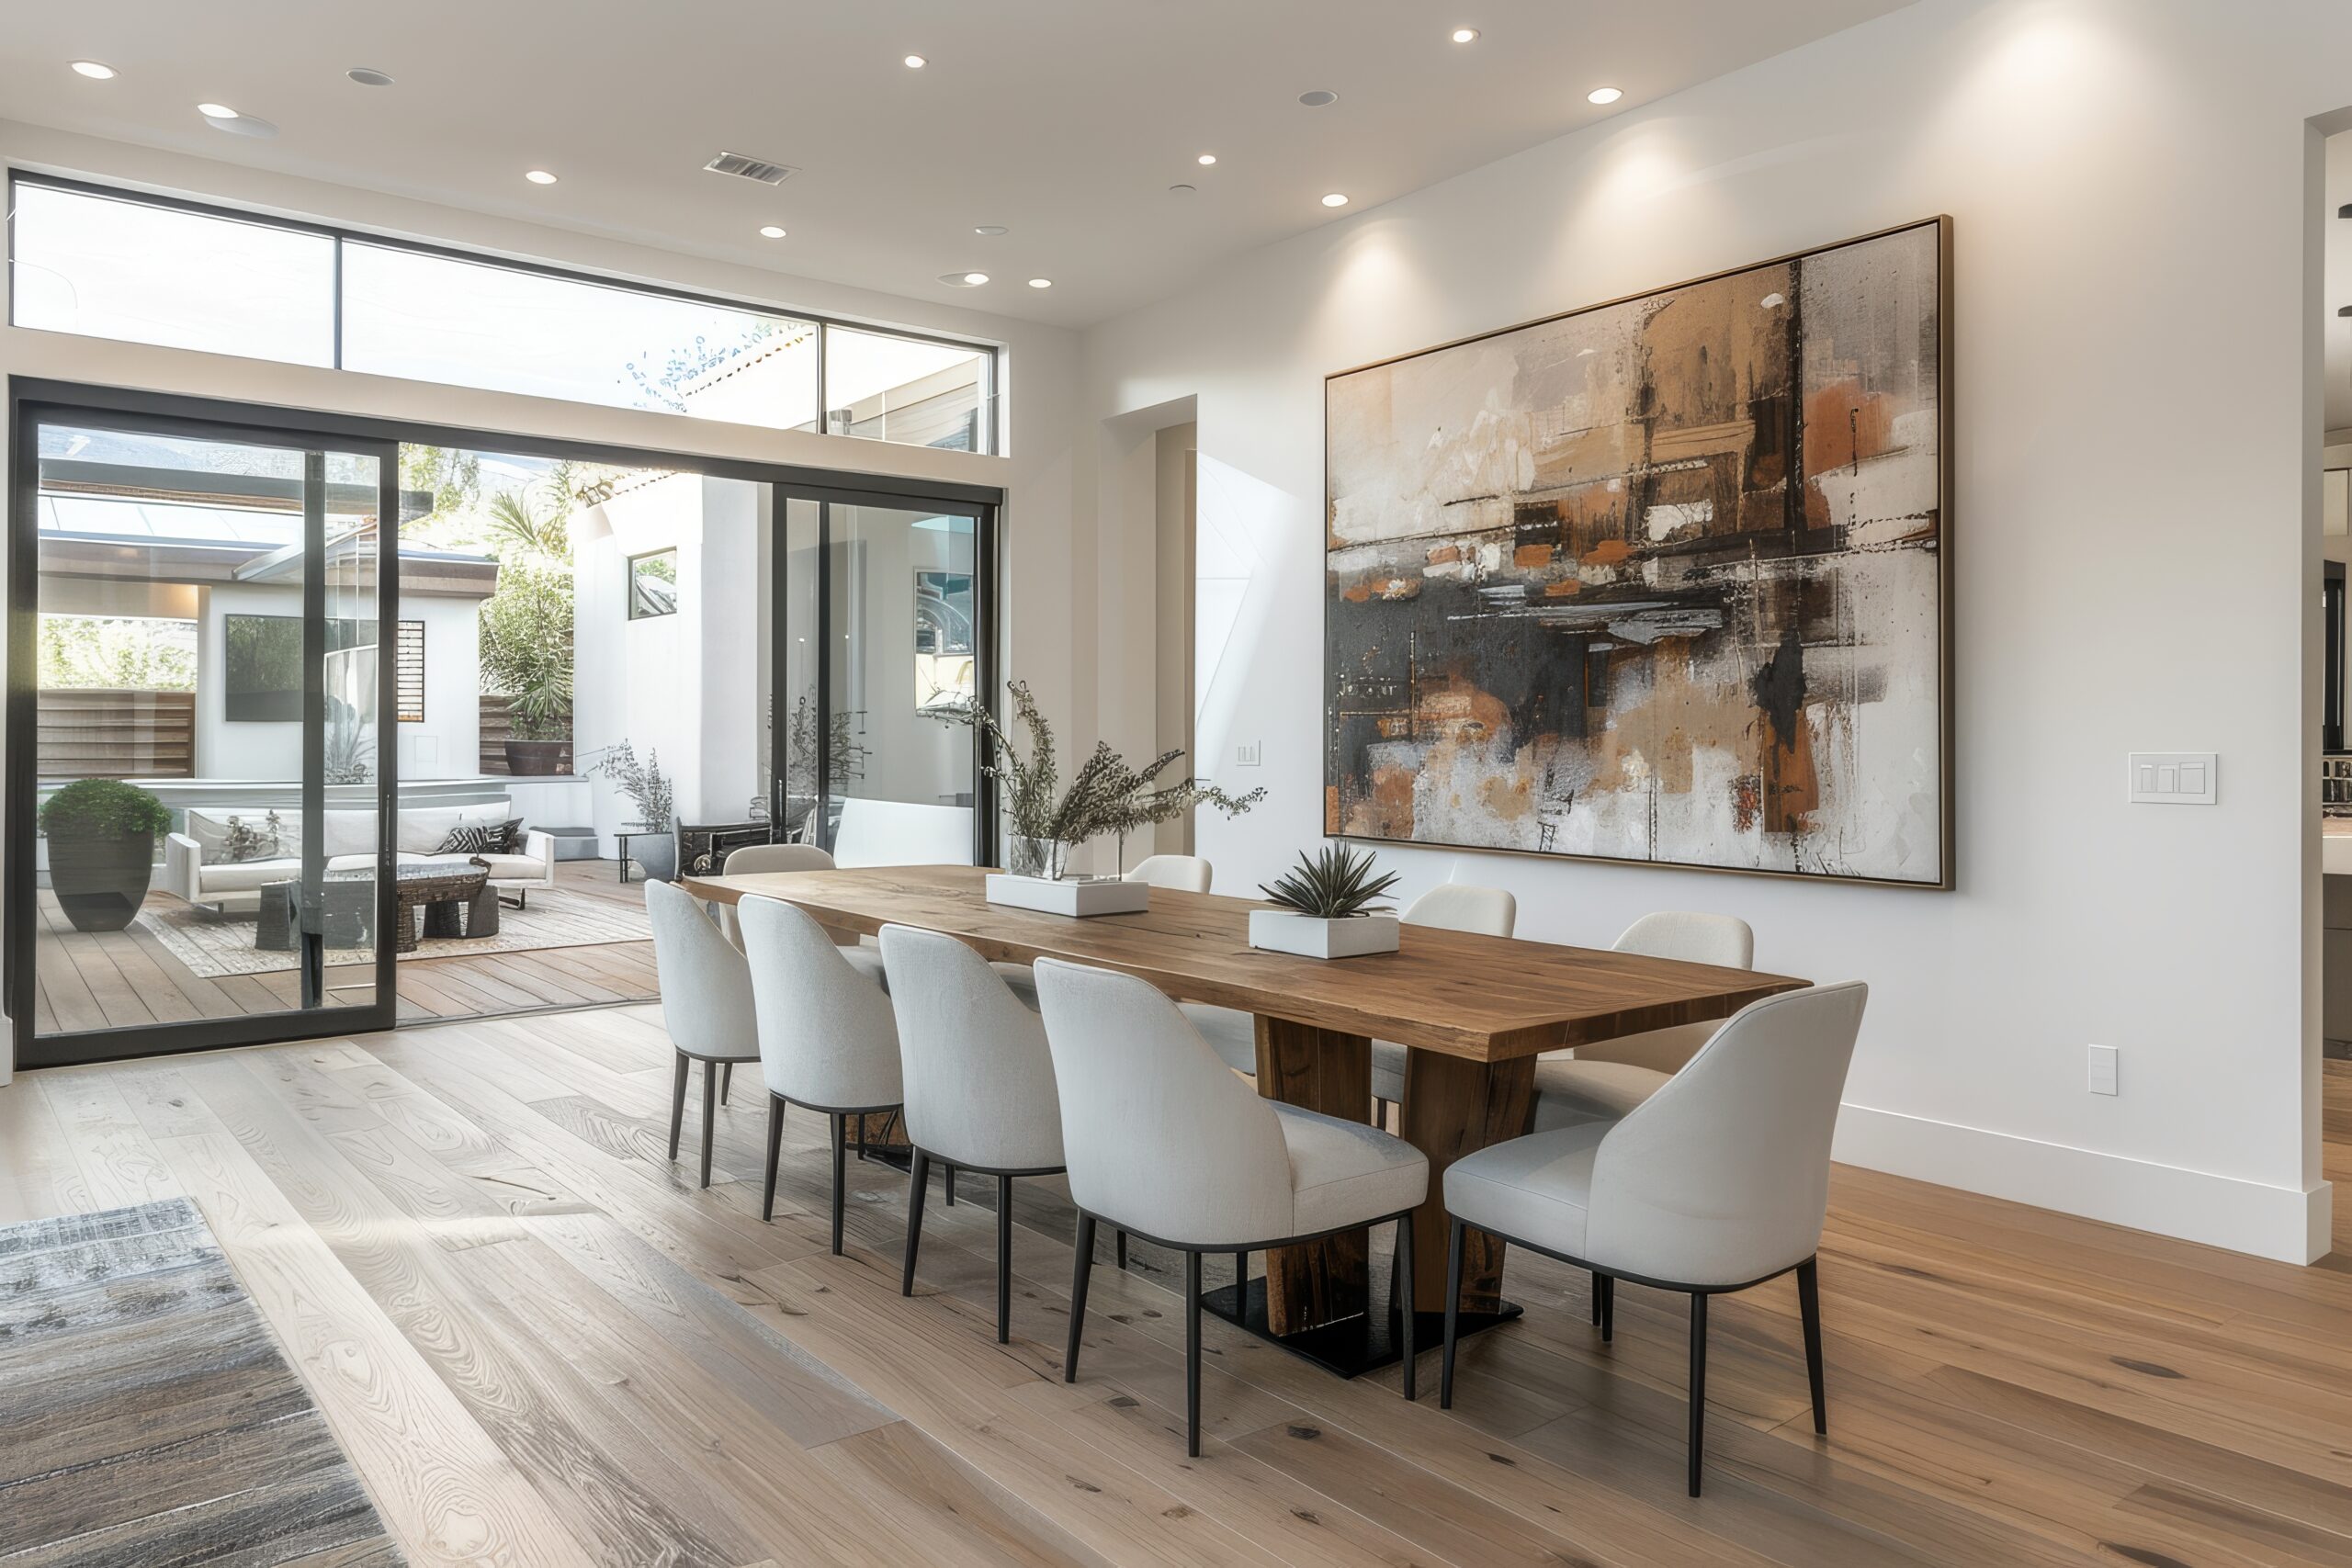
Create Easy Indoor and Outdoor Flow
One of the best parts of summer entertaining is taking advantage of both indoor and outdoor living spaces. Even when temperatures rise, a thoughtful setup can encourage guests to move naturally between the two.
Consider opening access points between your kitchen, dining area, and patio if weather allows. Keeping pathways clear helps guests move comfortably without feeling crowded.
Outside, creating distinct “zones” can make gatherings feel more organized and inviting. You do not need an elaborate setup. A few simple areas can go a long way:
- A dining area for meals or snacks
- A shaded seating area for conversation
- A separate space for games or kids’ activities
- A beverage station where guests can help themselves
When people can spread out comfortably, gatherings tend to feel more relaxed and less crowded.
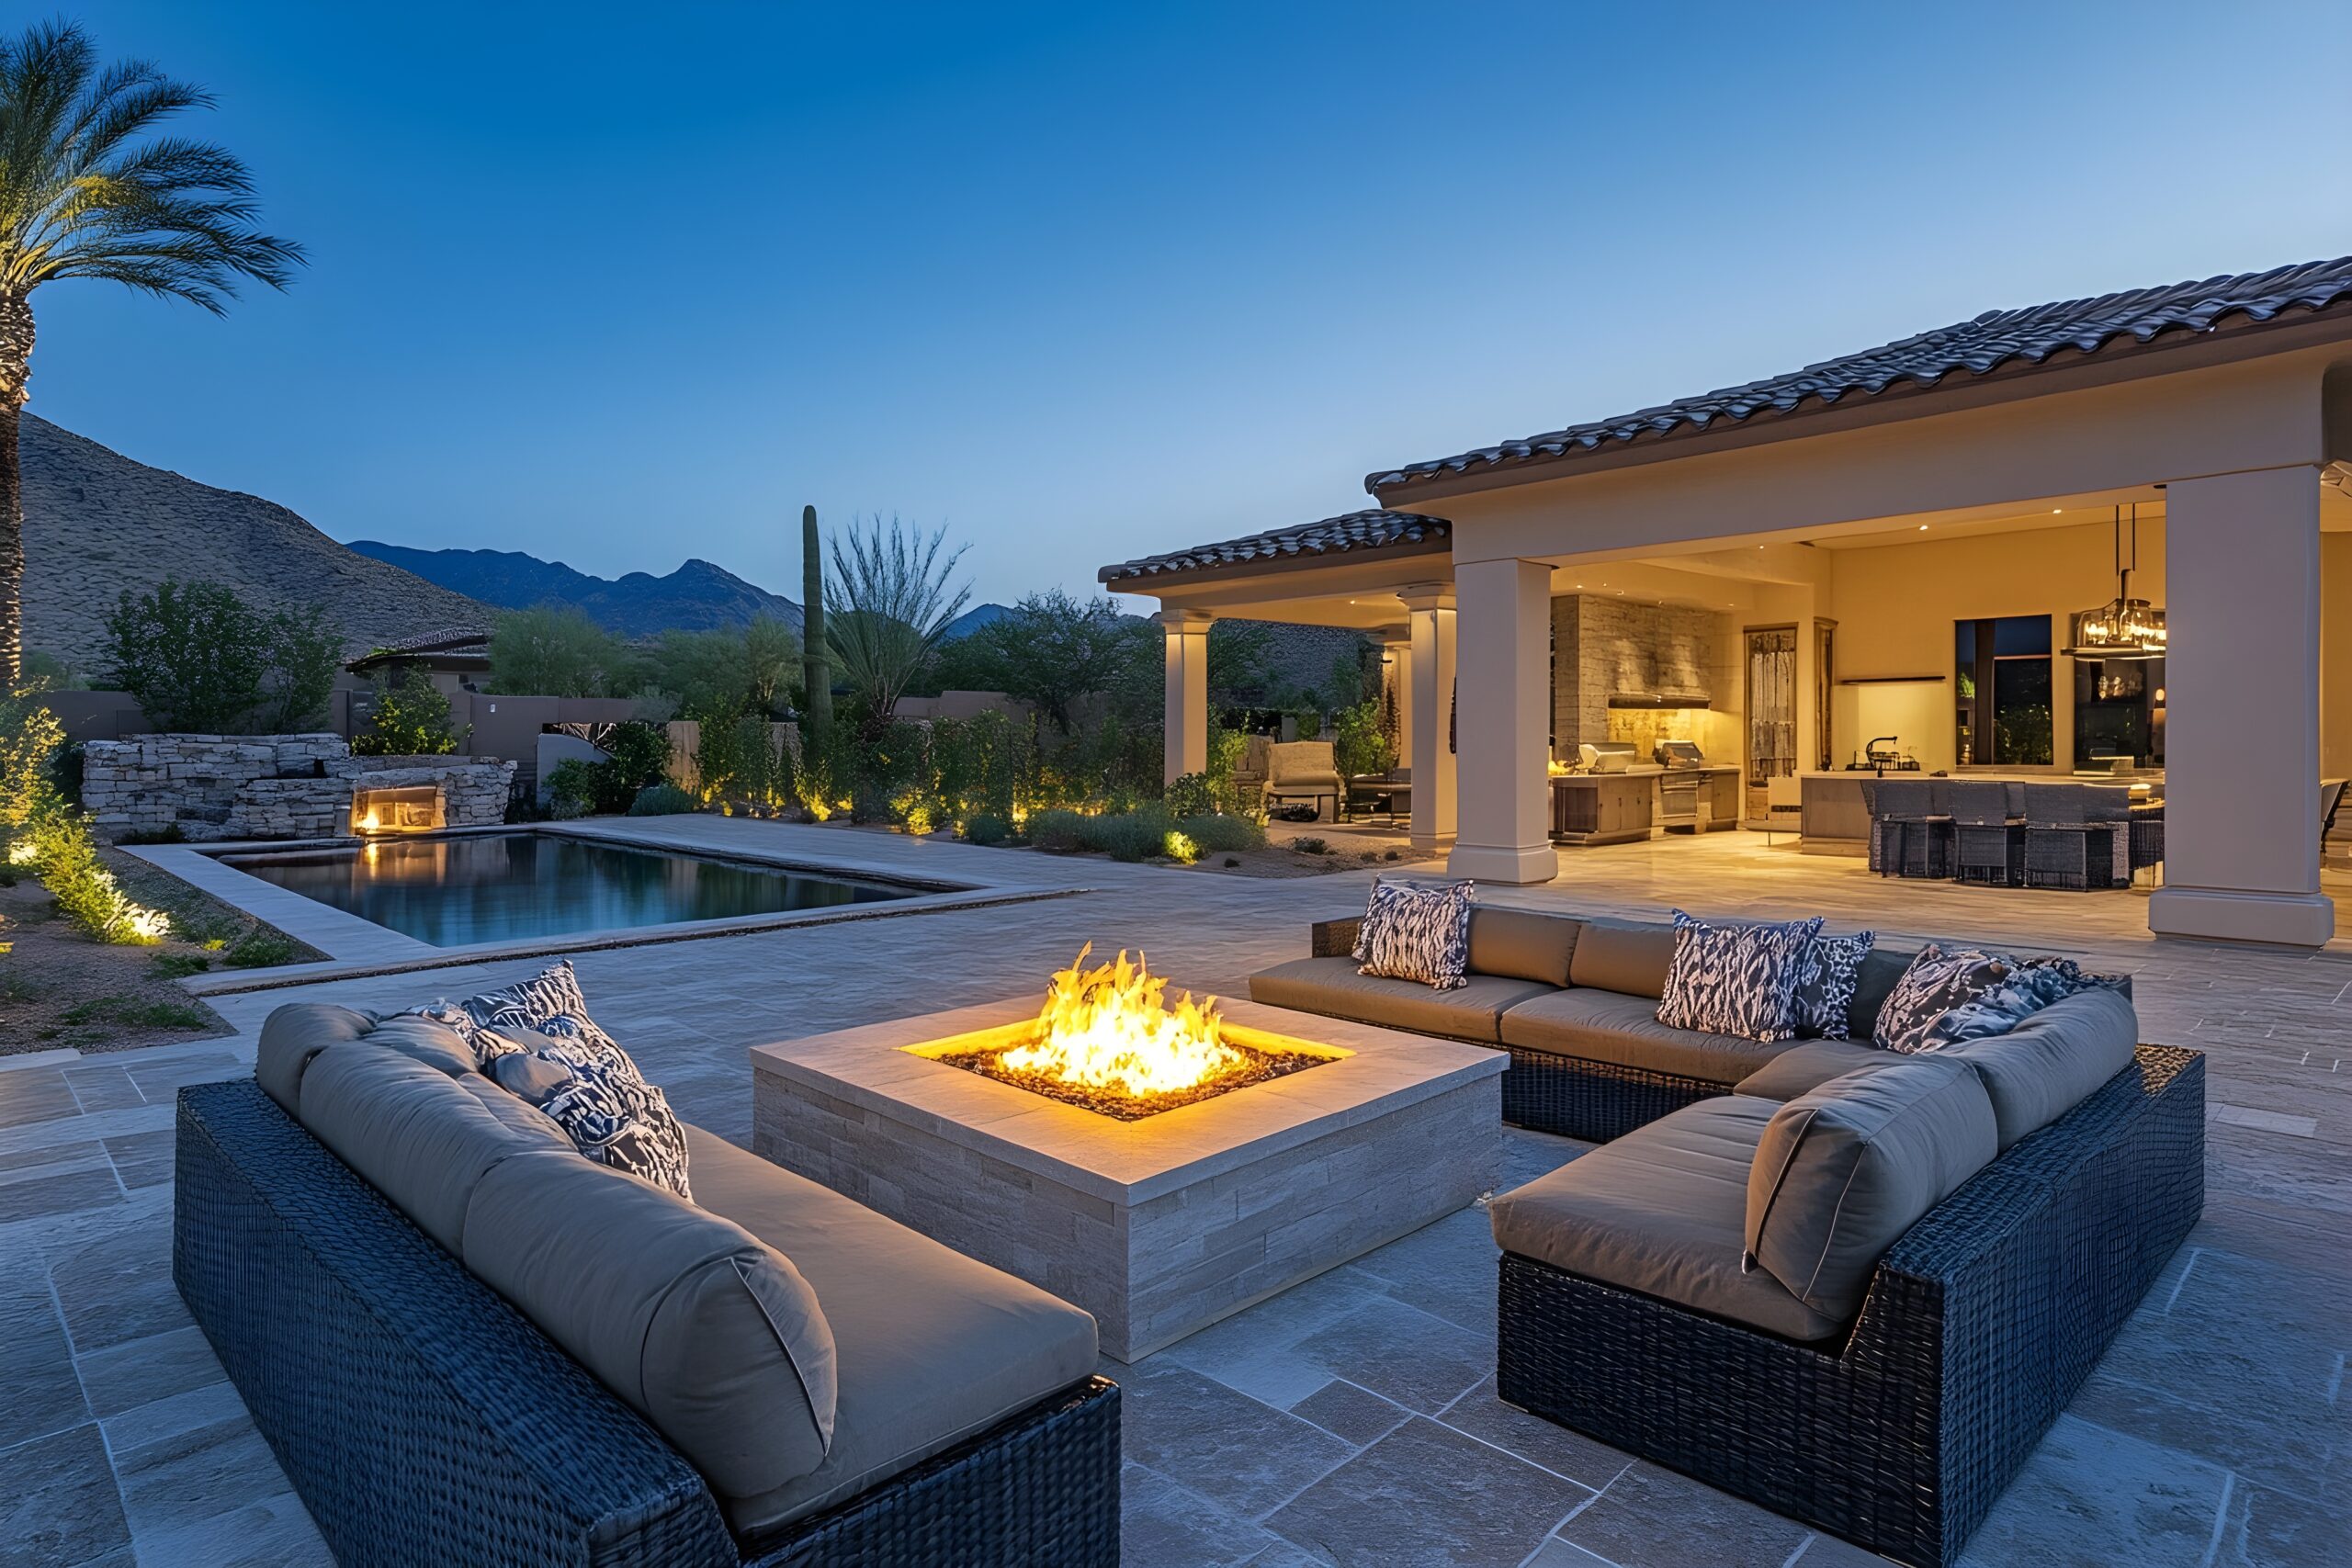
Think About Shade and Cooling
In Arizona, shade is not just a luxury during summer entertaining. It is essential.
If your outdoor area already includes covered patios or pergolas, use them strategically by placing the main seating areas underneath. If shade is limited, portable umbrellas or pop-up canopies can help create relief from direct sunlight.
Misting systems and outdoor fans can also improve comfort during especially warm days. Even small portable cooling options can make outdoor seating areas much more enjoyable.
Another simple trick is to pay attention to surfaces. Patio furniture, tables, and even door handles can become surprisingly hot in direct sunlight. Using cushions, tablecloths, or repositioning furniture into shaded areas can make spaces more comfortable and welcoming.
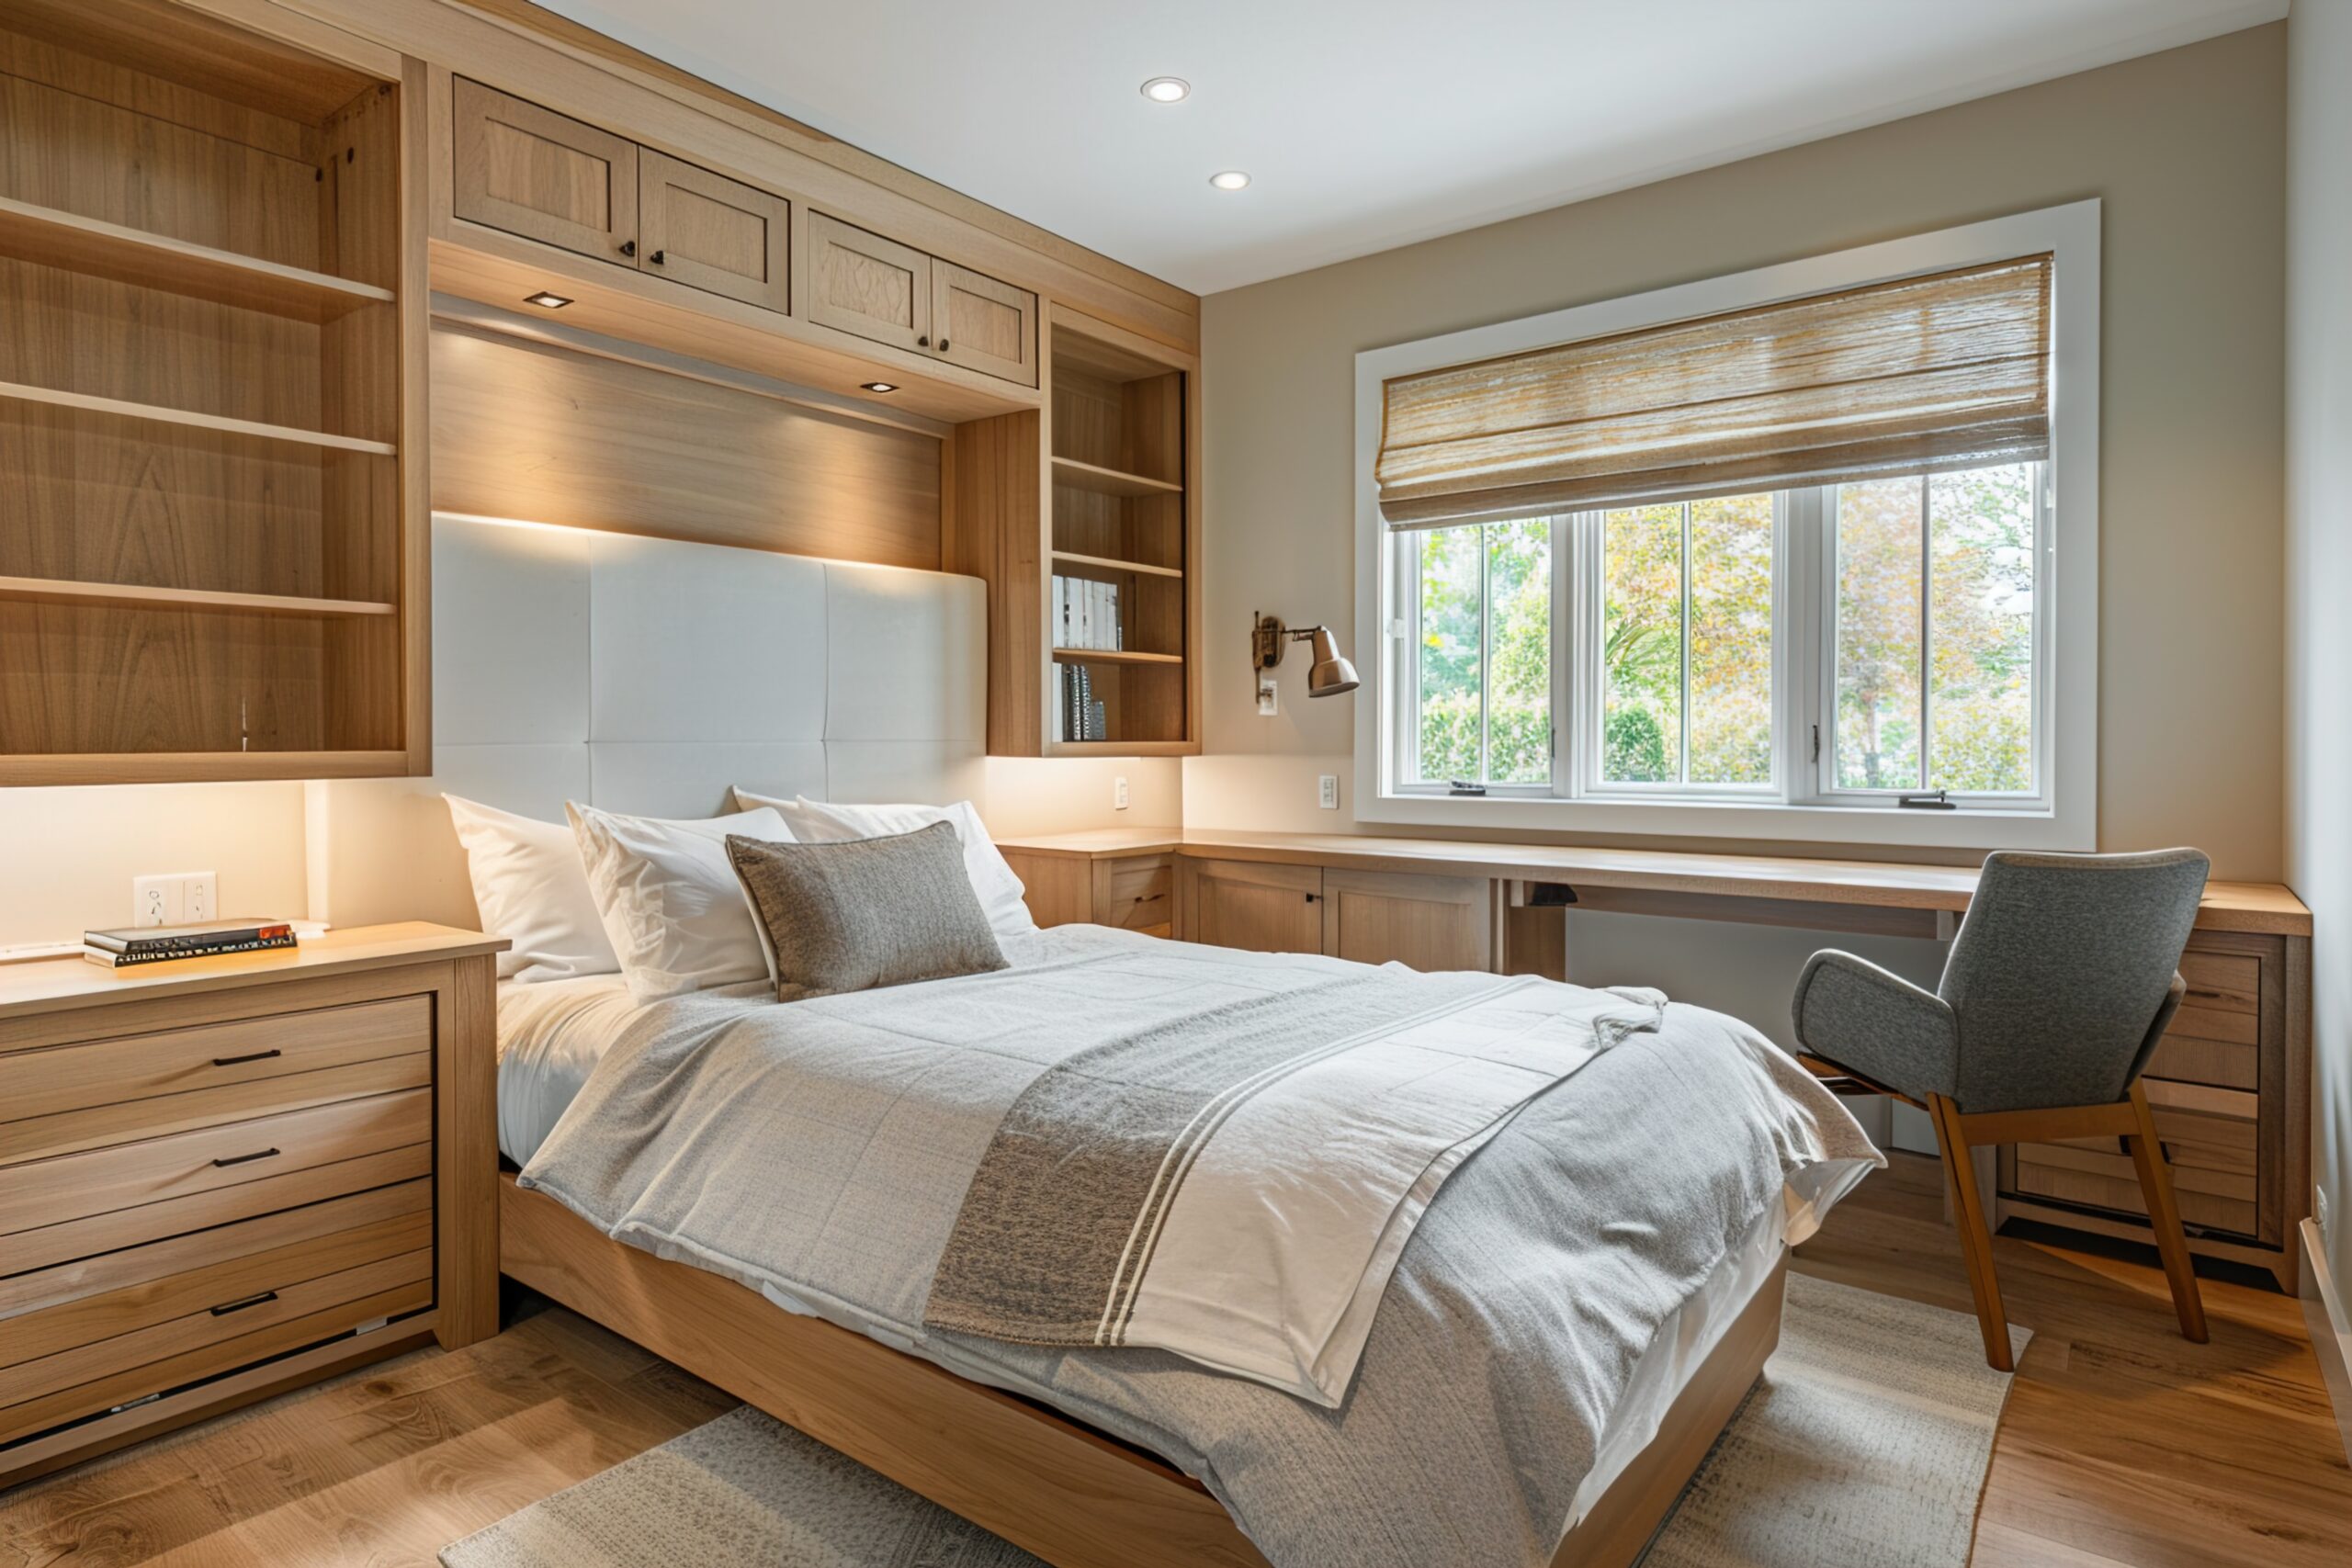
Make Seating Flexible
One common challenge during gatherings is not having enough comfortable seating or arranging furniture in ways that unintentionally limit conversation.
Rather than relying only on formal seating, think about creating flexible options. Pull lightweight chairs from other rooms, add outdoor poufs or benches, or reposition furniture to encourage interaction.
A seating arrangement that naturally allows conversation often feels more inviting than rows of chairs facing one direction.
Try creating smaller conversation areas instead of one large central setup. This helps guests mingle naturally and makes gatherings feel more personal.
If children will be part of the event, consider creating a dedicated area where they can comfortably play, snack, or relax while adults socialize nearby.
Keep Food and Drinks Simple
Summer entertaining should feel enjoyable for hosts too. The easiest way to reduce stress is to simplify food preparation.
Instead of spending the entire gathering in the kitchen, choose meals or serving styles that encourage guests to help themselves. Outdoor grilling, buffet-style meals, taco bars, sliders, or shareable appetizers can make hosting feel easier and more relaxed.
Drink stations are another great addition. Setting out water, iced tea, lemonade, or infused beverages in a central location encourages guests to stay hydrated while reducing trips back and forth to the kitchen.
For evening gatherings, consider adding light snacks or desserts that are easy to enjoy outdoors without creating too much cleanup.
The goal is not perfection. It is creating an atmosphere where everyone, including the host, can enjoy the moment.
Use Lighting to Create Atmosphere
As the sun sets, lighting plays a major role in helping outdoor spaces feel comfortable and inviting.
String lights, lanterns, pathway lighting, or simple outdoor lamps can instantly make patios and backyards feel warmer and more welcoming. Soft lighting encourages guests to linger and creates a relaxed atmosphere for conversation.
Inside the home, dimmer lighting or warm accent lamps can help spaces feel cozy and comfortable, especially during evening gatherings.
You do not need elaborate décor to create a memorable environment. Sometimes thoughtful lighting makes the biggest difference.
Prepare for Arizona’s Summer Weather
Arizona summers can be unpredictable, especially during monsoon season. Wind, dust, or sudden storms can arrive quickly.
Before hosting, take a few minutes to prepare outdoor areas. Secure lightweight furniture, umbrellas, or decorations that may shift in windy conditions. Keep outdoor cushions protected if storms are possible.
It can also be helpful to have a backup indoor plan if weather changes unexpectedly. Rearranging furniture slightly ahead of time can make transitioning indoors much easier if needed.
Being prepared helps gatherings stay stress-free no matter what summer weather brings.
Add Personal Touches
Comfort matters, but memorable gatherings are often shaped by small personal details.
Simple touches can make guests feel welcome without adding extra work:
- A favorite playlist playing softly in the background
- A self-serve snack or drink station
- Fresh flowers or simple seasonal décor
- Outdoor games for kids or adults
- Cozy blankets available for evening gatherings
These thoughtful additions help guests feel relaxed and at home.
You do not have to create a picture-perfect event. Most people simply enjoy feeling welcomed and spending time together.
Make Home the Gathering Place
Summer entertaining does not need to be complicated or expensive to feel meaningful. With a few thoughtful adjustments, your home can become the kind of place where family and friends naturally want to gather.
Creating comfortable spaces often comes down to simple things: keeping guests cool, making seating inviting, reducing stress around hosting, and creating opportunities for connection.
Whether it is a quiet evening with neighbors, a weekend cookout with family, or an impromptu gathering after sunset, your home has the potential to become the center of lasting summer memories.
Sometimes the best moments happen not because everything was perfectly planned, but because everyone felt comfortable enough to simply enjoy being together.