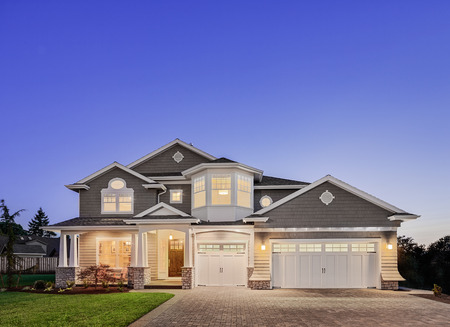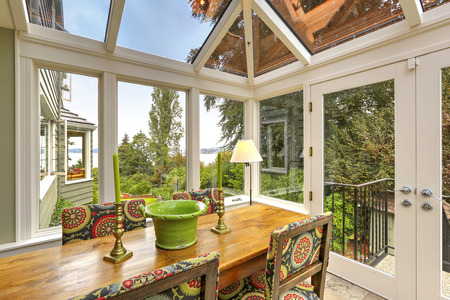
A sunroom is a great addition to any home! Sunrooms allow you to enjoy the natural lighting from the outdoors in the comfort of your home. These seasonal rooms are perfect for people who want to spend more time outside. It is the perfect hybrid of interior and exterior home living. If you have a sunroom or are looking to add one, there are some simple ways to help enhance your space. Let’s take a look!
Seating
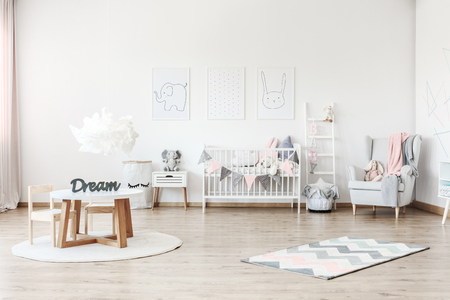
Every great sunroom will incorporate a type of seating. These rooms typically use furniture that can withstand the elements of nature. While your sunroom may not get rain inside it, it can experience more humidity and exposure to some of nature’s harsher elements. Consider patio furniture with cushions or some whicker seating. You can also add some more outdoorsy details such as a hammock or a suspended chair.
Throw Rug
A way to add some style to your room is by getting an area rug. A rug can help add comfort to your outdoor flooring. Most sunrooms are not fully finished and can experience some moisture. Make sure your rug can handle moisture. Typically, indoor/outdoor carpet is preferred. You can also invest in turf or composite tile to give your room a little extra styling.
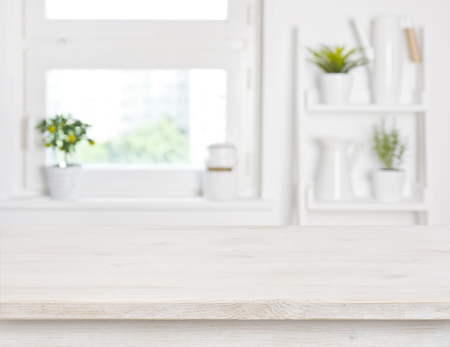
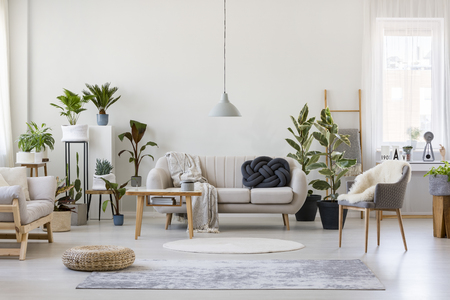
Biophilia
Sunrooms are the perfect place to incorporate plant life! There is no spot better in your home for more sun exposure. Adding plants and herbs can help add life to your atmosphere. This perfect blend of indoor and outdoor living will feel more balanced with a little more greenery. Just remember to water your plants because they will not experience rain!
Whether you plan on just reading out there or enjoying the sounds of nature, sunrooms are a terrific place to unwind. With a little love, these rooms can become your favorite place to spend your morning or afternoons. What do you love about your sunroom? Let us know below in the comment section!