Put away the white linen, beach towels and cool toned accessories. It’s fall and it’s time to breakout the corn husks, pine cones and other harvest decorations. Here are a few simple ideas:
Decorate a bookshelf with pressed leaves and pumpkins.
Hang a corn husk wreath.
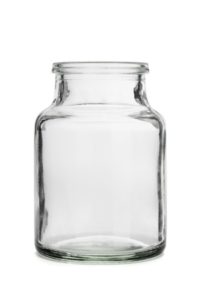
Display green apples and acorns in apothecary jars.
Spray paint pumpkins silver and white. Make sure you use a variety of sizes. Display them on your mantle with pine cones. This is a very elegant look.
Decorate your dining room table by placing a row of pumpkins and gourds. Add a tall vase filled with wheat.
Fill your votive candle holders with pumpkin or squash seeds.
Make leaves out of decorative scrapbook paper. Glue them to branches for a whimsical look. Display the branches in tall glass vases.
Fill an old tool box with candles, clementines and pine cones.
Hollow out gourds and use them as vases for fall flowers.
Put single leaves, either pressed or fresh, in small glass vases or use old lab beakers — look for them at antique stores. Replace leaves as they brown.
Put together a colorful outdoor fall display using a sturdy wheelbarrow as a base. Fill the wheelbarrow with ornamental cabbage and peppers, grasses, chrysanthemums, flowering zucchini and other seasonal plants. Fill the wheelbarrow with soil and insert the plants loosely, or tuck containers into the wheelbarrow, making sure to fill in the gaps with more plants.
Nuts are as easy to decorate with as they are good to eat. Anchor a candle inside a hurricane lamp. Experiment with different varieties of nuts and a selection of clear containers.
Nestle a candle in popcorn kernels or other seasonal materials such as candy corn or colored clear round stones.
Don’t forget to break out the rich, warm colored throw rugs, pillows and rugs. Light a fire, pour a glass of wine and enjoy autumn.
Happy Fall Decorating!