Tips for Thanksgiving Leftovers: Creative Ways to Enjoy Your Feast Again and Again

Thanksgiving is a time for gathering, gratitude, and most importantly, indulging in a delicious feast. While the main event may last only a day, the leftovers often stretch well into the following week. Instead of reheating the same plate every day, why not get creative? Here are tips and ideas to transform your Thanksgiving leftovers into exciting new meals that keep the holiday spirit alive.


1. Store Leftovers Properly

Before diving into recipes, it’s essential to store your leftovers correctly to maintain freshness and prevent waste.

  • Refrigeration: Store cooked turkey, stuffing, and sides in airtight containers within two hours of serving. Divide large portions into smaller containers for faster cooling.
  • Freezing: If you have more than you can eat in a few days, freeze items like turkey, mashed potatoes, and cranberry sauce. Use freezer-safe bags to save space and maintain quality.
  • Labeling: Clearly mark containers with dates and contents to ensure you consume leftovers while they’re still good. Turkey typically lasts 3-4 days in the fridge and up to 3 months in the freezer.
  • Pro Tip: Vacuum seal leftovers for maximum freshness if you plan to freeze them for longer periods.

2. Reinvent the Turkey

Turkey is the star of most Thanksgiving spreads, and luckily, it’s versatile enough to shine in many post-holiday dishes.

  • Turkey Soup: Use the turkey carcass to make a rich, flavorful broth. Add leftover veggies, noodles, or rice for a comforting soup that’s perfect for chilly days. Enhance it with fresh herbs like thyme or parsley for added aroma.
  • Turkey Tacos: Shred turkey and sauté it with taco seasoning. Serve with tortillas, fresh salsa, guacamole, and a dollop of sour cream for a Tex-Mex twist.
  • Turkey Pot Pie: Combine turkey, gravy, and leftover veggies under a flaky pie crust. It’s a cozy, hearty meal the whole family will love. For a lighter option, use phyllo dough or puff pastry as the crust.

3. Maximize Mashed Potatoes

Mashed potatoes might seem like a one-note side, but they can be a key ingredient in several fun recipes.

  • Potato Pancakes: Mix mashed potatoes with an egg, some flour, and a bit of cheese, then fry into golden, crispy cakes. Serve with sour cream or applesauce for a delightful snack or breakfast item.
  • Shepherd’s Pie: Use mashed potatoes as the topping for a casserole filled with turkey, gravy, and veggies. Bake until the top is golden and bubbling.
  • Potato Waffles: Heat mashed potatoes in a waffle iron for crispy, savory waffles. Top with a fried egg or leftover gravy for breakfast magic. Add shredded cheddar or chives to the batter for extra flavor.
  • Loaded Potato Bowls: Layer mashed potatoes with turkey, gravy, and a sprinkle of cheese for a quick and satisfying meal.

4. Stuffing with a Twist

Stuffing is delicious on its own, but with a little imagination, it can become the foundation of several unique dishes.

  • Stuffing Muffins: Scoop stuffing into a greased muffin tin and bake until crispy. These are perfect for grab-and-go snacks or appetizers. Add a piece of turkey in the center before baking for a surprise filling.
  • Stuffed Peppers: Hollow out bell peppers, stuff them with leftover stuffing, and bake until tender. Add a sprinkle of cheese on top for extra flavor.
  • Stuffing Crust Pizza: Press stuffing into a thin layer on a baking sheet, bake until firm, then add pizza toppings and bake again. Try topping with turkey, cranberry sauce, and mozzarella for a Thanksgiving-inspired pizza.

5. Gravy Beyond the Basics

Gravy ties the Thanksgiving meal together, but don’t limit it to just a sauce for turkey.

  • Gravy Dip: Use it as a dip for turkey sliders or crispy stuffing muffins. Add a sprinkle of fresh herbs like thyme or rosemary for extra flavor.
  • Poutine: Pour gravy over fries or roasted potatoes, and top with cheese curds for a rich, indulgent treat.
  • Savory Sauce: Add gravy to pasta or use it as a base for a creamy turkey Alfredo dish. Mix with sautéed mushrooms for an earthy, flavorful sauce.

6. Sweeten Up Cranberry Sauce

Cranberry sauce is often overlooked as a standalone side, but it can be a secret ingredient in both sweet and savory dishes.

  • Cranberry Parfaits: Layer cranberry sauce with yogurt and granola for a quick and healthy breakfast. Add fresh berries or nuts for added texture.
  • Glazed Meatballs: Mix cranberry sauce with barbecue sauce or chili sauce and simmer meatballs in it for a festive appetizer. Serve with toothpicks for holiday parties.
  • Cranberry Jam Toast: Spread leftover cranberry sauce on toast with a layer of cream cheese for a tangy morning treat. Add a sprinkle of powdered sugar for a touch of sweetness.

7. Veggies Reimagined

Vegetables like roasted carrots, Brussels sprouts, and green beans can be repurposed into exciting new dishes.

  • Veggie Frittata: Toss leftover vegetables into beaten eggs and bake for an easy breakfast or brunch dish. Add cheese and fresh herbs for extra flavor.
  • Vegetable Stir-Fry: Sauté roasted veggies with soy sauce, garlic, and a splash of sesame oil for a quick and flavorful stir-fry. Add cooked rice or noodles for a complete meal.
  • Vegetable Soup: Blend veggies with turkey stock for a smooth and creamy soup. Garnish with a swirl of cream or croutons for a restaurant-quality presentation.

8. Leftover Rolls and Bread

Rolls and bread from your Thanksgiving table can be transformed into delicious new meals.

  • Breakfast Strata: Combine cubed bread with eggs, milk, cheese, and leftover veggies or turkey, then bake for a savory breakfast casserole. Add a touch of mustard or hot sauce for a kick.
  • Breadcrumbs: Pulse bread in a food processor to make breadcrumbs for future recipes. Toast them with garlic and parsley for added flavor.
  • French Toast: Dip rolls in a mixture of eggs, milk, and cinnamon, then fry for a sweet breakfast treat. Top with whipped cream and cranberry sauce for a festive twist.

9. Desserts with a Twist

Even leftover desserts can be reinvented into new indulgences.

  • Pie Milkshakes: Blend a slice of pumpkin or pecan pie with ice cream and milk for a decadent shake. Top with whipped cream and a sprinkle of cinnamon.
  • Cake Truffles: Crumble leftover cake or brownies, mix with frosting, and roll into bite-sized truffles. Coat in chocolate for an added layer of deliciousness.
  • Bread Pudding: Use leftover rolls or bread as the base for a comforting bread pudding. Add in cranberries, nuts, or pumpkin spice for extra flavor.

10. Create a Leftover Bar

For a fun and interactive meal, set up a “leftover bar” where family members can mix and match their favorites.

  • Custom Wraps: Lay out tortillas, turkey, stuffing, veggies, and cranberry sauce for make-your-own wraps.
  • Build-Your-Own Bowls: Offer a selection of mashed potatoes, turkey, gravy, and veggies so everyone can create their perfect Thanksgiving bowl.
  • Mini Sliders: Provide small rolls, turkey, and cranberry sauce for DIY turkey sliders. Add a slice of cheese for a gourmet touch.

11. Donate or Share Extras

If you’ve had your fill and still have leftovers, consider donating food to a local shelter or sharing with neighbors. Many communities have programs that accept surplus holiday food to help those in need. Alternatively, package leftovers in small portions to gift to friends or family members who couldn’t attend your feast.


12. Plan for Next Year

Finally, if you find yourself overwhelmed with leftovers this year, plan ahead for next Thanksgiving.

  • Smaller Portions: Prepare less food to avoid too many leftovers.
  • Freezer Meals: Intentionally cook extra to freeze meals for busy weeks ahead. Label them clearly for quick, no-fuss dinners.
  • Recipe Inspiration: Save this guide and experiment with new ways to enjoy your Thanksgiving feast.

Thanksgiving leftovers don’t have to feel repetitive or mundane. With a little creativity, you can transform them into dishes that keep the holiday cheer alive. From turkey tacos to cranberry parfaits, the possibilities are endless. So, dive into your fridge, get inspired, and enjoy every bite of your Thanksgiving feast—again and again!

Tips to Free Up Counter Space

Timber Cove Model

Whether or not you live in a small home, you may find yourself struggling for extra counter space in your home. From the kitchen to the bathrooms, counter space is limited and you are running out of ideas. But there is no need to worry because we have four simple tricks to help you free up counter space. 

Four Tricks to Free up Counter Space

Trick One: Just Look Up. Counter space tends to be limited, but have you ever thought about using your wall space? Installing a shelving system can be just what you need to maximize your home’s storage. Plus, installing a shelf can work in literally any room of your house. From your kitchen’s spices to your bathroom soaps, shelves have you covered from the ceiling to the floors. 

Trick Two: Double-Duty. Doors hold a lot of storage potential and they can help keep your home looking tidy! Install a door organizer to the back of your door to store all different types of items. Your pantry door can hold extra food, your laundry room door can hold detergent, and your garage door can hold cleaning supplies. All you will need to do is group the items into different categories and place them on the appropriate door organizing system. It is a smart idea to keep chemical cleaners outside of the house and in the garage. 

Trick Three: Stack Em’. If you afraid of losing too much counter space, try storing vertically instead of horizontally. Bins and baskets that stack can save you more room than storing them horizontally on top of their countertops. You will want to try and look for stacking systems that can store your household items without sacrificing counter space. 

Trick Four: Out of Sight, Out of Mind. Instead of storing items on top of your valuable counter space, consider stashing them away in hidden places. The area under your beds is a great place to start! Depending on what room you are working on, you will be able to find a lot of nooks and crannies to hide your items. 

We hope you enjoyed these four quick and easy tricks to free up counter space. We are always happy to help.  Check back each week for more posts, updates, and blogs! 

Kitchen Sink Organization

The kitchen is the heart of the home; therefore, creating your dream kitchen can express your style and design. From mesmerizing backsplashes to intricately designed appliances, your kitchen can quickly become the most stunning part of your home. However, nothing takes away from this dream like clutter, and one spot reigns notorious overall in this category: the sink. Having a messy sink is easy. We usually eat three times a day and sometimes feed more than one person during a meal. Hence why this area can quickly become an eyesore if not taken care of correctly. However, some simple kitchen sink organization skills can help have your sink looking clean and less cluttered. We break down the three ways to organize your sink and keep it clean and crisp all year. Let’s take a look!

The Essentials

Your kitchen sink most likely has some critical components which you use daily when washing your dishes. These elements make the cut for what can stay in view. For instance, you may have a soap dispenser, maybe a plug for the sink, and perhaps a drying towel, and even a scrub brush. If you can tuck any of these away in your false drawers, take advantage of the space. If not, have a clean, organized set up of where these items belong.

Drying Area

The next key spot is your drying rack. If you have a dishwasher, you do not need to worry about this. However, if you do not have this amenity or have wooden or plastic utensils, you will need to designate a space. Some drying racks can connect right into your sink. Just make sure these areas never become cluttered. These are easy to allow items to overstay their welcome. Use your drying towel and have the dishes and utensils back to their homes before leaving the area.

Under Your Sink

Under the sink is a useful area. You can store your trash, recycling, chemicals, and other cleaning agents. This area is where your extra cleaning materials should go that you do not use daily. If you have small children, you may need to put a locking mechanism on this cabinet as well. Extra sponges, cup cleaners, and stain removers can all reside happily underneath your sink until needed.

It is easy to allow your kitchen to become cluttered. Having an organized and clean sink area is something that you need to keep up with daily. Do not let this become the downfall of your kitchen. Take pride in your kitchen and allow your kitchen to warm your entire household.

How to Properly Clean Your Countertops

Stone countertops are a beautiful addition to any home. Their intricate designs and patterns bring a touch of nature indoors while their hard surface can stand strong against just about any task. However, over time, everyday wear and tear can take its toll on countertops. If you neglect to take care of them, they may lose their shine, become scratched, stained, and begin to cloud. And while they may still do the job that they are intended to do, you will have lost that beautiful touch of nature in your home’s design. Some stone requires more maintenance than others, but overall, cleaning and maintaining your stone countertop is a reasonably easy job, if you keep up with it.

Quartz

Beginning with the lowest maintenance of the three countertops, Quartz requires very little routine-maintenance. Warm water and dish soap are all that are needed to clean daily spills and stains that your Quartz countertop will endure. Denatured/isopropyl alcohol is handy for those stubborn stains that you are unable to get out with just soap and water. If your countertop is looking a bit lackluster, a simple glass cleaner can be used to restore it to its original splendor.

Granite

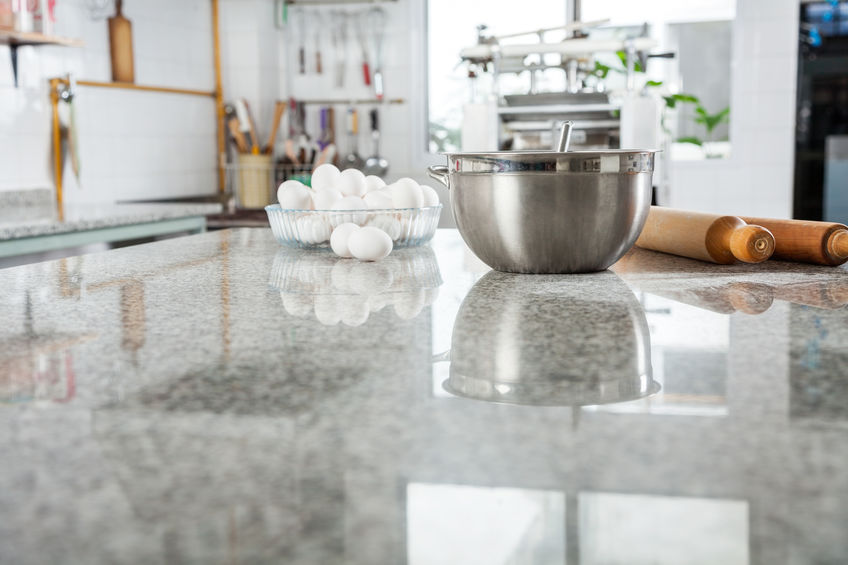
Granite holds the maintenance middle ground between Quartz and Marble. The first step is ensuring your countertop has been properly sealed. If it was recently installed, it is likely that it has already been sealed, but if not, you should purchase a sealant for it. Most sealants last 10-15 years, so this is not a step you will have to repeat often.

Once your Granite is sealed, the maintenance is similar to Quartz. Washing it daily with warm water and soap is still recommended, but make sure you use a PH neutral soap. Any soap or cleaner with an acid-base will eat through the sealant over time, this means staying away from most glass cleaners as well. Baking soda and water will take care of any oil-based stains that you cannot get out with soap and water, and baking soda plus hydrogen peroxide will take care of any water-based ones. If your counter begins to lose its shine, it is recommended to buy a polish intended for Granite.

Marble

Marble may require the most care from these three stone options, but it is still by no means challenging to maintain. Like the Granite, Marble requires a sealant, but it needs to be sealed on a more regular basis, at least once a year is recommended. Marble is even more sensitive than Granite is to scratches and to acids, so be sure to use a nonabrasive sponge or towel and a neutral, mild soap to clean it daily. When faced with more difficult stains, you can use a stronger cleaning product and a more abrasive sponge; just make sure you have sealant ready because the cleaner will take the sealant along with the stain.

A well-maintained countertop can look exquisite and last a lifetime. Make sure you know how to care for your countertops to ensure they stay beautiful and resistant to your everyday wear and tear. Any additional care ideas that you may have can be posted below in the comment section. Thanks for reading!

Gas Versus Electric Stovetops

The stove is an essential element of any kitchen. Your stove can serve many purposes for cooking all sorts of meals. When it comes down to which stove is right for you, there are two general stovetops to consider: electric or gas. Both are excellent choices, but like anything, they come with their own sets of pros and cons. You will want to consider both options and look at which set up may be more ideal for your home.

Electric

Electric stoves are generally going to cost less money. Typically, most houses are preset to have an electric stove installed in the kitchen. They are easy to clean with a very smooth surface. They can also turn on by simply turning a dial and do not require an ignition. Electric stoves also have more even heat distribution. This feature can allow you to monitor your cooking easier. However, they do require a power source and use electricity. They are also not as durable as their counter comparison, the gas stove.

Gas

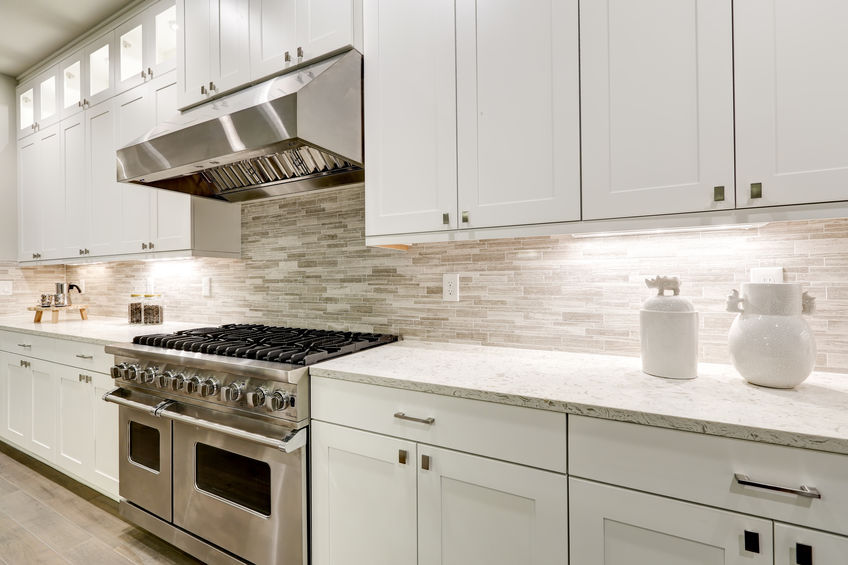
Gas stoves are very durable. They do not need a power source where the electric ranges do. With a flame present, they are much quicker at delivering instant heat. Also, they cool down faster, which can allow you to leave food on the stove after you are done cooking without overcooking it. Plus, if you like to broil food, gas ranges are excellent at applying direct heat in partial areas. Yet, the heat distribution is most prominent wherever the flames are present. This feature can also become a setback. You must have the flame present while cooking, which can also be annoying if you have a fan going or open windows. Gas ranges are also more challenging to clean and have an uneven surface in comparison. If your home does not have a gas line present, you will need to install one to have a gas range. This can be an additional cost to consider with an already-pricier stovetop.

Ultimately, it comes down to preferences. Some people prefer the authenticity of the open flame on a gas range, while others may like the simplicity of an electric stove. Which stovetop do you prefer? Let us know below in the comment section.

Pros and Cons of Granite Countertops

There are many great countertop options to choose from on the market today. Granite is the number one desired countertop solution. It is highly durable and versatile. While this counter is excellent, it is not flawless. Understanding how this countertop system works and functions can help you decide if it is the right fit for your home.

Pro – Durability

Granite is extremely durable. Although not recommended, you can directly cut with a knife on the surface without damaging it. Additionally, you can also set hot pans right on it without hurting the material. This makes it perfect for the kitchen and bathroom! That being said, you should be cautious about hot materials and not using a cutting board.

Con – Cost

Granite is extremely desirable in many households, and it can increase its market value. However, it is not the most affordable countertop solution out there on the market. That being said, these countertops are made to last, so they may be better in the long run.

Pro – Easy to Clean and Disinfect

Granite is very easy to wipe down and disinfect. This feature can prevent bacterial contamination in your kitchen and keep your home a cleaner place.

Con – Heavy

Granite is, by no surprise, very heavy. This characteristic means you may need to have support installed on your countertops. You can also break your counters if you stand on them near a ledge or a weak area.

Pro – Aesthetics

It is no secret that granite is beautiful. In fact, granite has a lot of character and looks great in any home. Its spectacle look can adapt to various design styles, making it a versatile material.

Con – Maintenance

Granite needs annual maintenance. The material is porous and is vulnerable to staining. This is why it is imperative to have your countertops sealed. Your sealant will wear over time and will need to be refinished once or twice every year for the life of the product.

All in all, granite is beautiful and can help increase your home’s market value. Homeowners believe its many pros outweigh its minor cons. Plus, it will work great in your bathroom or kitchen and is extremely versatile. Understanding it can help you better decide if it is right for your home.

The Essentials: Creating Your Spice Cabinet

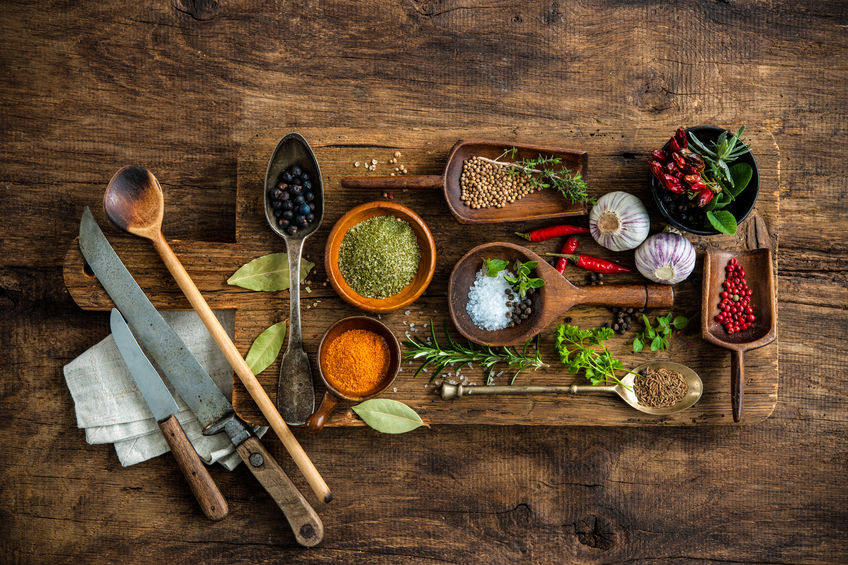
Your culinary journey begins in your kitchen. The endless possibilities of foods are at your disposal with the right spices and knowledge. If you are just beginning to create your spice cabinet, there are thousands of spices to explore. However, becoming familiar with a handful of spices can go along way. Here are the top ten spices to begin with when creating your spice cabinet.

Basil

This herb is an excellent start to your spice rack or cabinet. Basil is perfect for helping to spruce up sauces or many Mediterranean cuisines. If you really want to get the full flavor of this excellent herb, you can also invest in fresh basil to keep in your refrigerator or grow your own.

Cayenne Pepper

This pepper is a Capsicum Annuum. It is typically grounded up into a fine powder to use to add spice to food. Try adding cayenne pepper to any dish you are looking to zest up the flavor.

Cilantro

Also known as Chinese parsley, this leafy herb is potent. It can give a distinct flavor to many dishes. Cilantro has a much bolder flavor than parsley. It is also great for bone and heart health, as well.

Cinnamon

Another spice you should have on hand is cinnamon. Cinnamon is made from the inner bark of Cinnamomum trees. It has been used in different cuisines for thousands of years while being a staple in many dessert dishes and pairs excellent with sugar. It also has many health benefits from anti-inflammatory properties, antioxidants and lowers blood sugar levels.

Nutmeg

Nutmeg is another great spice. It is rich in antioxidants and tastes great. Plus, it can be used in coffee or other dairy-based dishes. Typically, it is used in combination with cinnamon for holiday sweets.

Onion Powder

Onion powder is a very useful spice in the kitchen. Use this to help add the delectable flavor of onions evenly throughout an entire dish.

Oregano

Oregano is excellent to add to sauces or pizza. This herb strongly complements tomato-based dishes. It also is loaded with antioxidants and an excellent source of fiber.

Parsley

Parsley is a milder herb than cilantro. It can be used to accentuate Middle Eastern or Mediterranean cuisines. Parsley is mildly bitter yet helps lifts the natural flavors in your dish.

Rosemary

This is great for a wide variety of dishes from soups and salads or chicken and fish. Rosemary can help improve digestion and is very versatile. With its distinct lemon-pine flavor, it can easily brighten up any dish you make in the kitchen.

Vanilla Extract

Vanilla extract is essential for many baking recipes. It goes great with almost any dessert that you are looking to create. Help make a bland cake taste delicious with this powerful extract.

There are still hundreds of more spices to explore. These spices are great for kickstarting your spice cabinet and beginning your seasoning adventures. What are some of your favorite spices that we did not mention? Let us know below in the comment section!

Tips for Organizing Your Kitchen Sink

The kitchen is the heart of the home, and creating your dream kitchen can express your style and design. From mesmerizing backsplashes to intricately designed appliances, your kitchen can quickly become the most stunning part of your home. However, nothing takes away from this dream oasis quite like clutter, and one spot reigns notorious overall in this category: the sink. Having a messy sink is easy. We usually eat three times a day and sometimes feed more than one person a meal, so this can quickly become an eyesore if not taken care of correctly. However, some simple kitchen sink organization skills can help have your sink looking clean and less cluttered. Today, we will break down the three ways to organize your sink and keep it clean and crisp all year. Let’s take a look!

The Essentials 

Your kitchen sink most likely has some critical components which you use daily when washing your dishes. For instance, you may have a soap dispenser, maybe a plug near the sink, and perhaps a drying towel, and even a scrub brush. If you can tuck any of these away in your drawers, take advantage of the space. If not, have a clean and organized set up of where these items belong and assign them to it as their “home” spot. 

Drying Area 

The next key spot is your drying rack. If you have a dishwasher, you do not need to worry about this. However, if you do not have this amenity or have wooden or plastic utensils, you will need to designate an area for drying. Some drying racks can connect right into your sink. Make sure these areas never become cluttered. The drying area is easy to allow items to overstay their welcome, but use your drying towel and have the dishes and utensils back to their homes before leaving the kitchen.

Down Below 

Under the sink is a useful area. You can store your trash, recycling, cleaners, and other kitchen supplies. In fact, this is where your extra cleaning material should go when you do not use them daily. If you have small children, you may need to put a locking mechanism on this cabinet as well. Extra sponges, cup cleaners, and stain removers can all reside happily underneath your sink until needed. 

It is easy to allow your kitchen to become cluttered since we tend to use it every day. That being said, do not let this become the downfall of your beautiful kitchen. Take pride in your kitchen and allow this heart of your home to warm your whole household.

Five Places to Hang Your Dish Towel

From drying the dishes to wiping down the counters, dish towels are essential tools in kitchens. While you use the dishtowel every day, you may run across the issue of storing it. Finding a spot to hang the dishtowel sounds relatively simple, but if you want to make sure it is nearby at a moment’s notice, here are some of your options:

Hanging It on the Sink’s Edge

Perhaps the most common place you will see a dishtowel is hanging on the sink’s edge. However, this only works if you have a double sink with one section having the faucet pointed at it and the other side being a washing basin. Hanging the dishtowel on a regular sink can be a bit impractical because it will get wet up every time you turn on the faucet; therefore, this solution is best for double sink kitchens.

Wall Rack

An excellent way to store your dishtowels is by using a wall rack. It provides the perfect opportunity to showcase your dish towels, even the ones that are not currently in rotation and keep them organized so you will always know where to reach when you need it. You can purchase a quality rack with decorative elements from your local home goods outlets or at the thrift store. Make sure the wall has a moisture-proof finish so that the water from the cloth does not cause the painting in that spot to erode.

Towel Bar

If you have a sink that is equipped with a towel bar, it can be the ideal spot to hang your dish towel once you are finished using it. If not, you can easily install one nearby to have your towels handy.

Dishwasher or Range Handle

You will find that most dishwashers and stoves have handles that make for the handiest spots to hang a light towel. Usually, the dishwasher is located right next to the sink, which means you can just reach down to grab it when you are drying dishes. The range handle is an ideal spot as well because we have all used a dish towel to take out hot pots from the oven.

Towel Hook or Bar

Consider installing a towel hook or bar right above the sink. Or you can get creative and install a wooden or metal bar on the side of the island. The options are truly endless!

Do you have any creative ways to hang your dish towels? We would love to hear your thoughts below in the comment section.

Simple yet Stylish Kitchen Decor Ideas

We have all seen those kitchens that are effortless perfection. Somehow, their design practically melts together without any effort, and you are curious as to how they do it. Well, you came to the right place! With our expert tips, you can decorate a sleek, stylish kitchen on a reasonable budget in no time. 

Simple yet Stylish Kitchen Decor Ideas: 

  • Appreciate Stylish Appliances

Whether you have a colorful mixer or a stainless steel toaster, appliances can be used as functional decor pieces. Homeowners should incorporate their most beautiful and often-used appliances in their countertop decor. This helps make the kitchen more functional and gives it a lived-in look. Plus, it supplies you with extra storage inside of your cabinets. 

  • Create a Coffee Bar

Everyone loves a good coffee bar; you should incorporate one into your kitchen’s design. You can simply add a decorative tray with essential coffee making items on a corner of your countertop and voila, you have a custom coffee bar. 

  • Cue Cutting Boards

Invest in some beautiful, good quality cutting boards and you will never regret it a day in your life. Cutting boards make for gorgeous decor and allow homeowners to chop up food at a moment’s notice. Cutting boards are a necessity for kitchen decor. 

  • Books on Books

Books are not only meant for libraries, but they make for trendy decor. You can use cookbooks or purchase some old books from antique shop to achieve this look. If you find the cookbooks to be a bit of an eyesore, try recovering the books yourself. You can wrap them in beautiful wrapping paper to add a touch of design to their covers. 

  • Put out Plants

Plants bring beauty into any space of the home, but especially the kitchen. Try planting a mini herb garden inside of your kitchen to bring in the outdoors. 

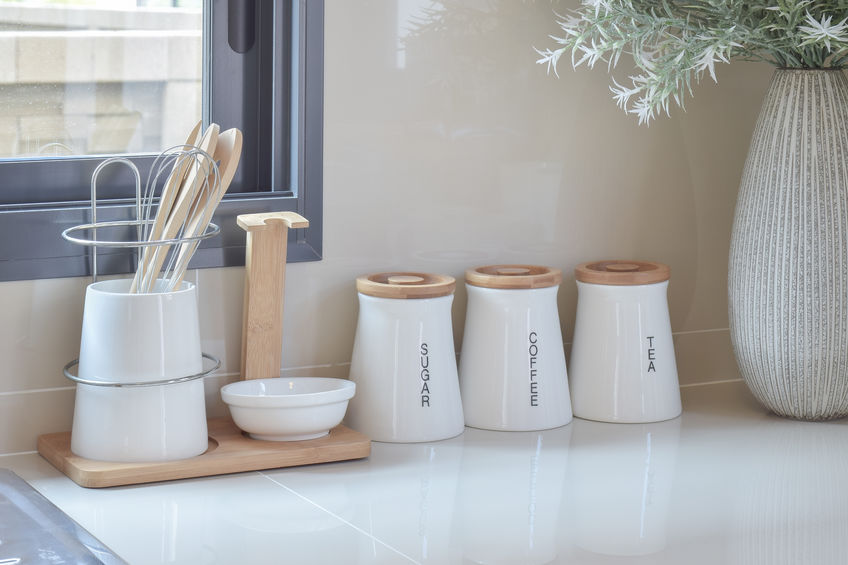
  • Cute Canisters

Place your salt, sugar, flour, and baking soda in adorable canisters that can be left out as decorations. This is the perfect solution for homeowners who love to cook and want access to the essential baking items. 

  • Always Add in Artwork

Find some of your favorite artwork and hang up in the kitchen. Most homeowners forget that the kitchen is a room like every other room; therefore, an artistic picture from your favorite local artist would look amazing on the wall. 

  • Finish off with Fruit and Flowers

Nothing says fresh like fruit and flowers. Display your weekly fresh fruit and flowers whenever possible to add the finishing touches to your kitchen decor. 

For more expert advice and style tips, be sure to check out our blog hub at https://proudtobuild.com.