Spring Cleaning Tips for Arizona Homeowners

Spring cleaning is an age-old tradition that not only refreshes our homes but also revitalizes our spirits, marking the transition from the cozy winter months to the vibrant bloom of spring. For Arizona homeowners, this ritual holds particular importance due to the unique desert climate, which brings its own set of challenges and considerations. From dust storms to the relentless sun, preparing your home for the warmer months in the Grand Canyon State requires a tailored approach. Here are some essential spring cleaning tips for Arizona homeowners, brought to you by Fulton Homes, committed to building quality homes in welcoming communities.

1. Start with the Air Conditioning Unit

Before the mercury begins its steady climb, ensure your air conditioning unit is in tip-top shape. Replace the filters, check for any damage to the unit, and consider a professional inspection to ensure it’s ready to handle Arizona’s extreme temperatures. Efficient AC not only keeps you cool but also improves indoor air quality, which is crucial in a dust-prone area.

2. Tackle the Dust

Dust can accumulate quickly in Arizona homes, thanks to our proximity to desert landscapes. Begin your spring cleaning with a thorough dusting of all surfaces, including hard-to-reach areas like ceiling fans, top shelves, and blinds. Use a damp cloth to capture the dust effectively, and consider using a vacuum with a HEPA filter to clean your carpets and upholstery, which can harbor dust mites.

3. Seal and Protect Against Pests

As the weather warms up, pests begin to emerge. Take this time to seal any cracks or openings around your home’s exterior to prevent unwanted guests. Consider natural deterrents or hire a professional pest control service for a more thorough approach. Pay special attention to areas like garages and attics, which can be entry points for rodents and insects.

4. Refresh Your Outdoor Spaces

Arizona’s spring is the perfect time to enjoy outdoor living spaces before the summer heat sets in. Clean your patio or deck, check outdoor furniture for wear and tear, and refresh your landscaping. Consider drought-tolerant plants that thrive in Arizona’s climate, adding beauty to your home while conserving water.

5. Window Washing

The beautiful Arizona sunshine is best enjoyed through clean windows. Spring cleaning is the perfect opportunity to wash your windows inside and out. Consider hiring professionals for hard-to-reach windows to ensure a streak-free view of the stunning Arizona landscape.

6. Update Your Home’s Fire Safety Plan

Spring is an ideal time to review and update your home’s fire safety plan. Check smoke detectors, replace batteries if necessary, and ensure your family knows what to do in case of a fire. This is especially important in Arizona, where dry conditions can increase the risk of fires.

7. Declutter and Donate

As you clean, take the opportunity to declutter your space. Donate items you no longer need or use, giving them a new life while reducing clutter in your home. This not only creates a more pleasant living environment but also supports your local community.

8. Embrace Energy Efficiency

With the impending summer heat, consider ways to make your home more energy-efficient. Thermal curtains, LED lighting, and smart thermostats can reduce your energy consumption, lower your bills, and make your home more comfortable during the hot months.

By following these spring cleaning tips, Arizona homeowners can enjoy a home that’s not only clean and fresh but also prepared for the unique challenges of the desert climate. Fulton Homes is proud to support Arizona homeowners in creating spaces that are comfortable, safe, and enjoyable year-round. Happy spring cleaning!

Smart Ways to Get Rid of Clothes After You Do a Closet Purge

Sure, we’ve all donated clothes at some point, or had a garage sale and parted ways with old garments for a few bucks. If you’ve recently cleaned out your closet you might have discovered that many of the items you no longer want still have a lot of life left in them. Perhaps you even paid a lot of money for them and you can’t stand the thought of them ending up in a garage sale box. If so, consider these great suggestions.

Donate

“Old-reliables” such as Goodwill and Salvation Army* are always a great place to start. But there are some more specific organizations out there that would find women’s clothing especially beneficial. Look for career development organizations that empower underprivileged women to find stable, well-paying jobs. They need career wear to help these women look their best on interviews and at work.

If you have beautiful gowns or dresses hanging around, look for organizations that serve underprivileged teens who have hopes of attending formal dances in high schools. Even if the dress isn’t the exact style they have in mind, it might be a great starting piece that can be reinvented at the hand of a crafty seamstress who donates her time.

Also, consider women’s shelters in general. They often provide a haven for women and children who had to flee without the opportunity to bring along personal belongings. If you’re not sure where to find these organizations try online resources such as Charity Watch or Charity Navigator. Not only will you feel great about taking the time to find someone truly deserving, but you can also keep a record and report them as a write-off at tax time!

Host a fabulous swap party at your home or a local restaurant

The only imperative part of this is that you give everyone plenty of notice. Think about how much work it is to clean out your closet! Your guest will need enough time to get their closet purge project done before attending your party. Other than that, this is a super easy and fun way to de-clutter your closet. Simply invite everyone and serve a few goodies and beverages. Devise a basic system for the trade process and let the fun begin!

*Fulton Homes is not affiliated with or suggesting any particular organization. These are ideas to inspire you to do the most good.

Making Your Home Lovely: Part II

Once you start getting a handle on clutter, it’s time to dive into your housecleaning patterns. Do you have a regular schedule for your efforts or just move in when you notice things are going downhill? Most people don’t enjoy cleaning enough to spend the time to organize their efforts, but it’s really worth the investment up front. The following tips will help make your house cleaning easier, faster and more pleasant.

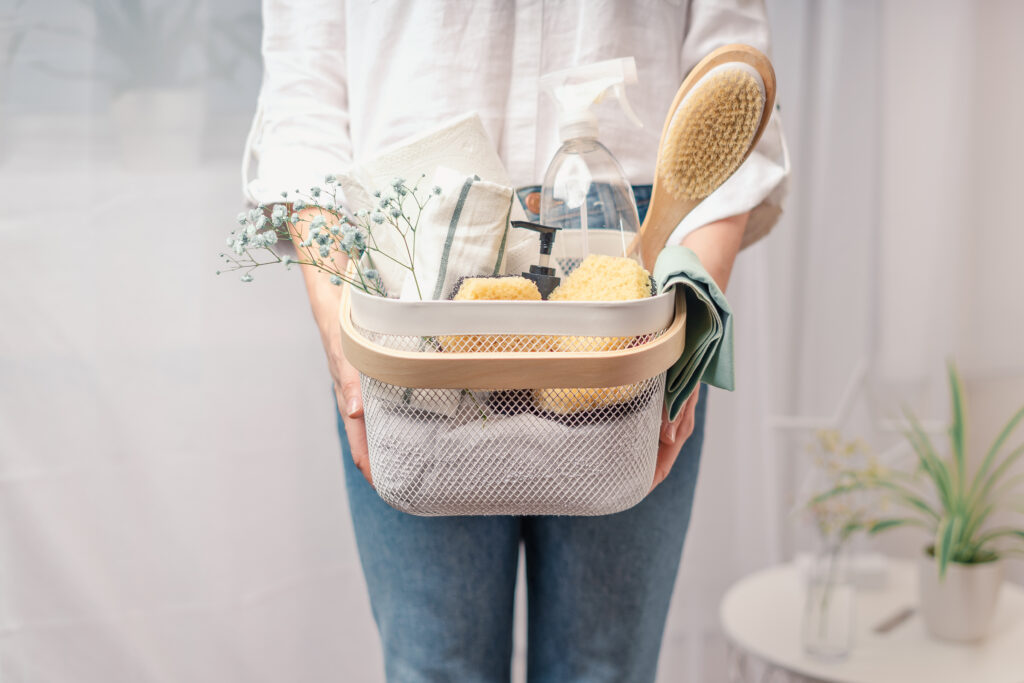
Buy the right tools. Purchase buckets or plastic containers with a handle to hold your cleaning products. You may want to assign one container to bathrooms, a second to the kitchen and a third to the rest of the house. Include the necessary brushes or cloths for each bucket. That way you’re not wasting time finding all of the supplies you need with each cleaning project. It also encourages you to notice when you’re running low on something so you can add it to your shopping list.

Buy a package of shop towels. These are inexpensive and available at warehouse and hardware stores. These are sized at just a bit larger than a washcloth and are made of white terry fabric. You can use these for anything you need to clean. Shop towels are also terrific for picking up spills and wiping up grime on anything from shoes to the car’s dashboard. They’re nicer to use than paper towels and last for years. Expect to use a lot of them, but when you run low just dump them in the washer with some soap and bleach and they’re ready for next time. 

 Your life will quickly become easier and tidier if you include several daily requirements such as cleaning up the kitchen every night before bed. This includes a quick sweep or mop of the floor. Some who batch it might be tempted to put all this off till the weekend, but no one really wants to start Saturday with a cleaning marathon. 

Instead of taking an “all or nothing” approach, how about just throwing in one load of laundry before you leave for work or after you get home? Folding clothes is so much more appealing while watching television. Run through the house with an empty trash bag the day before garbage pick-up and add the kitchen trash bag and you’re finished for another week.

Take one of those shop towels into the bathroom when you get ready for bed at night, and do a quick wipe down of the surfaces. This will make the weekly cleaning less unappealing and faster. A squeegee in the shower can be used to clear the water spots at the end of a wash up, making water spots less of an issue.

Take a close look at what gets in the way of regular cleaning. Do you need to get up fifteen minutes earlier in the morning to put some projects into play before the rest of the family gets up? Do you resent being the one who does all the household chores? Do you just hate the process? Sometimes figuring out your resistance allows you to work past it.

One final tip – build in some rewards and incentives. Pay yourself for every day you meet your cleaning goals. From a luxurious soak in the tub to that new purse you’ve been eyeing. Figure out a reasonable reward for your efforts. With the right combination of carrot and stick, you may soon develop the habits you want to keep your home as lovely as you wish it could be.

How to Remove Eggnog Stains from Carpet

This is the time of year when eggnog is especially popular.  Sometimes accidents happen and they tend to be more prone to happen when there are holiday parties and gatherings.  Below are a few tips just in case you end up having to clean eggnog out of your carpet this season.

  • Use a non-flammable spot removal solution or dry cleaning solvent.  Do not directly pour solution onto the carpet.
  • Use a detergent solution by mixing ¼ teaspoon of liquid dishwashing detergent solution per one cup of lukewarm water.  Never use a stronger concentration.
  • Do not use a laundry detergent.
  • Rinse solution thoroughly to remove all residues.  You may have to rinse several times to achieve this.  Lukewarm tap water can be used for rinsing.
  • Using a vinegar solution by mixing one cup of white vinegar per two cups of water
  • Make sure to soak up all of the excess water when you’re finished cleaning

Always be sure to check with your manufacturer’s cleaning suggestions or consider calling a professional if you are unsure.  We hope you have a great holiday season, filled with a lot of celebrating and less cleaning!

Organizing an Overpacked Home

Is your home overflowing with unnecessary items? Do you feel too overwhelmed to even begin working on your house? Are you tired of not knowing where to put all of your things? If you answered “absolutely” to any of these questions above, know you’re not alone and we would love to help you. Ideally, you will find yourself reorganizing your home at least once a year. Every year we see ourselves buying more miscellaneous items and belongings to fill our homes to their brink. To help you achieve maximum organization and function, we have created a guide for organizing an overpacked home. Let’s take a look! 

How to Organize an Overpacked Home:

Search for Storage. Storing your items is the only way you will get them out of sight and out of mind. Decorative pieces can be left out, but things that do not serve a daily purpose should be stored away.

Clean out Your Cabinets, Closets, and Drawers. You can find a lot of unnecessary items tucked away in your cupboards. A best practice in organizing is clearing out your built-in storage containers before adding more items. After you have cleaned out your available storage, take advantage of these spaces that are provided by your house. You can then begin to put things back into your drawers and closets.

Buy Storage Containers. There is an array of home furnishing items that add style while providing storage to your home. Pieces that optimize storage and style are:

  • Bookcases
  • Benches
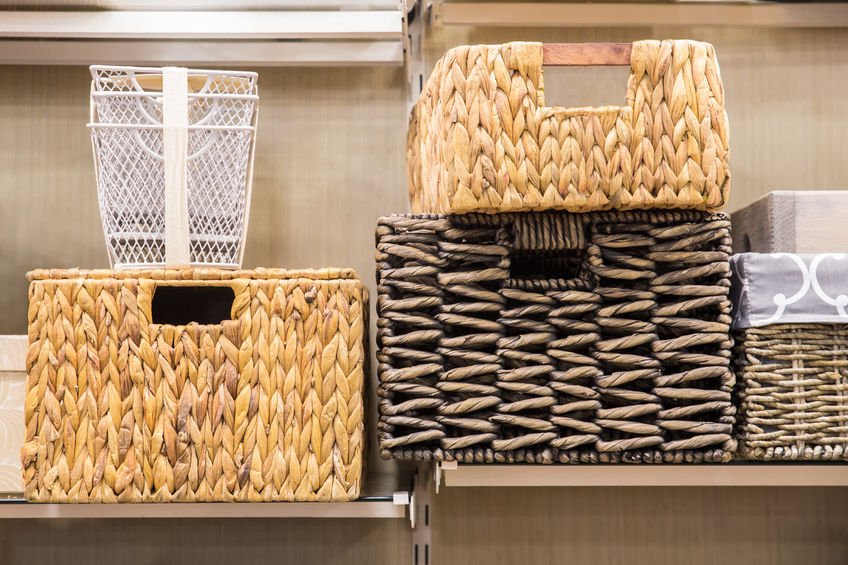
  • Baskets/Bins
  • Coffee Tables
  • Desks
  • Dressers
  • Vanities

Organize in Style. Organizing your home does not necessarily mean marking each item with a label and placing it into a clear container. Organizing your home can allow you to add more to spaces than you previously had. Things to consider:

  • Home offices hold a lot of storage potential. Having an office in your house will also help keep your home organized. You really only need a desk to make a space your home office. Once you have a desk, consider everything you have the potential to store in it:
      • Mail and letters
      • Notebooks
      • Office supplies (pens, pencils, paper, scissors, tape, etc.)
      • Books
      • Computer/Laptop
  • Pets tend to have a lot of their own belongings. Make a section in your home designated for their items. You can install a shelf or a cabinet to hold all their belongings. Storing the items up high is mutually beneficial; it guarantees your pet cannot get into something they should not, and you can decorate the piece to your liking.
  • Pet items can easily be stored in places like the garage or basement to help you maximize the use of your high-traffic areas.
  • Kids’ toys can be everywhere sometimes. Chests/bins are a stylish piece of furniture that can store your little one’s toys and activities.

Ultimately, the key to organization is cleaning. You must clean out your home before you can begin to organize it. Now is the perfect time to get started on cleaning out your house. Keep in mind, you do not need to throw everything away! Let us know how your organizing project turn out!

Cleaning vs. Sanitizing vs. Disinfecting

Let’s be honest; we all love having a clean, spick-and-span environment. In fact, this reason is why we continually clean our homes to help take pride in our properties and to reduce the spread of bacteria and germs. Yet, cleaning your home is a generic term we often misuse. In fact, you will find that cleaning, sanitizing, and disinfecting all have distinct definitions. For instance, the level of cleanliness differs. How clean a dish is after washing it with soap and water is very different from how clean a scalpel is before a surgeon performs surgery. To further explain, here are the differences between cleaning, sanitizing, and disinfecting:

Cleaning

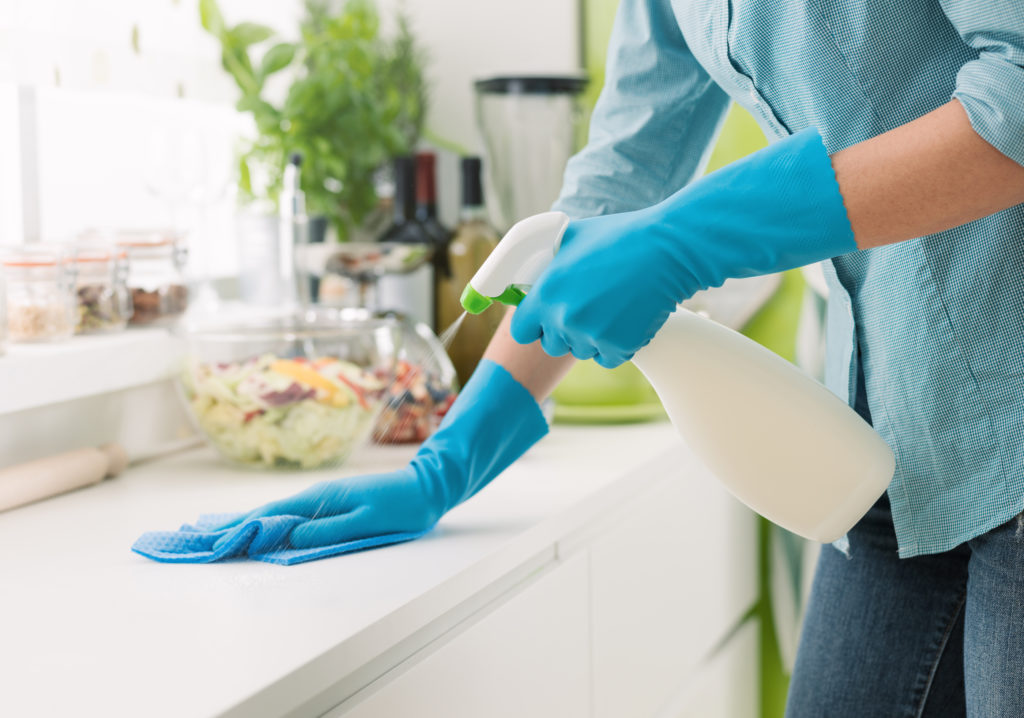
To clean something is to remove any visible dirt or debris physically. We do this all the time in our homes, from washing dishes, vacuuming, sweeping, and dusting. Additionally, cleaning will also facilitate the use of water and detergent, sometimes like wiping down your countertops with soap and water. However, water and soap do not kill germs. Adding water to the cleaning process is more or less to dilute the number of germs on a given surface.

Sanitizing

To be more thorough, the method will be sanitizing. This process kills 99.99% of germs and bacteria that can be health hazards. It is more used for things that may enter our bodies, such as food. You can sanitize an area or surface with strong chemicals, as well as extreme heats reaching over 170 degrees Fahrenheit. Hence why dishwashers use intense heat to help reduce the number of unwanted fungi and bacteria.

Disinfecting

Lastly, disinfecting is the most thorough of the processes. Disinfecting something kills the germs, fungi, and bacteria completely. This process is done with powerful chemicals, UV-C germicidal short wavelengths, ultraviolet lights, and other machinery. This process is not typically done in our homes. It is a process used for hospitals prior to surgeries.

Knowing these three methods can help you prioritize them. Try to clean your home and remove visible debris and dirt frequently. It is a great habit to achieve daily. For instance, you can sanitize your home during the weekends or, when needed, in high-bacteria areas or food prep areas. Lastly, you will only try to disinfect your home if you know sickness is afoot in your home. Go the extra steps when you have someone extremely sick to help prevent the spread.

Laundry Room Spring Cleaning Hacks

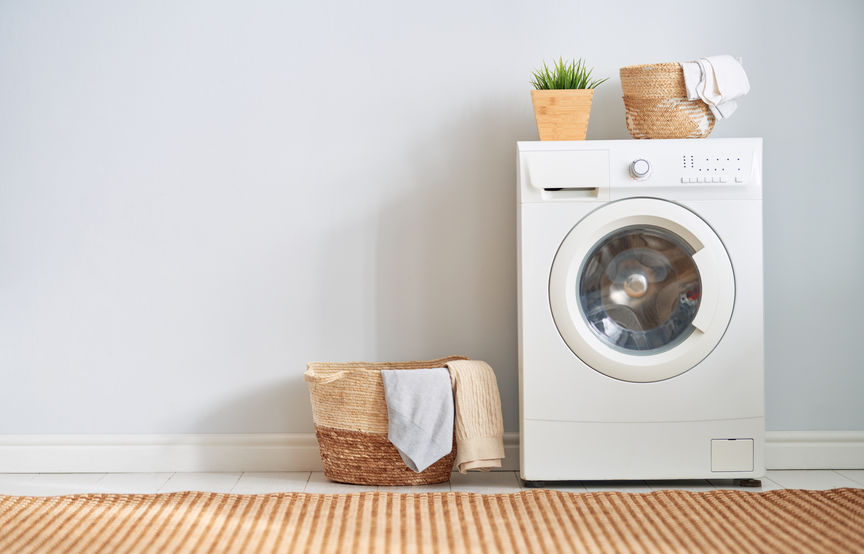
Laundry rooms are incredibly functional and vital rooms in our homes. Some people do not have the privilege of washing their own clothes in the comfort of their own homes, so this feature can be a blessing that we overlook all the time. In fact, these rooms can quickly become second thoughts and become the home of many cleaning products and other miscellaneous household utilities. However, this room is such a privilege and designed for functionality! Sometimes a once extremely-functional room can become a cluttered mess of mayhem. That is why this spring is the perfect time to reorganize and clean your laundry room to return it to its functional state. Since there is nothing worse than struggling to maneuver in an already small space, here are some great tools and tactics to help make your laundry room clean and organized this spring:

Shelf Organization

The beginning of any cleaning project should be your organizational step. Too often, the laundry room holds miscellaneous household belongings. Start by sorting out everything in your drawers and cabinets. Create specific drawers and cabinets to keep organized belongings. Try to eliminate too many duplicate products like double bottles of bleach or three pairs of scissors. These tactics can make your cabinets and drawers look much more organized.

Countertop Space

Next, if you have the space already or can add it, try to organize your countertop space. This step is great for folding or sorting out clothes. In fact, a clean countertop is ideal for every time you are not currently in the process of sorting laundry. Try to keep this in mind as you clean your laundry room as well.

Hanging Areas

Lastly, if you do not have it already, create a drying/hanging area. This step can be a simple investment that allows clothes to dry. You can keep spare hangers and sort your clothes more thoroughly with a hanging rack. You can also install a hanging area on the back of your door to the room. This is a great hidden storage area for brooms, mops, and even ironing boards.

Cleaning your laundry room is a great spring project to tackle. Stop letting it continue to become the melting pot of miscellaneous goods in your home. Instead, opt for a clean laundry room that is more functional. Remember, this room thrives off of making your life easier, so allow it to do so.

How to Make Your Own Hand Sanitizer

We have entered a unique time in history, which has made traditional ways of living very challenging. With the coronavirus pandemic in effect, social distancing and personal hygiene have become a top priority in our defense. In fact, many stores have closed that are not vital to daily living. Toiletry and hygiene supply and demand have tenfold, making some essential items nearly obsolete in stores. This respiratory virus can be spread through droplets produced while coughing or sneezing. So the best way to combat this virus is by frequently washing your hands with an alcohol-based hand sanitizer or soap and water. Yet, hand sanitizer is not as common as it once was. However, do not fear because you can still create your own home-made hand sanitizer to help prevent the spread of the virus.

Your Active Ingredients

What makes a hand sanitizer work is its effectiveness in killing germs and bacteria. This process is done with alcohol as the main ingredient. You need at least 60% of your hand sanitizer to be alcohol for it to be effective. Remember this when getting your alcohol. Your alcohols to use are isopropyl and ethanol. Other alcohols can be toxic and chemically burn your skin, so pick one of these two. When purchasing isopropyl or ethanol, get them as close to 100% as possible. The lower the percentage, the more you will need to use when making your sanitizer.

Scenting Your Hand Sanitizer

The fun part is personalizing the scent of your home-made hand sanitizer. This step can be done by picking an essential oil of your choice. Some essential oils also offer germ- and bacterial-killing properties. Understand the oil you choose thoroughly before adding it to your sanitizers. Many essential oils need a carrier oil and can irritate skin or even burn it.

Making It

Next, you will make your hand sanitizer. Find the pump dispenser you want in your home to contain your home-made sanitizer. Add 2/3 of your alcohol. If your alcohol is not 100%, you will need to accommodate for this step. Next, add the remaining 1/3 with Aloe Vera gel. This contains antioxidants and antibacterial properties. Aloe Vera also can help accelerate the healing of burns and improve skin conditions. Lastly, use the essential oil of your choice to add a couple of drops until you obtain the smell you desire. Do not exceed a dozen drops per cup.

Making your own home-made hand sanitizer is a great home project to help disinfect your hands at home. This simple project is fun and simple for the whole family. Let everyone create their own to stay germ-free during this season. For more great at-home projects and home improvement ideas, make sure to subscribe.

Disclaimer: We always recommend consulting with your physician before making and using any home-made alternatives.

Deep Cleaning Your Bathroom

Keeping a bathroom clean and tidy is one thing; however, it needs to be deep cleaned as well. These rooms can be very prone to bacteria and germs. Plus, the bathroom has many surfaces to clean. It is always best to start from the top and work to the bottom. Since most bathrooms will have similar trouble areas, if you are looking to deep clean your bathroom, here is everything you need to do:

What to Have 

  • microfiber cloth 
  • rags or paper towels 
  • antibacterial spray 
  • glass cleaner 
  • toothbrush 
  • toilet cleaner 
  • baking soda and vinegar 
  • dawn dish soap 
  • lemon 
  • bucket 
  • sponge 

Where to Begin

If the weather is permitting, open up a window to allow some fresh air to come into the room. Begin by using a glass cleaner and a microfiber cloth or paper towels to clean your windows and mirrors. If you have any fans or ceiling wall trim, dust them at this time.

Sink, Shower, and Bath

Wipe down your countertops with a mixture of water and white vinegar. This mix should remove any soap scum or toothpaste. Clean the inside of the sink with this as well. If your faucet is smudged, you can use a lemon to help bring back out its natural chrome shine. Use toilet cleaner in the toilet and allow to sit. Use a toilet brush to scrub toilet bowl. Remember to wipe down all over your toilet to remove bacteria with warm water and vinegar. You can add dawn dish soap to also help add to the cleaner. Do not forget to get behind the toilet! This area is where a lot of dust will accumulate. Next, clean your shower head and facet with the lemon. Clean your bathtub with your vinegar and water as well.

Floors and Baseboards

Finally, you can clean the floor. If your bathroom is tiled, create a baking soda paste—mix baking soda and water in a small cup. Use your toothbrush to clean the grout lines. Next, mix your vinegar and water in a bucket. Use your sponge to clean each tile thoroughly. Do not forget to wipe down your baseboard and allow it to air dry.

Deep cleaning your bathroom should be done several times a year. These steps can help you quickly clean your bathroom from start to finish. Plus, most of these cleaners can be found around your own home. For more quick tips on deep cleaning and home maintenance, make sure to subscribe.

How to Declutter Your Countertops

The kitchen is the heart of the home. When designed correctly, it can also be one of the most beautiful areas in your house as well. From elegant flooring options, backsplashes, kitchen appliances, lighting, countertops, and more, this area is easily one of the most customizable rooms a home has to offer. This reason is why it is essential to make sure you keep your kitchen looking spic and span. However, kitchens are used every day, so our countertops can easily become home to many miscellaneous items or even kitchen goods. And this clutter can easily take from the room’s aesthetics and beautiful countertops. To help, here is a checklist for everything that should be on or off your countertops:

Is It Kitchen Essential?

The first question to ask yourself is, “is it a kitchen essential?” Our kitchens are facilitated daily, and this factor can lead to many items accumulating in them. Small things like mail on the counter, backpacks, schoolwork, or even books can slowly start collecting overtime on your kitchen counters. So try to find places for everything in your home. Perhaps you need to create a new spot to store your keys or a place to put your mail when you get it. These are great habits to prevent kitchen clutter.

How Often Do You Use It?

Next, how often do you use items on your counters? Maybe you use a coffee maker daily. Then this is an excellent utensil to sit on display; however, having a food processor or mixer our on display may not be in your best interest. This comes down to personal use. If you use things daily, they deserve a spot on your countertop. The other utensils and appliances need to be stowed away in a safe place, however.

Can It Be Stored Safely?

Next, can it be stored safely? A butcher block with kitchen knives will not stow away correctly in a pull out drawer. Or perhaps you have a Keurig which holds water and cannot be turned on its side. Make sure you consider if stowing away appliances is the correct and safe way to go about it. Maybe you use a toaster daily for breakfast. If it is still hot, then you cannot put it into a cabinet or drawer. Consider safety first and foremost.

Is It Aesthetically Pleasing?

Your countertops have a coffee maker, a griddle, and a toaster oven. Maybe your accent color in your kitchen is bright red. Every one of your appliances is bright red, but your coffee maker is turquoise. This color may come across out of place. While it may not be right to hide the coffee maker, perhaps you can create a way to store it on your countertop in a more aesthetic manner. Be creative!

Is It Hurting Functionality of the Room?

Lastly, we do not have unlimited countertop space. Be honest and consider if appliances on your countertops are taking away from the kitchen’s functionality. If your counters are too clutter, you need to make some changes. This factor needs to be considered unbiasedly and can be challenging. However, when you put functionality first, your kitchen will feel even more welcoming and inviting.

Your countertops can be a focal point of your entire design. Allow them to shine by keeping your countertops clutter-free. Remember, sometimes less can be more. While minimalism does not happen overnight, it can be facilitated daily to keep your home beautiful.