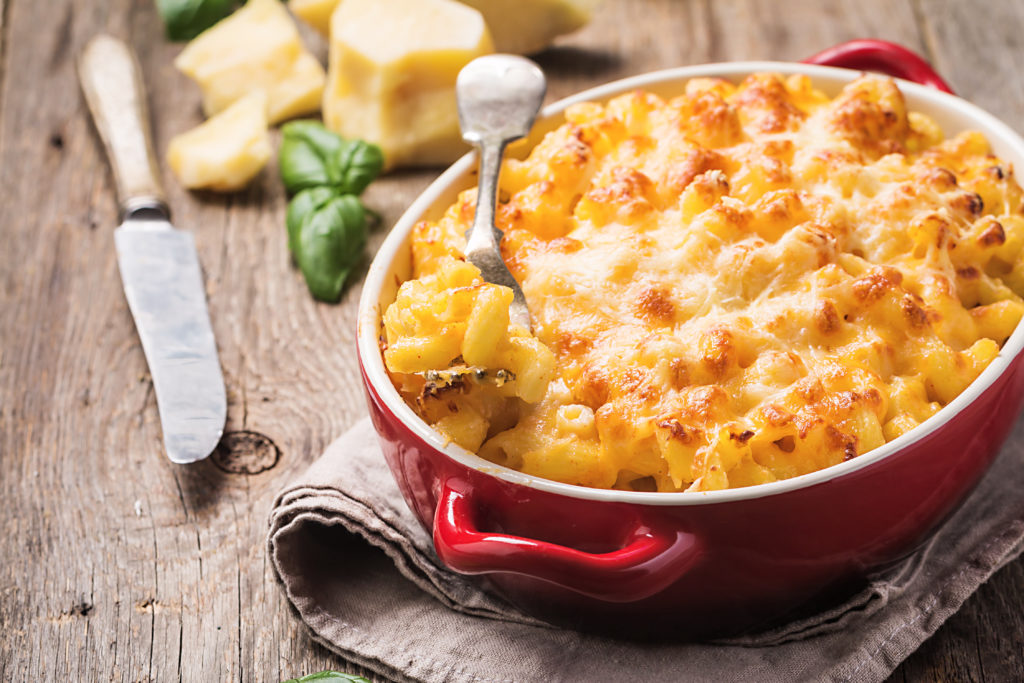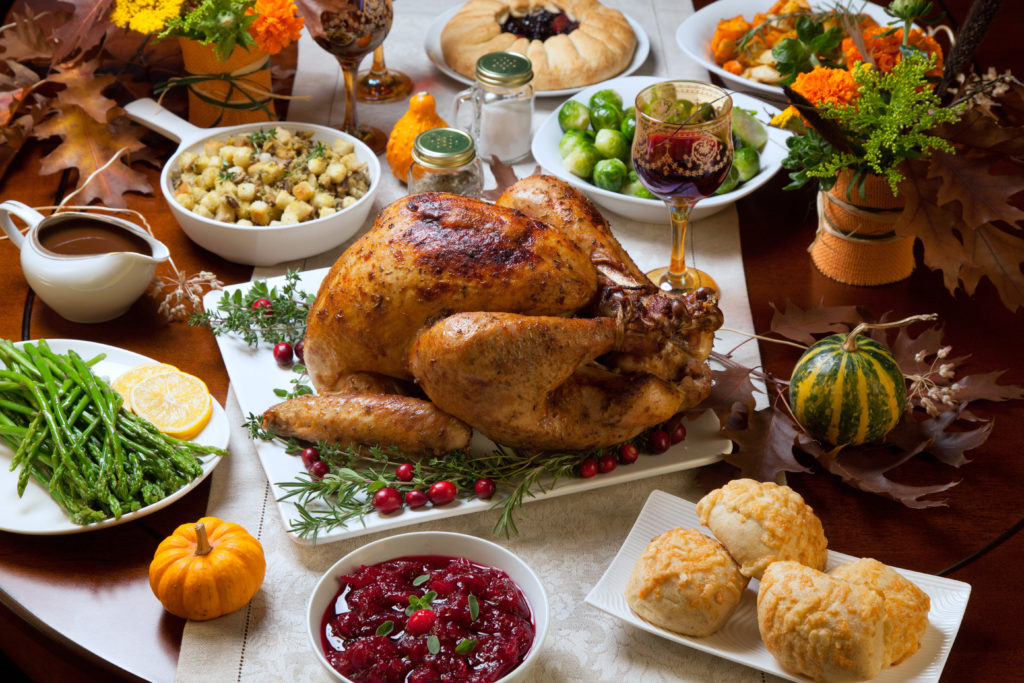
Thanksgiving Favorite: Baked Mac and Cheese Recipe!

Thankgiving is tomorrow! If you’re still looking for the perfect side dish, we thought we’d share one of our favorite with you for to help you be a holiday hero! Happy holidays from our family to yours.

Let’s get cooking!

Ingredients

  • 1/2 pound elbow macaroni
  • 3 tablespoons butter
  • 3 tablespoons flour
  • 1 tablespoon powdered mustard
  • 3 cups milk
  • 1/2 cup yellow onion, finely diced
  • 1 bay leaf
  • 1/2 teaspoon paprika
  • 1 large egg
  • 12 ounces sharp cheddar, shredded
  • 1 teaspoon kosher salt
  • Fresh black pepper

Topping:

  • 3 tablespoons butter
  • 1 cup panko bread crumbs

Directions

Preheat oven to 350 degrees F.

In a large pot of boiling, salted water cook the pasta to al dente.

While the pasta is cooking, in a separate pot, melt the butter. Whisk in the flour and mustard and keep it moving for about five minutes. Make sure it’s free of lumps. Stir in the milk, onion, bay leaf, and paprika. Simmer for ten minutes and remove the bay leaf.

Temper in the egg. Stir in 3/4 of the cheese. Season with salt and pepper. Fold the macaroni into the mix and pour into a 2-quart casserole dish. Top with remaining cheese.

Melt the butter in a saute pan and toss the bread crumbs to coat. Top the macaroni with the bread crumbs. Bake for 30 minutes. Remove from oven and rest for five minutes before serving.

Hosting a Successful Thanksgiving!

Thanksgiving is the time of year that friends and family all gather together and celebrate the good things in life. This festive time can be a blast, but it can also become quite stressful when you are hosting it yourself. Hosting any major event comes with its set of challenges. From planning the event, meal prepping, ensuring a good time, and much more, this task can feel overwhelming. In order to have a successful Thanksgiving, you need to plan ahead of time. Here are some things you need to consider to make your Thanksgiving flow as smoothly as possible.

Prep the Night Before the Event

Any big event takes time. Try to prepare your Thanksgiving dinner as much as possible the night before the event. Set your table for all your guests and have all the groceries bought. Consider baking anything you can one day prior. The more you can accomplish before the day of the event, the better.

Consider Help

Do not pass up on the opportunity for help. You may have a couple of friends or family members willing to help cook or bring side dishes! Hosting does not mean you need to do everything yourself. Allow others to help. With everyone having different assigned tasks, you will be able to focus more time on the event itself and the people you’ve invited to sit around your table.

Relax

Stress can easily make some individuals get agitated when things are not going accordingly. Make sure you do not become a “negative Nancy” when hosting the event. The host energy can contribute to the energy of the entire event. If you are becoming stressed, your guests will be able to see this easily. Relax and have a game plan. From cooking and meal preparation to dessert and after dinner activities, all these should be thought out ahead of time. Just be sure to be adaptable as the day unfolds and make sure to relax.

Planning ahead of time is vital. Remember, your guests will most likely be drinking. It is essential to remember your guests’ safety. Have a plan in place if guests cannot return home or need a place to stay. Enjoy the opportunity to spend time with everyone, and remember to relax.

Winter Crafts for Kids

As the days start to get shorter, kids can start to feel bored and pent up indoors, particularly when the holidays end and schedules return to normal. When this happens, consider making some fun winter crafts that you can use to brighten up your house and make it a little more cheerful inside. Depending on when you start, you can even use a few of these as decorations over the holiday, or save them for next year to put them out and get some additional use out of them.

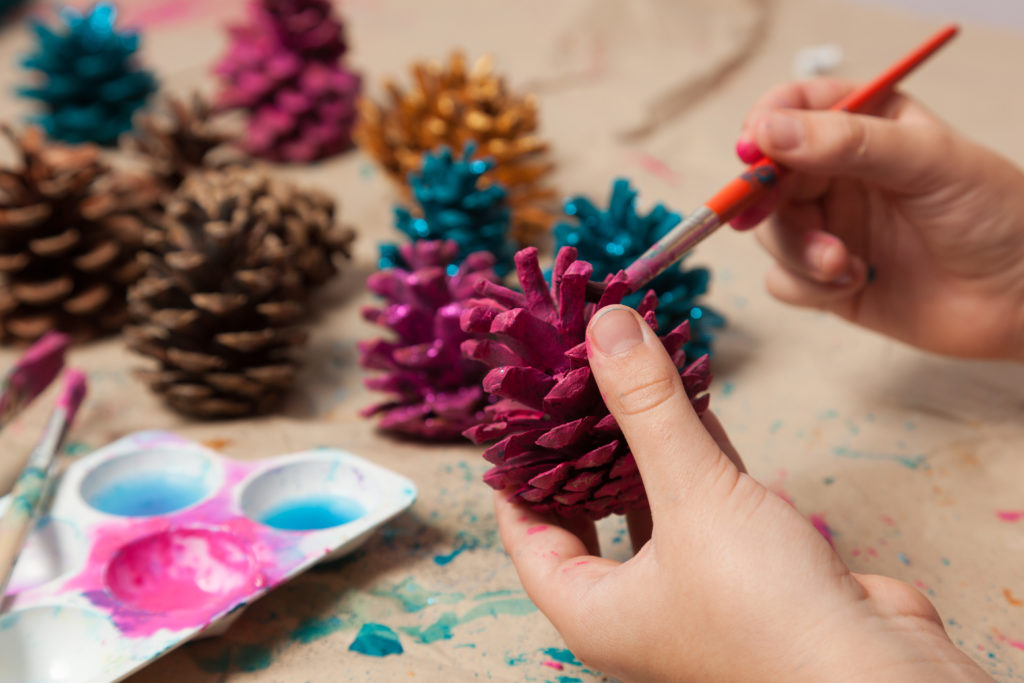
Painted Pinecones

Create some beautiful winter decorations with pinecones and some iridescent paint medium. Iridescent medium can be applied to the pinecone spines just like paint. When it dries, however, the medium becomes transparent, leaving behind only a sparkling shine that makes it look as though the pinecones have been left outside in the frost. You can also add the medium to any paint to make your blues, reds, and greens sparkle as well. Tie a ribbon onto the ends of your finished pinecones and use them as ornaments, or hang them in the windows to catch the light.

Salty Snow Scene

This is a fun craft for with children who enjoy the process of watching an almost magical change in their handiwork.  Have your kids draw a snowman or other winter picture on a piece of heavy construction paper. Make sure that they do not cover all the areas of the paper with crayon; some of the paper needs to stay bare for the effect to work.

Dissolve a cup of Epsom salts into two cups of warm water; this needs to be fairly thick and heavy when you are done mixing. Have your child paint the salt water over the finished drawing. When the water dries, it will leave behind salt crystals on the paper that will make it look as though it has been snowing in their scene. If you’d like, you can also add a drop or two of blue food coloring to the water to give the entire picture an icy blue sheen to it at the same time.

Thanksgiving with Style: Part 2

Planning for Thanksgiving involves more than a trip to the grocery store. Many stressful holidays occur because only the food is planned. By taking the time the day before to handle the other aspects of the holiday, you can have more time for your last-minute food preparations.

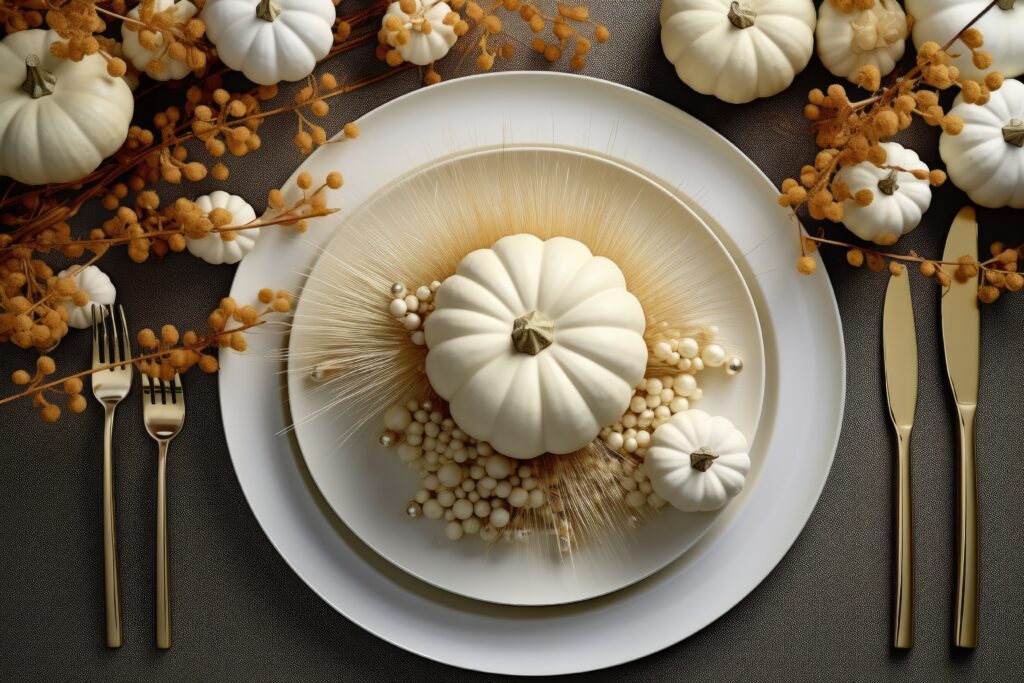
Thanksgiving is often the one holiday when people bring out all their best china and silver. It’s also a day when you may have many dinner guests. The best way to plan for this is to set the table early. If you have silver that needs polishing or you can’t find Aunt Lavine’s cranberry compote dish, Thanksgiving morning is not the day to discover these problems. Spend today pulling out everything and setting the table. (You can eat in front of the TV tonight!)

Prepare for any potential problems or accidents. Your dining room floor and table linens are at risk with a Thanksgiving dinner. Pre-plan for spills with a good collection of white towels and your favorite spot remover if needed. Quick attention fo spilling protects your rugs and tablecloths without unduly embarrassing your guests.

You may want to serve food buffet-style, reducing the demands for passing everything and allowing more space at the table. Plan which serving pieces will be used, and layout your buffet ahead of time. Then just add the food on Thanksgiving day. This will leave room for decorative elements on the table itself.

Finally, plan ahead for the meal itself. Check your recipes when you make your shopping list and prepare anything you can today. Are there any bakeries or stores that make great pies? Consider buying them and saving yourself some time and trouble. Make a plan for Thanksgiving morning that factors in any oven or stove-top space limitations. Give yourself a spare half-hour to hour in your calculations to cover the unexpected.

With these plans you have a good chance of experiencing a fun and lower-stress holiday. Maybe you’ll even be able to watch a little football!

Thanksgiving with Style: Part 1

If you want to decorate your home for Thanksgiving, your best resource is your local grocery store! Pumpkins – generally half price or less after Halloween – can join with pomegrantes gourds, squash and Indian corn to make your home inviting and seasonal.

Start by browsing through your collection of accessories. Do you have any antiques that would go well with autumn moods and colors? Baskets and pottery or metal bowls look inviting when filled with smaller fall products. If you purchase a nice selection of various squash, they will hold up throughout the season and are excellent roasted after their decorative use is over.

Once you’re finished rummaging through your home and local grocer, step outside and take full advantage of fall’s bounty. Do you have any trees with turning leaves? These can make for beautiful decorations on Thanksgiving day. Also look for dried grasses and berries on your property or along the roadside to add color and personality to your displays. With a little imagination and effort, you can create a fall environment in your home that will take your guest’s breath away.

Now, close your eyes and imagine how wonderful your house will look. Do you have any ideas or tips to make our vision of your home even better?

Crafts with Kids

After Halloween is over and the spooky decorations come down, kids can often feel as though all the fun has gone out of fall and early winter. If this has happened in your household, don’t worry; there are plenty of Autumn and Thanksgiving-themed crafts your kids can make to decorate the house with and feel as though the seasonal fun is still continuing.

Fall Stamps

Stamping is a great way to liven up plain paper and crafts from scrapbooks to banners. Take it a step further by gathering up some typical fall items to use as your stamp, rather than using the expensive rubber stamps you can find at the craft store. Autumn items that make great stamps include:

  • Apple halves, which showcase a star on the inside
  • Leaves
  • Pinecones, which can be rolled across a page for a unique pattern
  • Acorn caps
  • Pine needles

Leaf Rubbings

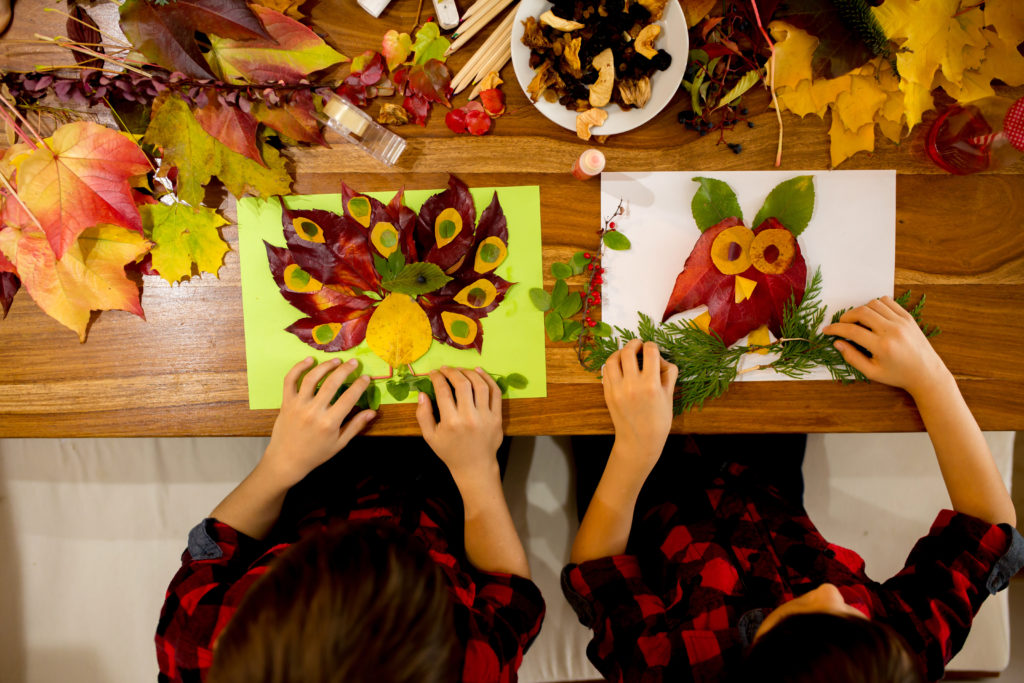
Have your kids gather a variety of different fall leaves and arrange them on top of a sheet of paper. Encourage them to create leaf scenes, leaf animals, and leaf people out of them, and then lay a second sheet of paper on top. Tape down the edges of the second sheet so it doesn’t move, and have your kids rub the side of a crayon over the entire sheet to reveal the images of the leaves underneath. Once you’ve made one or two, experiment with using different colors on the same sheet to create various effects.

Pinecone Turkeys

Gather the largest pinecones you can find (these are also available at craft stores), along with a range of different found objects and craft items you already have on hand such as felt, buttons, wire, feathers, glue, and paint. Now decorate the pinecones to look like a fat Thanksgiving turkey. Paint the spines of the pinecone to look like feathers, glue bunches of feathers onto the back for a tail, and use the buttons, felt, and wire to create details like feet, eyes, comb, and wattle. Display your finished creations as the centerpiece of your Thanksgiving table, or pop them around the house in unexpected places so that guests can catch their eyes when they come to visit.

Decorating For Fall

Put away the white linen, beach towels and cool toned accessories. It’s fall and it’s time to breakout the corn husks, pine cones and other harvest decorations. Here are a few simple ideas:

Decorate a bookshelf with pressed leaves and pumpkins.

Hang a corn husk wreath.

Display green apples and acorns in apothecary jars.

Spray paint pumpkins silver and white. Make sure you use a variety of sizes. Display them on your mantle with pine cones. This is a very elegant look.

Decorate your dining room table by placing a row of pumpkins and gourds. Add a tall vase filled with wheat.

Fill your votive candle holders with pumpkin or squash seeds.

Make leaves out of decorative scrapbook paper. Glue them to branches for a whimsical look. Display the branches in tall glass vases.

Fill an old tool box with candles, clementines and pine cones.

Hollow out gourds and use them as vases for fall flowers.

Put single leaves, either pressed or fresh, in small glass vases or use old lab beakers — look for them at antique stores. Replace leaves as they brown.

Put together a colorful outdoor fall display using a sturdy wheelbarrow as a base. Fill the wheelbarrow with ornamental cabbage and peppers, grasses, chrysanthemums, flowering zucchini and other seasonal plants. Fill the wheelbarrow with soil and insert the plants loosely, or tuck containers into the wheelbarrow, making sure to fill in the gaps with more plants.

Nuts are as easy to decorate with as they are good to eat. Anchor a candle inside a hurricane lamp. Experiment with different varieties of nuts and a selection of clear containers.

Nestle a candle in popcorn kernels or other seasonal materials such as candy corn or colored clear round stones.

Don’t forget to break out the rich, warm colored throw rugs, pillows and rugs. Light a fire, pour a glass of wine and enjoy autumn.

Happy Fall Decorating!

Labor Day Kid Party Ideas

It’s time to start planning an awesome party for the kids! What better time to have some late summer fun than the ultimate holiday for being outdoors? We’re guessing you already have the menu and decorations planned for your event, but there’s a good chance you haven’t yet planned out the games. The best part about Labor Day is that it has an easy going vibe that makes life seem breezy and fun. As such, planning for a party shouldn’t feel like a big burden! To help you along we’re sharing seven quick ways to create a super day of play!

  1. Squirt gun tag. Provide the squirt guns and place a large bucket of water in the middle of the yard for use as an easy refill station.
  2. Prior to the party, let the kiddos paint empty tin cans red, white, and blue. Then on the big day stack them in a pyramid. Provide a lightweight ball, such as a wiffle ball, and let the bowling shenanigans begin.
  3. Buy neon light-up necklaces at a party supply store. Shortly before the party light them up and attach them end to end. Drive a stake into the ground and play a game of glow in the dark ring toss.
  4. Serve red, white, and blue cupcakes filled with Poprocks. Have your camera ready! (Be sure and warn the kids first!)
  5. On the morning of the party give your kids plenty of sidewalk chalk. Instead of asking  them to “keep busy” using it, tell them you need their help to decorate for the party. They’ll feel very important accomplishing the task of sidewalk decorator!
  6. Set up an American flag relay race. Fill extra large red and blue buckets with sand and handheld American flags on sticks. Each member of the relay team has to grab a flag and bring it back to a teammate.
  7. If you have a yard full of rocks make a game of it. Tell the kids they can each select 1-3 rocks (they like picking things out.) Then provide red, white, and blue paint and brushes.

Happy Labor Day from all of us at Fulton Homes!

Valentine’s Day Gifts for Your BFF

Valentine’s Day is not just for couples. It is a day where love is celebrated. Show your BFF how much she means to you. These gifts can be given to your mom or favorite aunt as well. Remember this holiday may not be the same for a single person or someone who has lost a love. Show the people who you love the most, how much you really care!

Give the gift of color. Buy your special person their favorite shade of lip gloss or lip stick. If unsure what their favorite is, give them Valentine’s Day inspired chap sticks. They can be found in any drug store.

A gift certificate for a manicure, pedicure or facial is appreciated by any woman. Most women love to be pampered. Being pampered on someone else’s dollar makes that treat so much more special! She can be worry free and truly enjoy a luxurious treatment if she is not spending her own money. A less expensive idea is to give her a favorite nail polish or a Valentine’s Day inspired nail polish. Tie some red, pink, or a combination of thin ribbon around the top of the nail polish.

Give the gift of sweet treats. Get a compartmentalized box and fill each box with different candies and treats. This is a gift that can be kept in her desk at work and accessed on stressful days. Each time your BFF reaches for the candy box, she will be reminded how much she is loved and appreciated by you!

Buy your BFF a small bottle of her favorite perfume! If she loves using one of your perfumes when she comes over, buy her a small bottle of her own. Little bottles of perfume are the perfect gift for a special friend in your life. If she doesn’t enjoy perfume give her a luxurious Valentines inspired bath balm. These two gifts can be enjoyed, because they are not something one typically buys themselves!

How to Thaw a Frozen Turkey

When it comes to making turkey for holiday dinners the number one challenge is making sure to allow enough time for anything you want to accomplish. Among the most time consuming tasks is thawing a frozen turkey. Planning ahead is the best way to ensure the food is safe. Food safety must be a top priority when preparing to serve a large group. Meat is very susceptible to bacterial growth if the temperature is not well managed. Being prepared is also the best way to ensure that you don’t forget about it entirely and wind up with a still-frozen turkey on the big day!

Refrigerator Method

Remove the turkey from the freezer and leave it in its plastic wrapper. Place it in a shallow pan to catch the juices. Calculate roughly 24 hours of thawing for each 4 pounds of the turkey. We’ve included a simple guide: 

4-12 pounds = 1-3 days
12-16 pounds = 3-4 days
16-20 pounds = 4-5 days
20-24 pounds = 5-6 days

You can allow an additional 1-2 days in the schedule to store the turkey in the fridge after it thaws.

Cold Water Method:

This requires more work than just letting the turkey sit in the fridge for a few days. Remove it from the freezer and leave it in its plastic wrapper. Place it in a deep pan of water so that it is submerged. You can also use one side of the kitchen sink or a drink cooler. Plan to let it soak for 30 minutes per each pound of turkey. Important: Change the water every half hour until the bird is thawed completely.   We’ve included a simple guide:

4-12 pounds = 2-6 hours
12-16 pounds = 6-8 hours
16-20 pounds = 8-10 hours
20-24 pounds = 10-12 hours

With diligent attention to the water changes, your turkey should come out perfectly thawed and you can proceed with cooking!