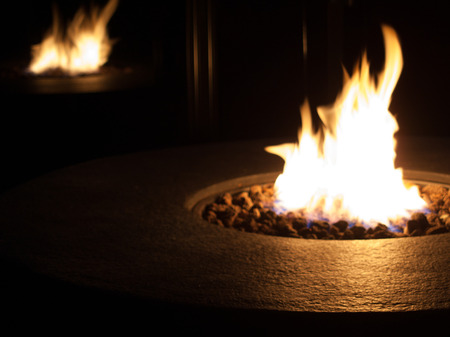
There is nothing more romantic than relaxing by the fire on a breezy Arizona night. Just the idea of socializing by a warm fire sounds peaceful and alluring to all busy homeowners. The outdoors is the perfect setting for get-togethers and deep conversations. Make a statement at your next social gathering with a Do-It-Yourself Tabletop Fire Pit. You will find that tabletop fire pits are stunning! They bring warmth and beauty to your outdoor space, plus they are easy to create!
Supplies:
- Ceramic Planter/Pot
- Lava Rocks
- Gel Fuel Cans (This can be bought at any home improvement store or online retailers).
- Lighter or Matches
How to make a Tabletop Fire Pit:
Preparation: Gather all the supplies from the list above and find a place outside to work on this project.
Step One: Once you have found a spot to work, place your lava rocks inside your ceramic planter. The ceramic planter you choose is completely based on your personal style. Since you will be filling the planter, look to purchase a larger ceramic pot for this project. The lava rocks should fill 3/4 of your ceramic planter.
Step Two: Now place your closed gel fuel cans onto of the lava rocks you just put in your planter.
Step Three: After you have positioned the gel fuel cans, you can continue to fill your planter to the top with your lava rocks. Make sure to place them surrounding your fuel cans and not on top of them.
Step Four: Leave the lids on until you want to lit your fire pit. Keep in mind the fire will only last approximately one and a half to two hours; therefore, wait to burn your fuel cans until your guests arrive.
Pro-Tip: Gel Fuel Cans are great for outdoor fires because the wind will help produce a greater flame.
This tabletop fire pit is perfect for outdoor gatherings! Amaze your guests with this stunning, hand-crafted fire pit. The best part is that you made it all on your own. Just please make sure that the flame is entirely out before going back inside for the night.
