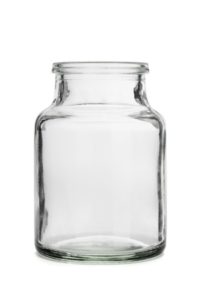
Candles are great, but would not they be better if we could reuse the jars? Actually, candle jars are an item that can be easily repurposed. The best part is that you do not have to be a craft wizard to master it. Once the candles are repurposed, they become fantastic containers for extra storage. You can place the jars on your countertops to hold q-tips, cotton swabs, floss, etc. Plus, you are not paying any extra money for a cute, stylish container. If you are eager to learn how to repurpose your candle jars, you came to the right place!
The Supplies Needed:
- 1 Candle Jar (Size May Vary)
- Goo Gone
- Boiled Water
- An Old Butter Knife
1. Know When to Repurpose Your Candle.
Wait to repurpose your candle until your candle has fully lived its life. There will be a small amount of wax at the bottom of your candle that is unable to burn. Once your candle has hit this point, you can begin the process.
2. Make Gentle Cuts into The Wax.
Do not apply too much pressure on the glass, because it can break or get damaged. Make small incisions throughout the wax until it begins to break into pieces. Continue this process until all the wax has been broken up then throw away the excess wax.
3. Add Your Boiling Water.
Gently pour your boiling water about 1/4 of the way up the jar. Let the water sit in the container until the metal wicks loosen. You will also notice that excess wax will begin to release from the bottom of the jar. Remove the metal wicks with a pair of kitchen tongs or your butter knife. Be cautious since you poured boiling water into the glass jar.
4. Remove The Label.
Now it is time to remove candle’s label. Removing the label is pretty simple, you will just need to peel it off. Unfortunately, it leaves behind residue, so this is where your Goo Gone will come in handy. If you have leftover residue, run the jar under hot water.
5. Fill The Jar.
Finally, you have a clear container to store all your items. Now when you are complimented on your cute jars, you can tell all your friends that you repurposed them all by yourself.
Why spend money on buying storage containers when you create your own from items you already have around the house?
We hope you enjoyed this simple DIY guide. Be sure to check out our other posts here.
